
E30 Distributor Replacement
How-To Credit
This how-to is a Classic Bimmer Bits original, with much credit due to the many members of the community who have helped us learn along the way!
Parts
- Distributor Cap (12111725070)
- Distributor Rotor (12111734110)
(We make a commission for parts purchased through the Amazon links above, which helps keep this site hosted and free. We only link to OEM or OE parts, the same quality parts that we use on our cars. However, you should always look around to see which site has the best prices.)
Tools
- 8mm socket wrench with extension
- 8mm allen wrench
- Scotch brite
Torque Specs (ft-lbs):
- N/A
Prodedure
-
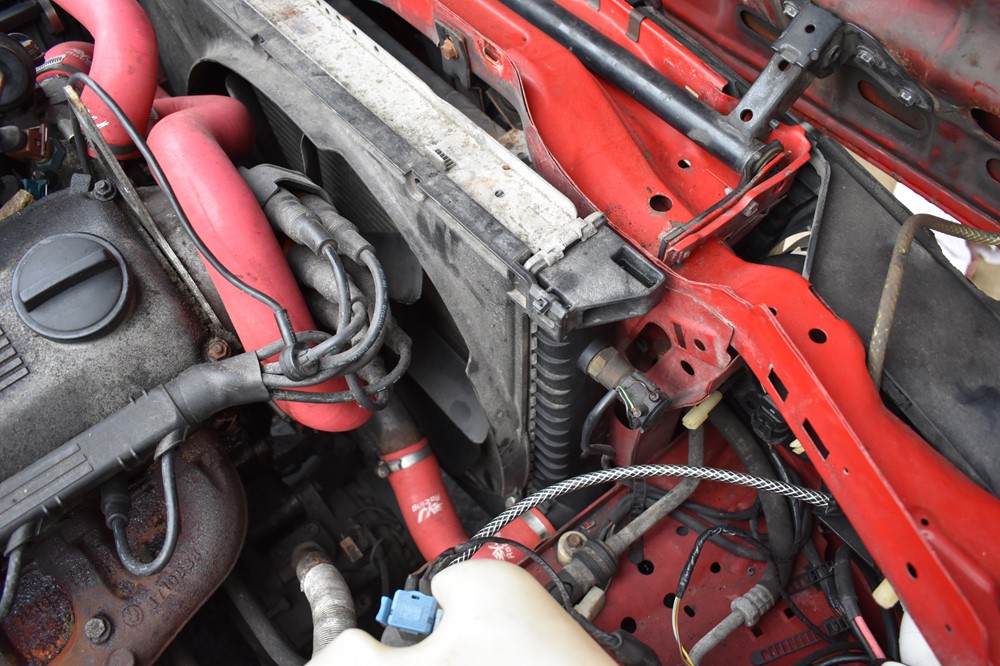
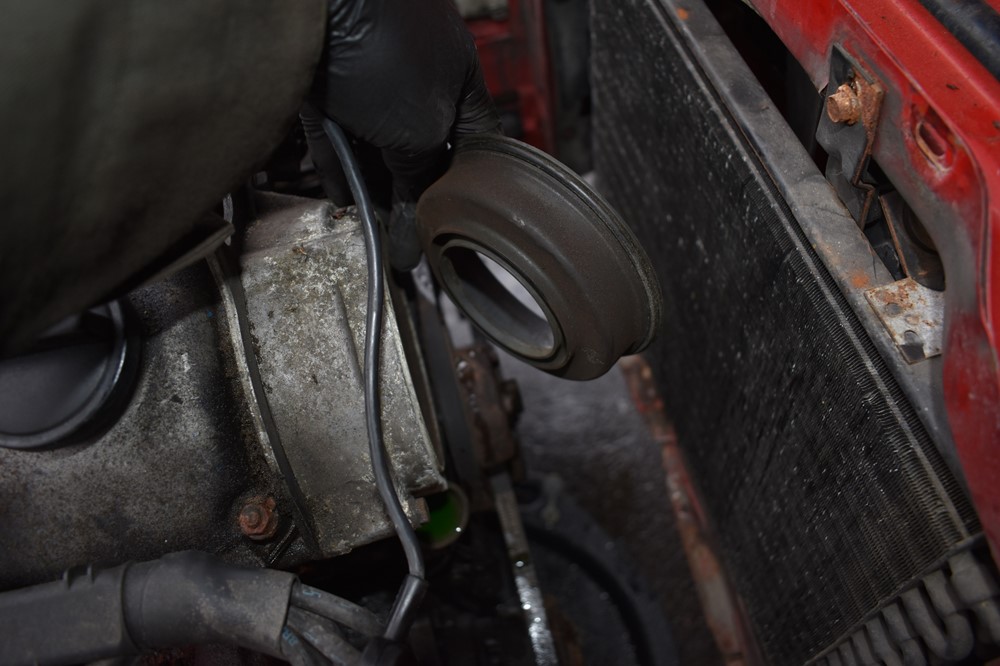
Open the hood and locate your distributor from the passenger side of the engine bay. If your car still has the plug shield is still clipped to the distributor cap, remove it.
-
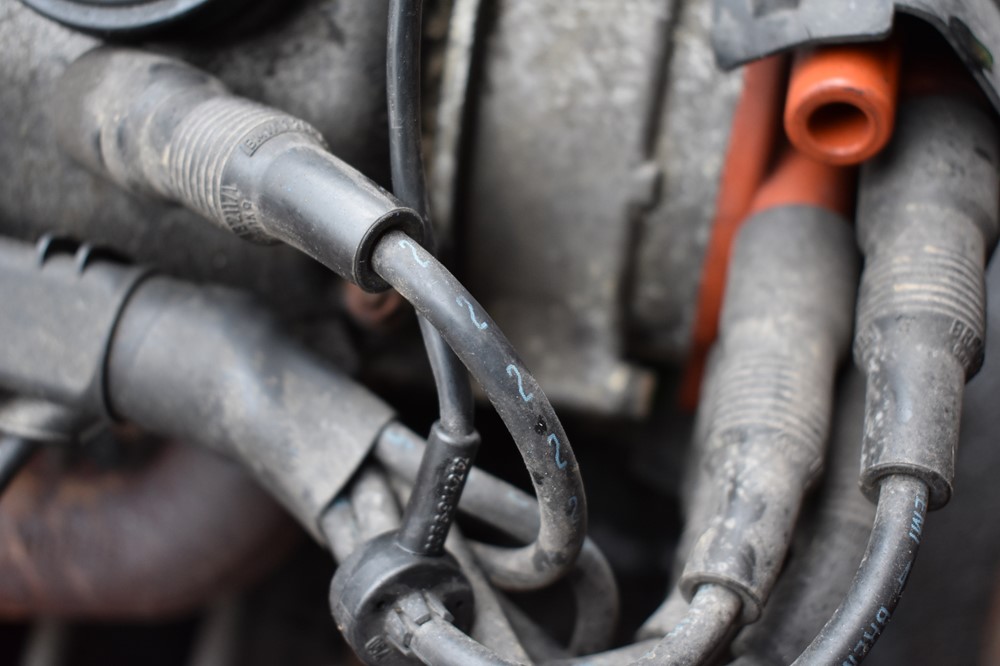
Before unplugging any of your spark plug wires, check to see if they’re labeled. Depending on the brand of your wires they may or not have numbers printed on them. If they’re not labeled, you’ll need to label them as you pull them off (see step 3).
-
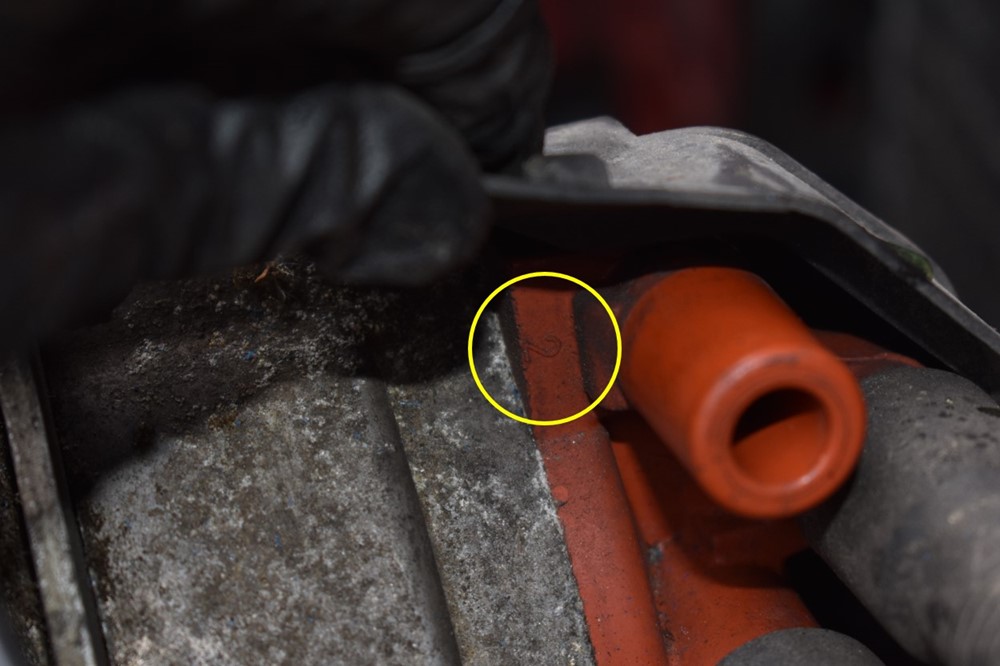
Remove the spark plug wires from the distributor one at a time. If your wires aren’t labelled, after you pull off each wire, read the number printed on your distributor cap, and use tape and a sharpie to label the wire.
-
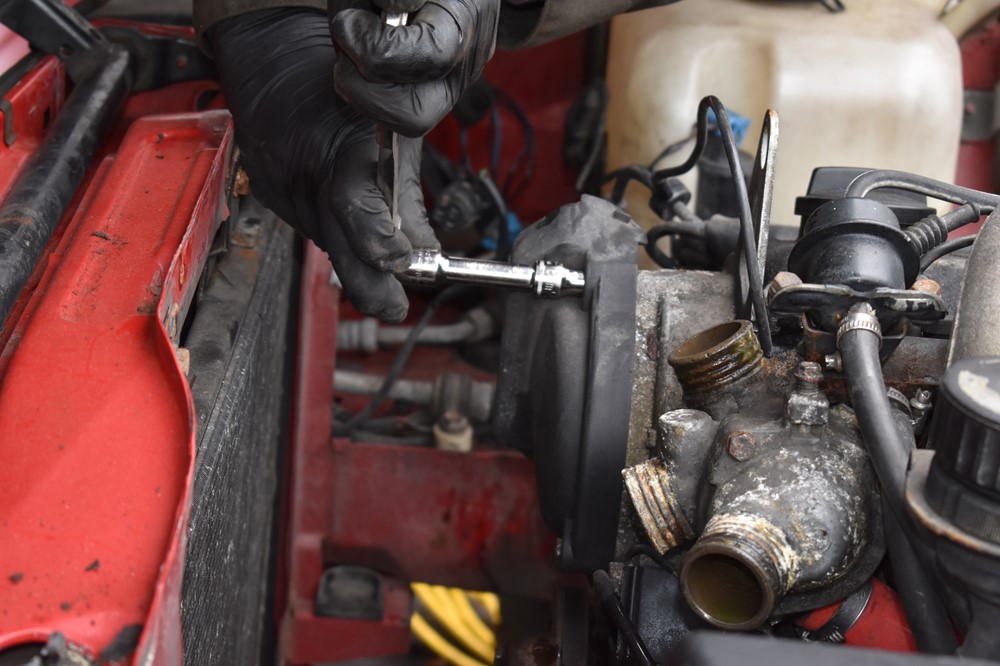
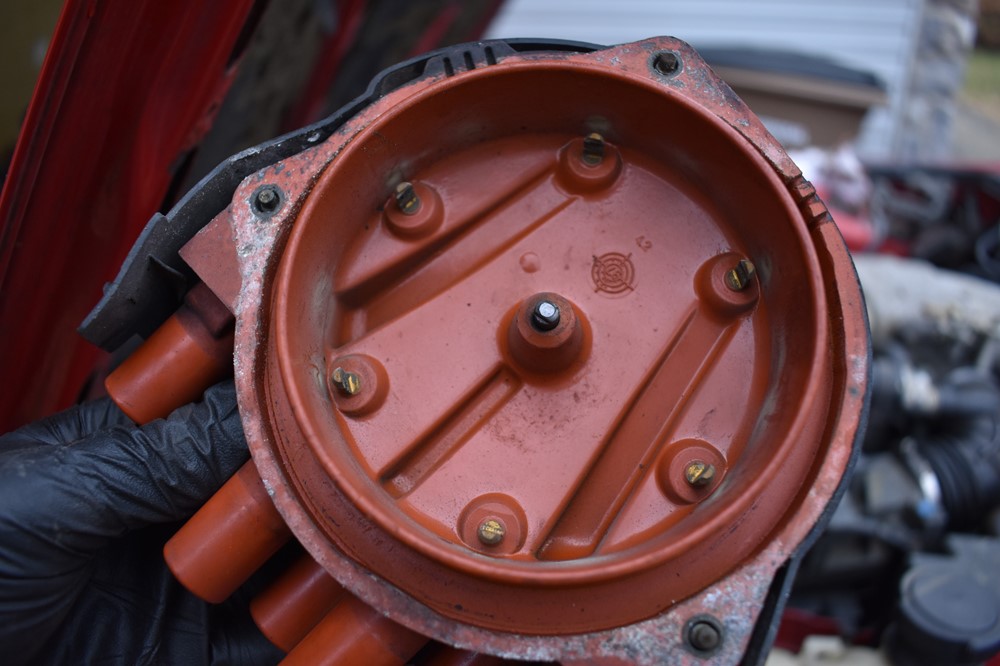
Once all of the wires are removed, use an 8mm socket and extension to remove the 3 bolts that hold the distributor cap in place. The bolts have retaining washers to keep them in the cap, so they won’t come out completely.
-
Take a look at the points on the inside of the cap. An old cap will look corroded or dirty. In general, it’s best to replace the cover if you can. If not, clean the surface of the points with scotch brite.
-
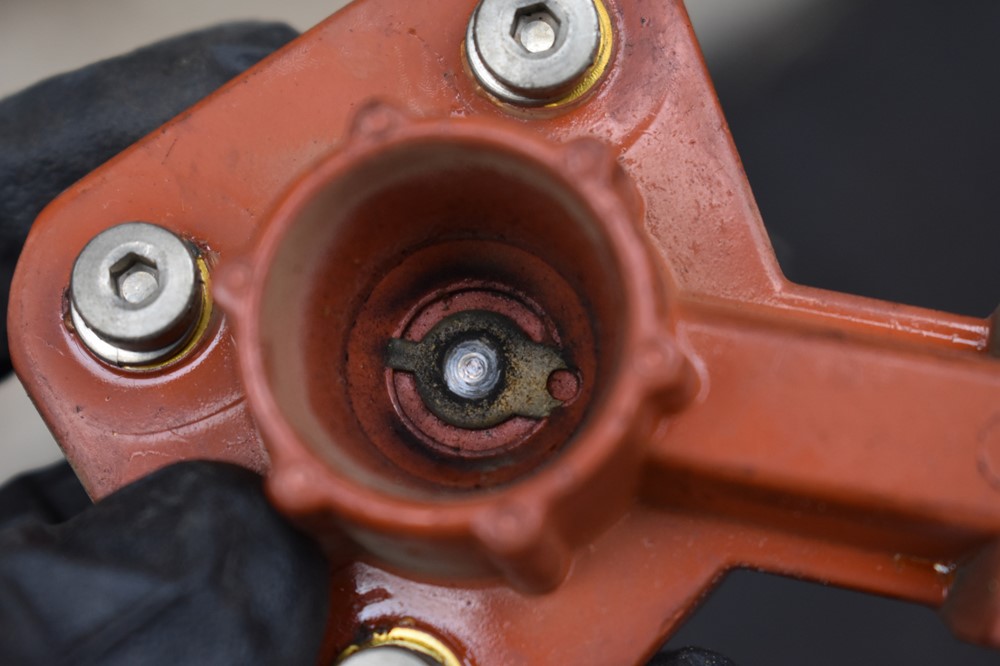
Use a 6mm allen wrench to remove the 3 bolts holding the rotor in place. The bolts having retaining washers that hold them to the rotor, so they won’t come out completely.
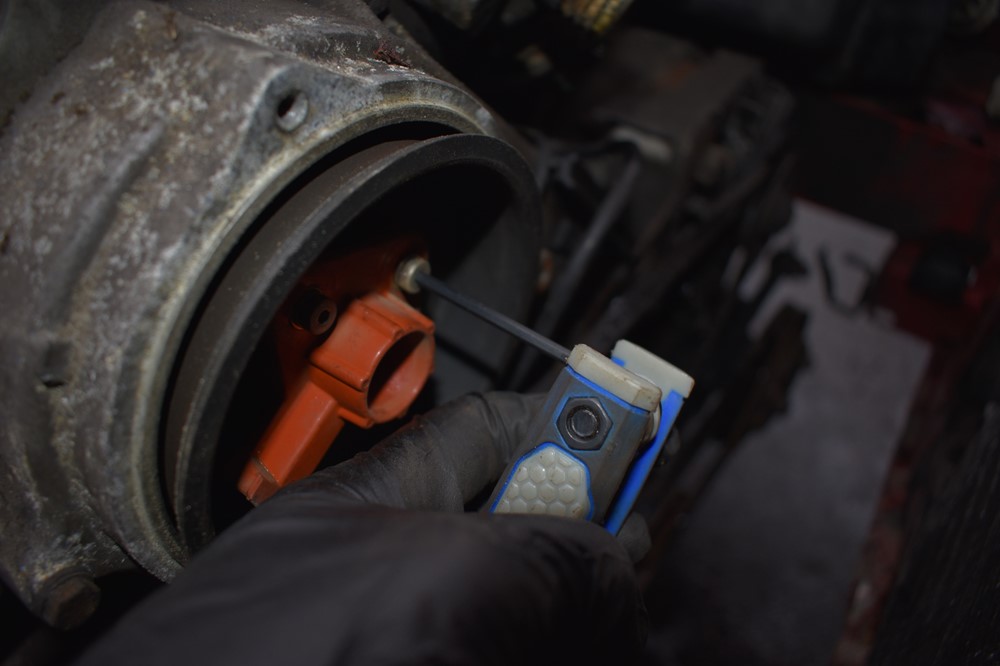
-
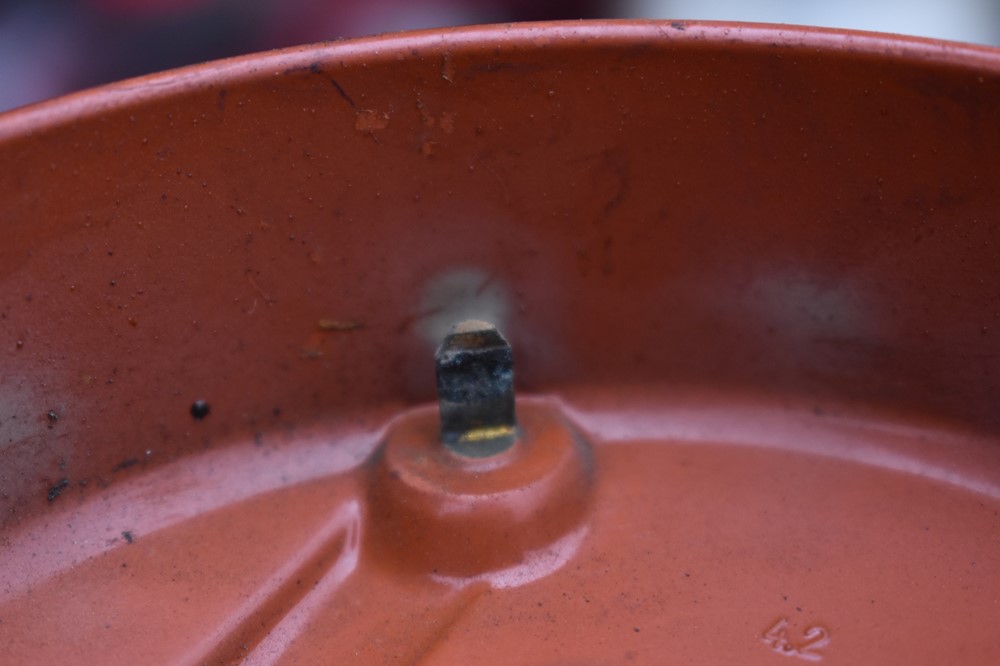
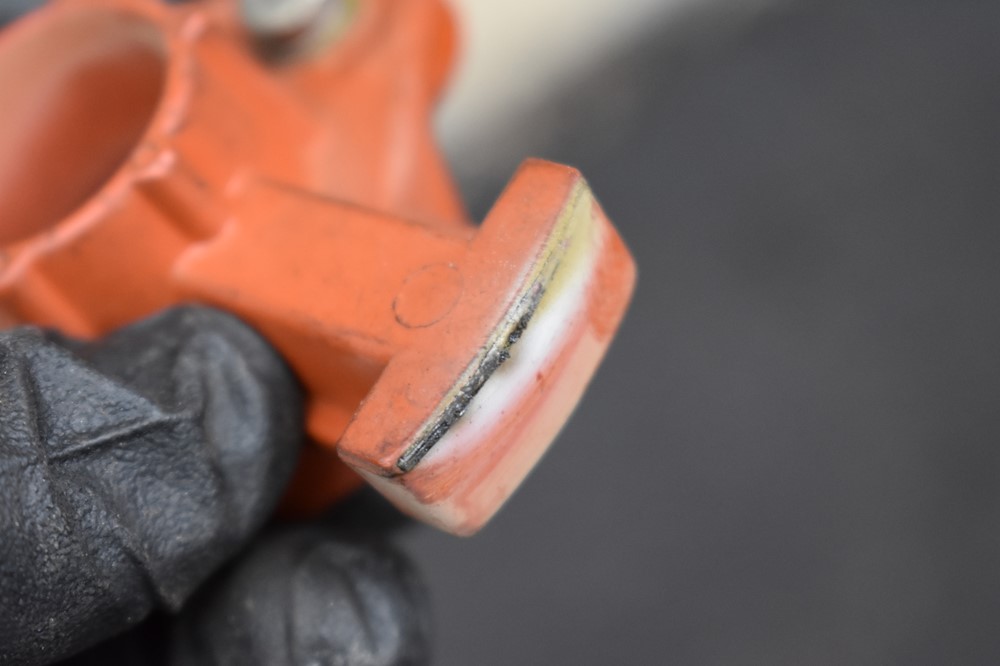
Pull the rotor off and inspect it. Look for pitting or corrosion on the contact in the center of the rotor, and the outside edge that sparks to the points.
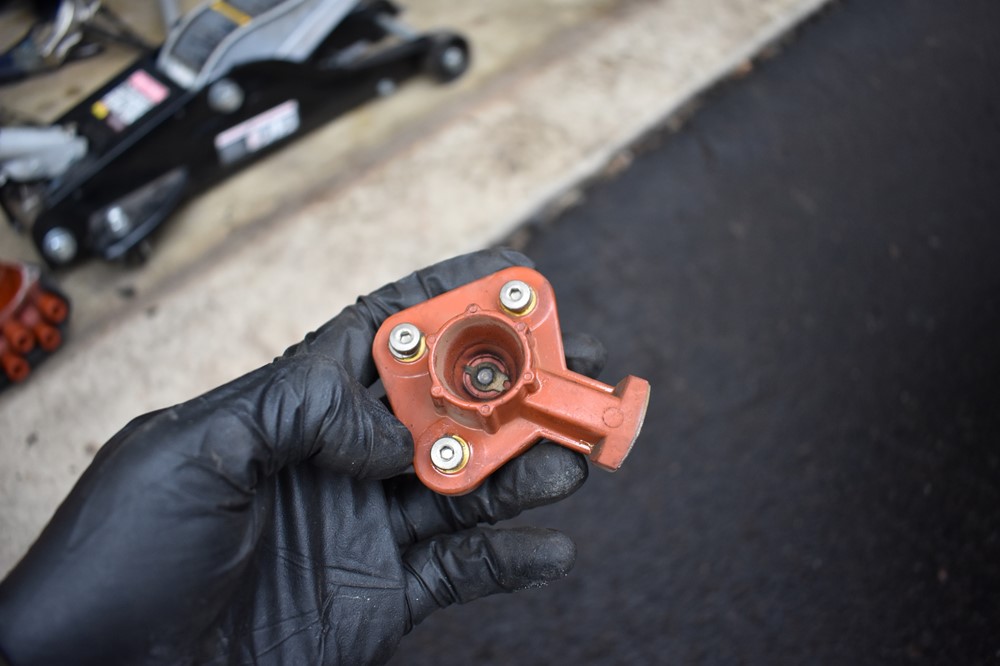
-
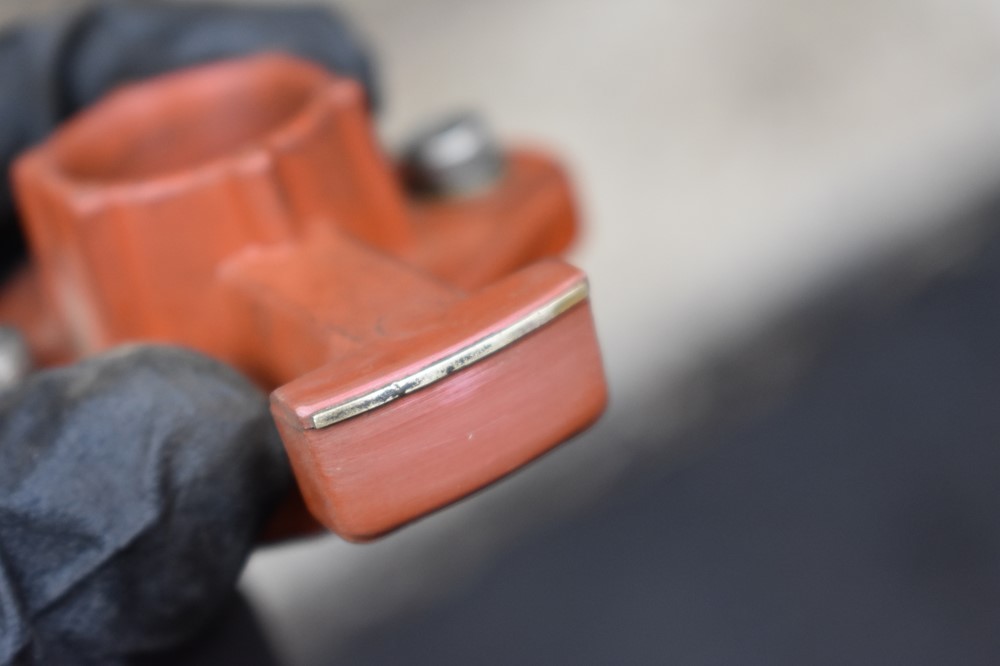
Depending on how badly your rotor is corroded, a little scotch brite can clean it up. As a general rule of thumb, distributors are under $30, so it’s best to replace the rotor if you can.
-
Pull the timing pulley cover out. Clean it thoroughly and put it back in place.
-
Reinstall the new rotor and tighten the retaining bolts

- Place the distributor cap back in place and tighten the bolts.
- Replug the wires into the cap. Take care to match up the labelled wires with the numbers marked on the cap.
- If your car still has the plug shield, snap it back over the wires onto the distributor cap.
Sign up to never miss a new How-To from Classic Bimmer Bits!