
E30 Front Bumper Replacement
How-To Credit
This how-to is a Classic Bimmer Bits original, with much credit due to the many members of the community who have helped us learn along the way!
Parts
- Front Bumper (if needed)
- (2) Side Markers (if needed) (63141377849)
- (2) Side Marker bulbs (if needed) (63217160797)
(We make a commission for parts purchased through the Amazon links above, which helps keep this site hosted and free. We only link to OEM or OE parts, the same quality parts that we use on our cars.)
Tools
- Plastic Trim Removal Tool
- T55 Torx Bit and Socket Wrench
- 10mm Socket (to adjust bumper height)
Torque Specs (ft-lbs):
- N/A (Gutentight!)
Prodedure
-
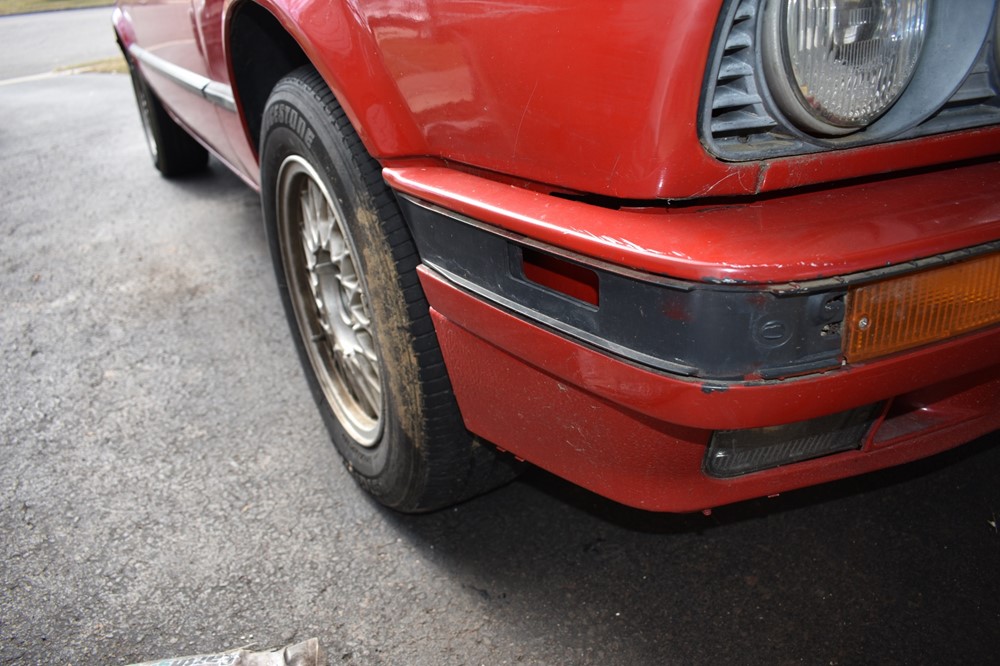
Front bumper replacement is a straight forward job. This how-to covers post-facelift bumpers specifically; early bumpers are a little bit different. Our daily driver was sporting a mismatched bumper for a while, it was way overdue for a replacement.

-
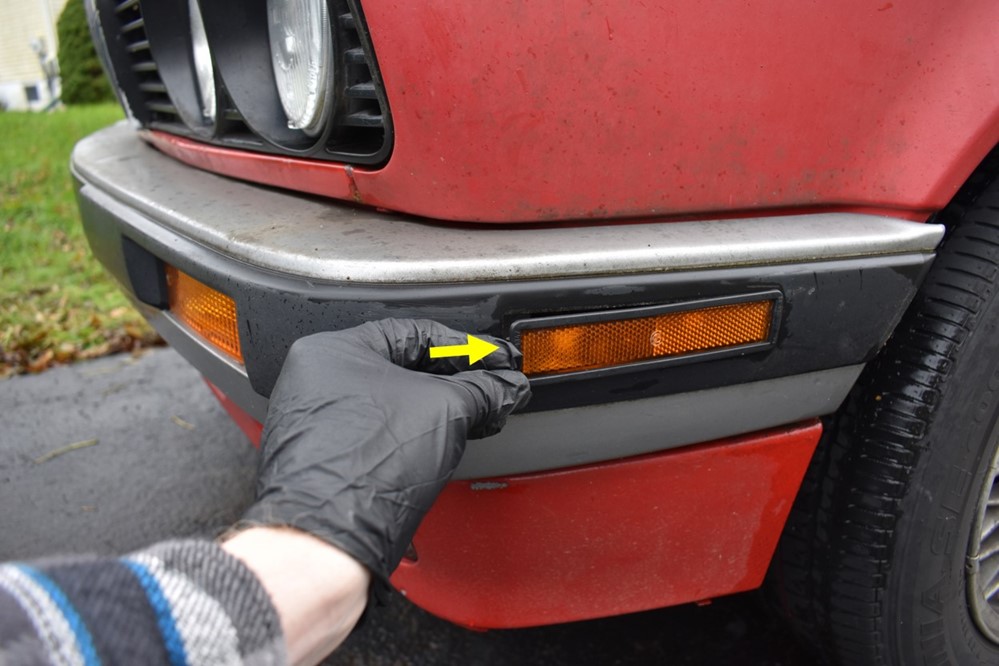
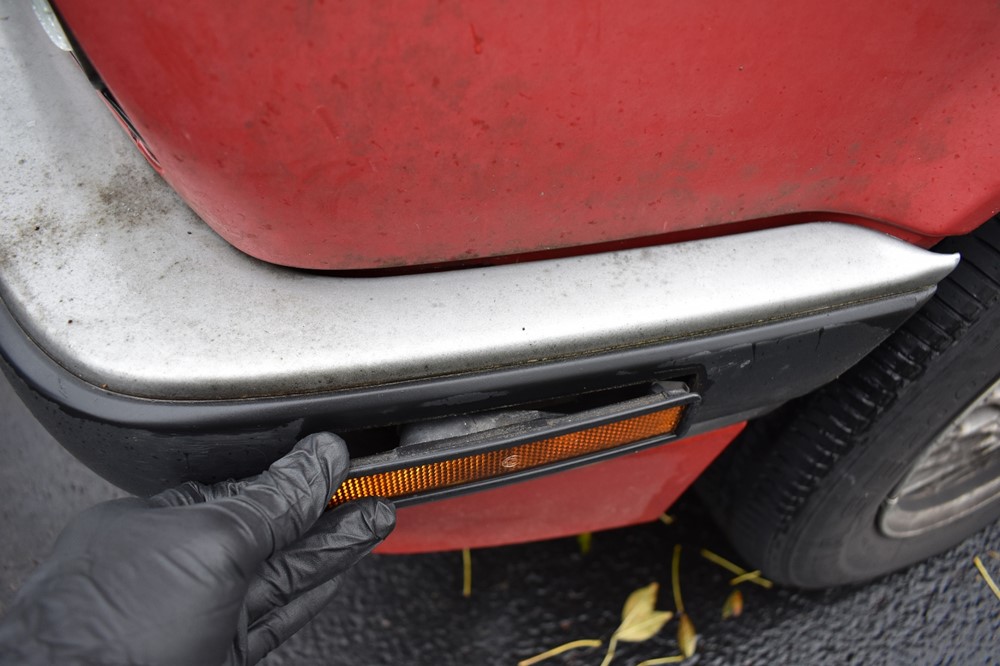
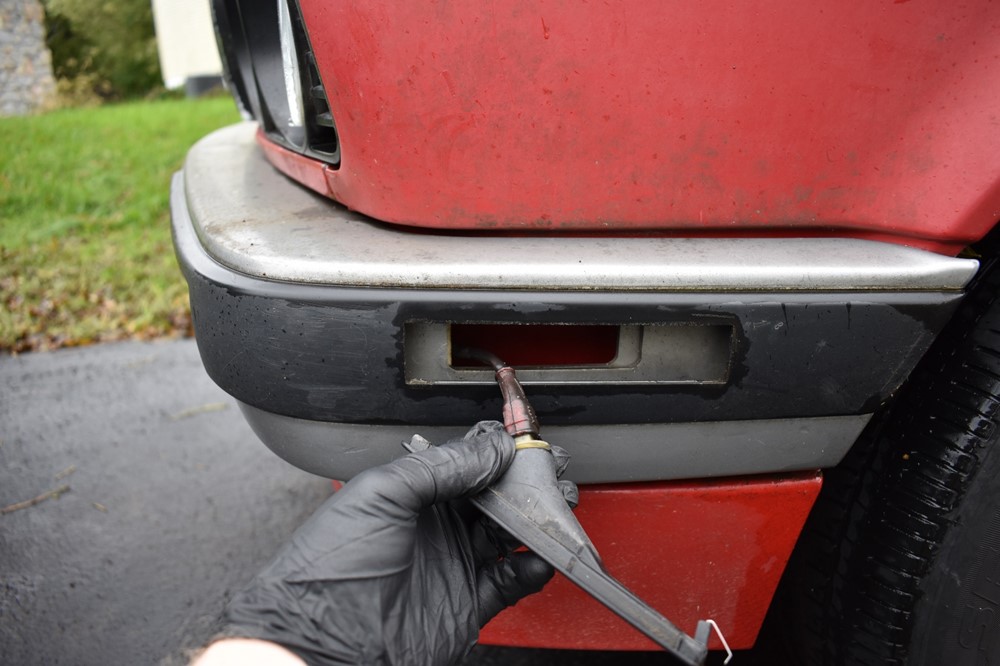
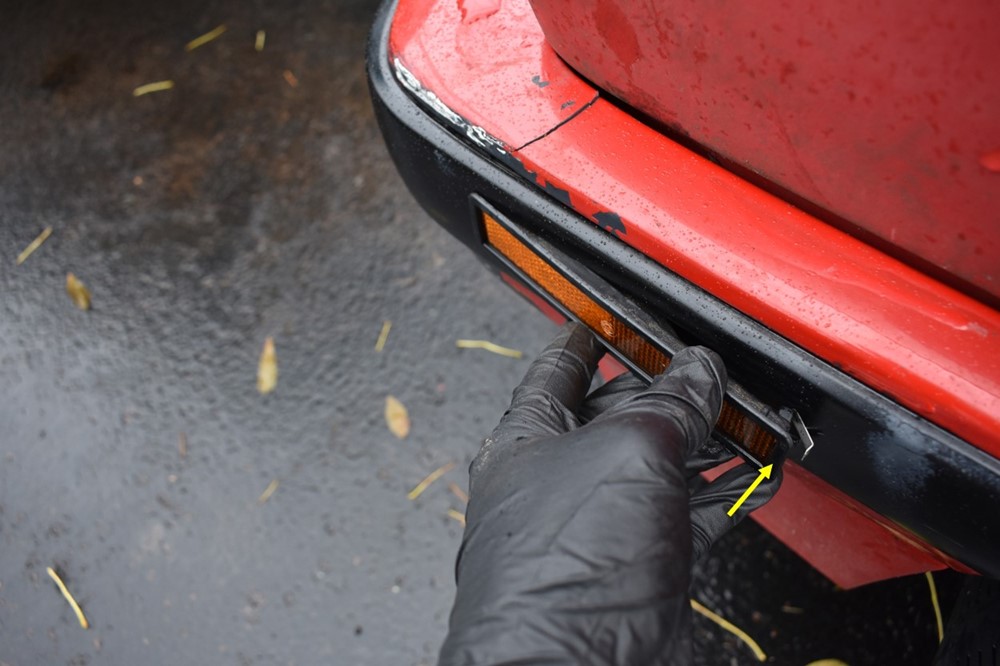
The first step is to remove the side markers from the bumper. Push the side marker towards the back of the car until the front tabs pop out, and pull outwards. If you’re having trouble, you can carefully use a plastic trim removal tool to help.
-
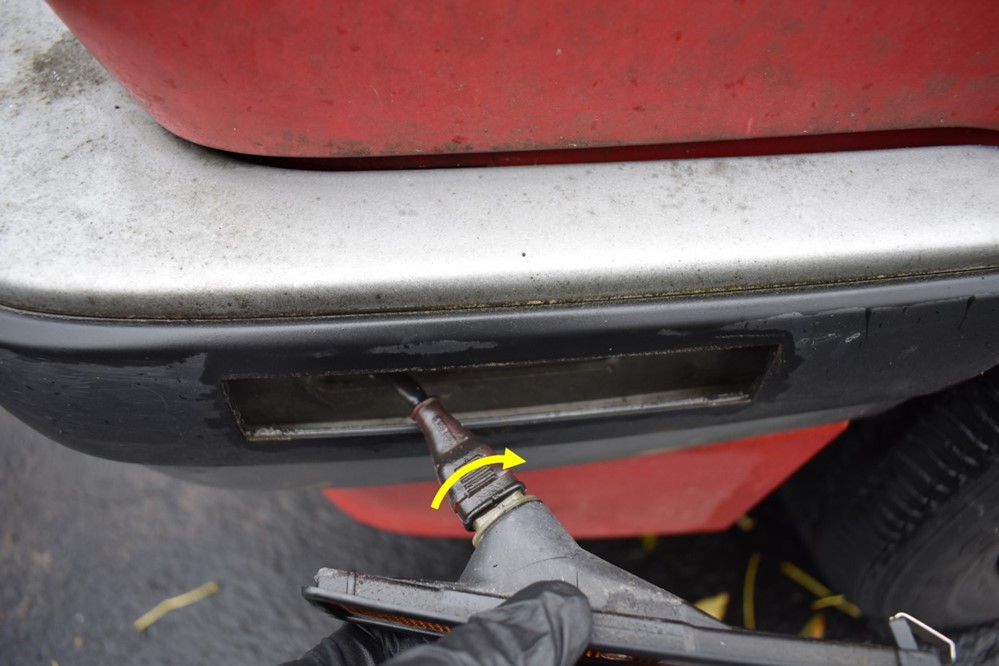
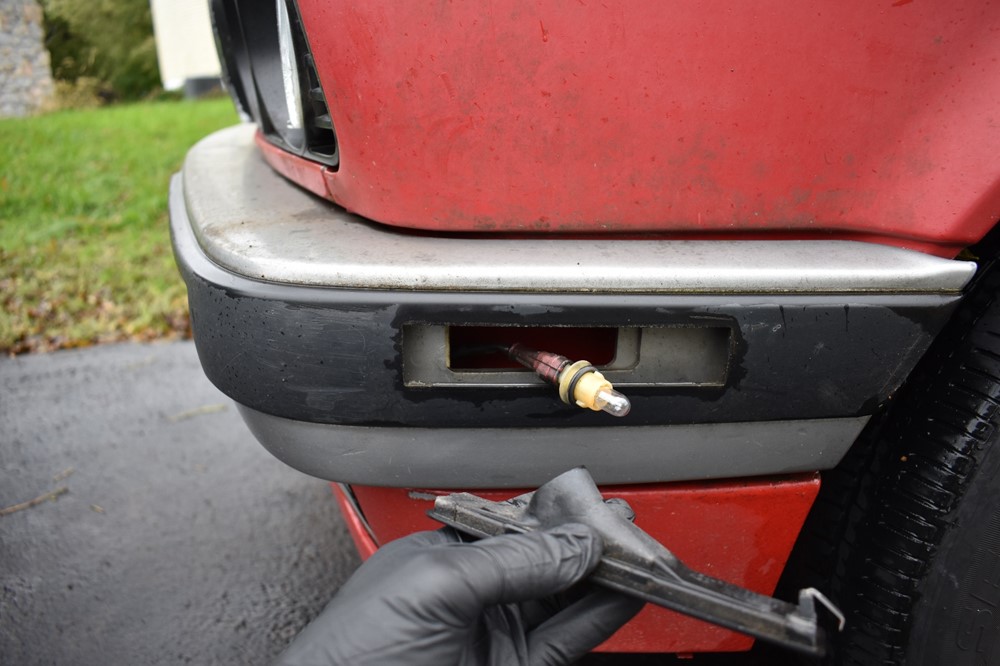
Holding the side marker, rotate the bulb socket counterclockwise 90 degrees, and pull the socket out of the side marker.
-
Repeat steps 3 and 4 to remove the side marker on the other side of the car.
-
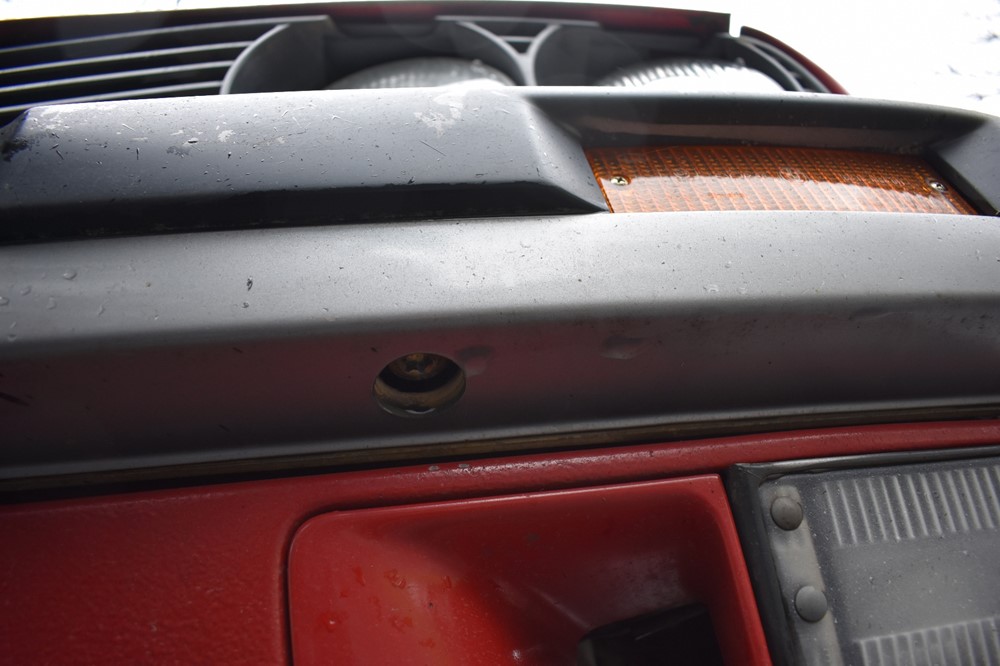
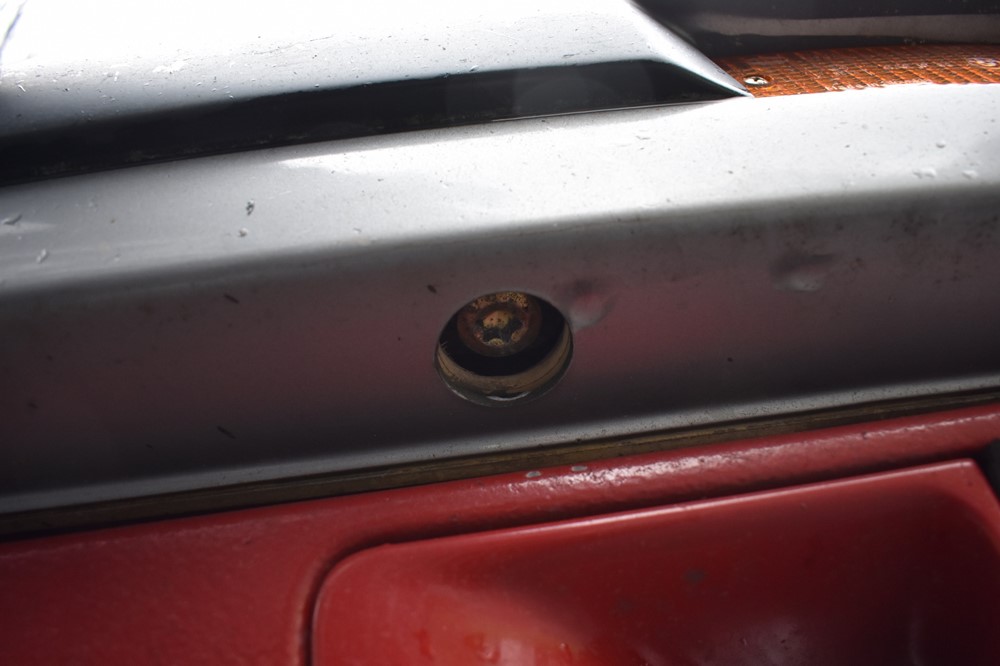
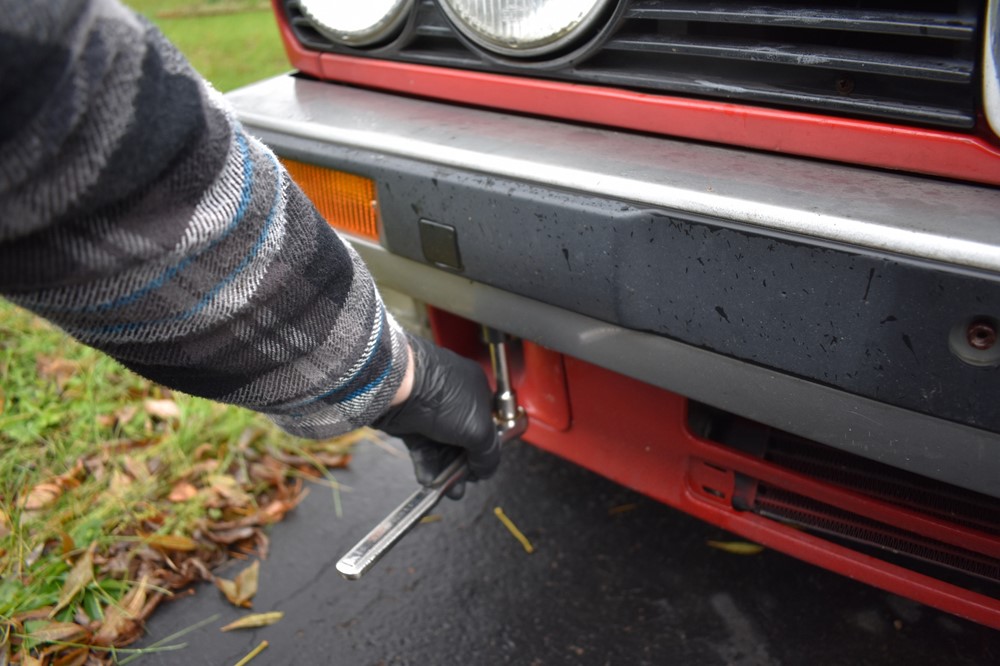
There are two bolts that hold the bumper to the car. They’re accessible from the underside of the bumper, just to the inside of the turn signal lights.
-
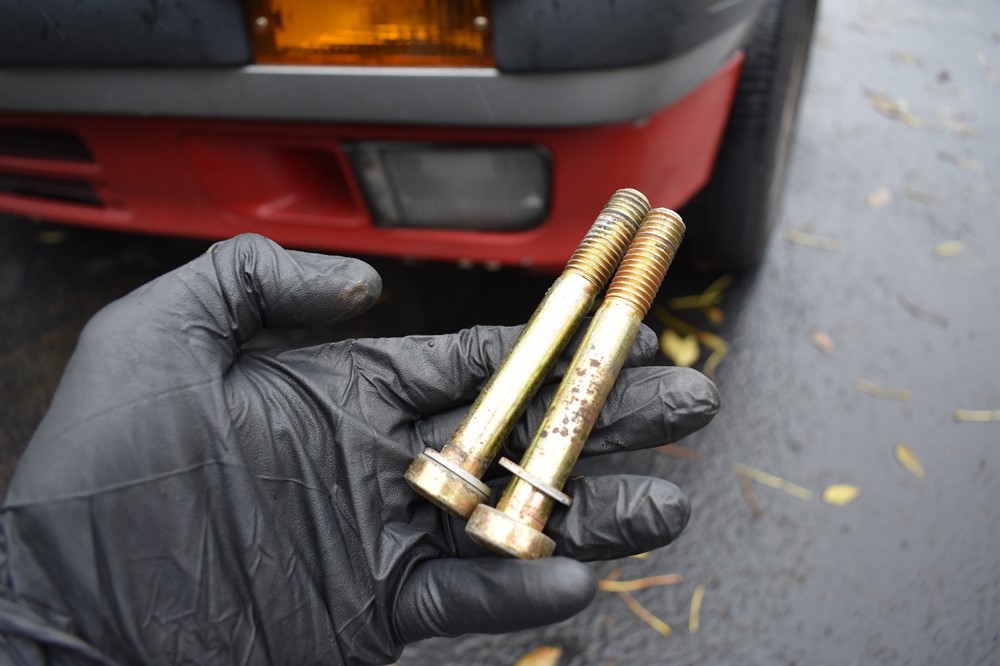
Use a T55 Torx bit and socket to remove the two bolts.

-
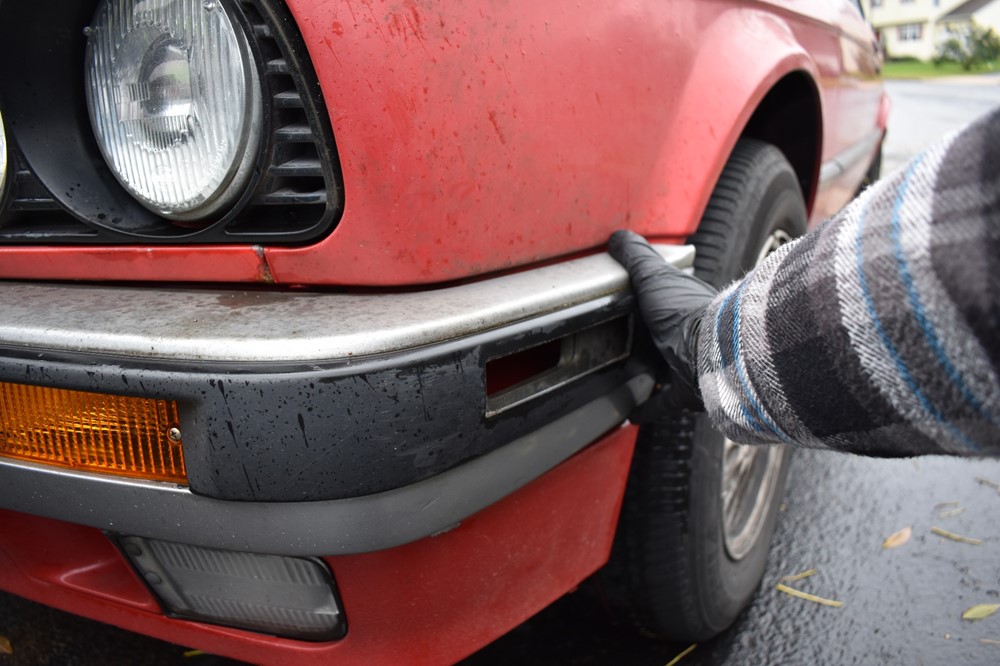
Pull the bumper forward. It may take a little bit of a yank, but be careful not to pull it completely off the car, since your turn signal lights are still connected. Pull it just far enough forward that you can reach behind it to access the turn signals.
-
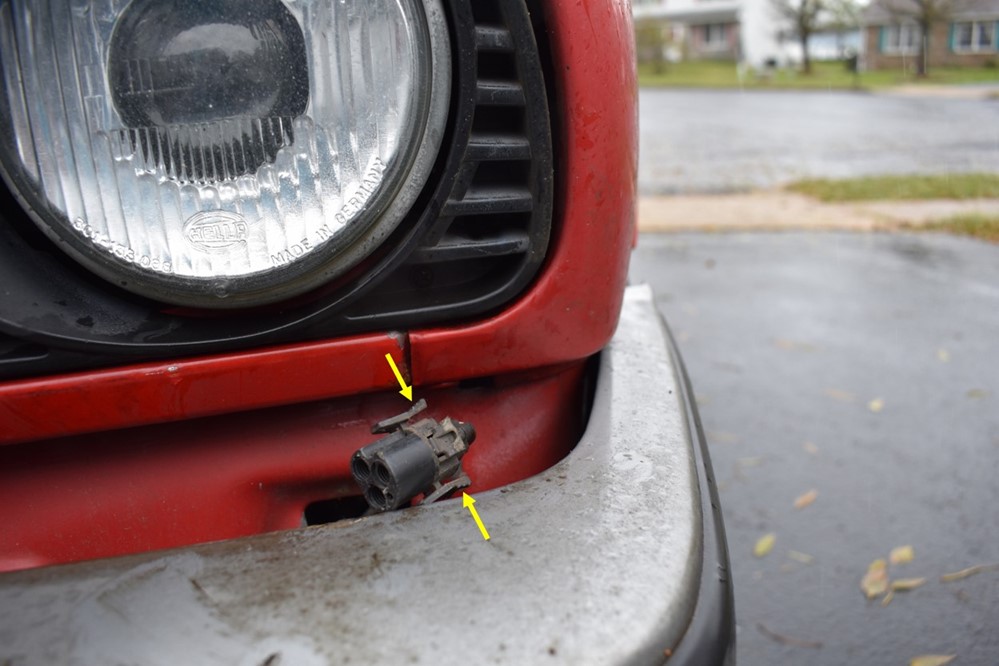
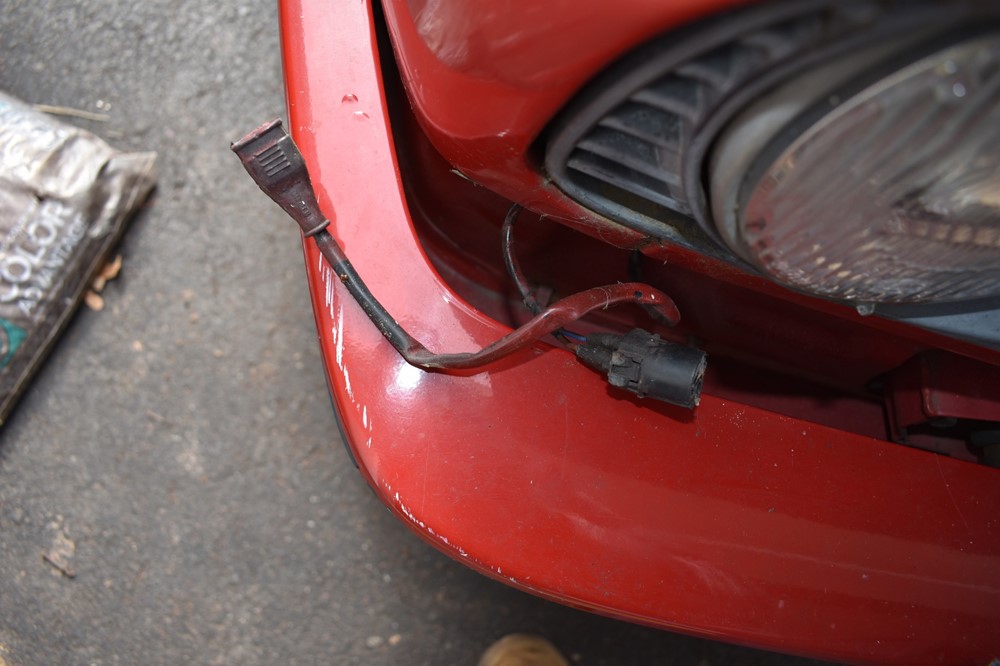
While keeping a hand on the bumper to keep it from falling, reach behind and grab the plug on the back of the turn signal. The socket has two locking tabs, squeeze them and pull the plug out of the light. You may need to wiggle it a bit to get it to come out. Repeat on the other side. Below is a picture of the plug after it’s been pulled out of the turn signal.
-
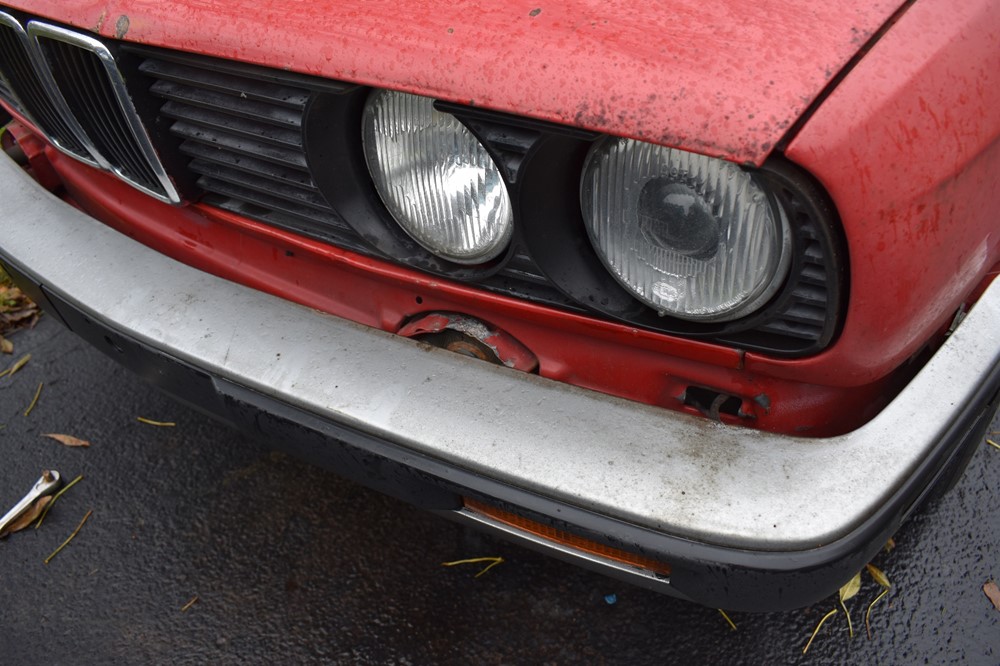
The bumper is now completely free. Pull it forward to slide it off the end brackets and remove it from the car.

-
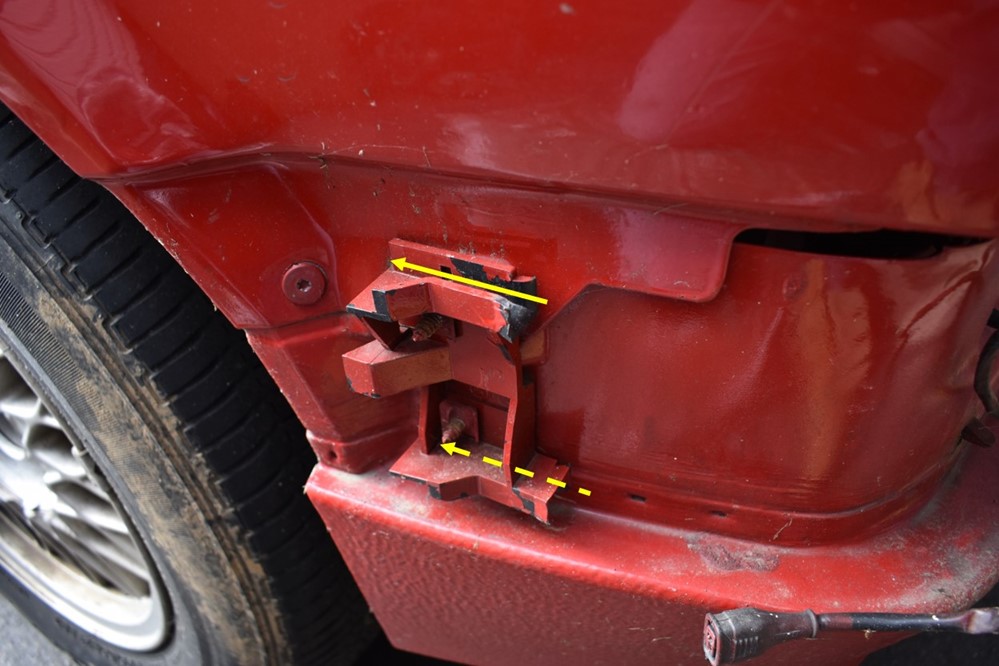
Installation is also relatively Simple. The hardest part is getting the bumper started in the side alignment brackets. That’s these guys right here. Tabs on the inside of the bumper slide into the channel on the top and bottom of these brackets, as shown.
-
Lift the bumper into place, and carefully slide one side of the bumper into the bracket as shown below (ignore the missing bumper trim!). Rest the bumper on the shocks, move to the other side of the car, and slide the bumper into the bracket on that side. You may need to gently push or pull on the side of the bumper to get it started in the 2nd bracket.
-
Before you push the bumper all the way onto the car, plug both of the turn signal plugs back in, and fish the side marker wires through the wholes on each side of the bumper.
- Push the bumper back into place. You may have to slightly lift or lower the front of the bumper so that it seats on the shocks correctly.
-
This step may be the hardest of the whole job. Take one of the bolts and start it by hand. You’ll likely need to push or pull slightly on the bumper to get the bolt started in the threads. It can be a bit deceptive, you may think you’ve got it started, only to have it fall out once you let go. Keep working it until it starts to snug up.
- Repeat for the other bolt. Once you’ve gotten both started, you can thread them all the way in and tighten.
-
Plug the side marker sockets back in to the marker and turn 90 degrees clockwise to lock.
-
Place the front edge (opposite the metal tab) of the side marker into its slot, then push the back of the side marker into the bumper until it snaps into place. Repeat on the other side of the car.
-
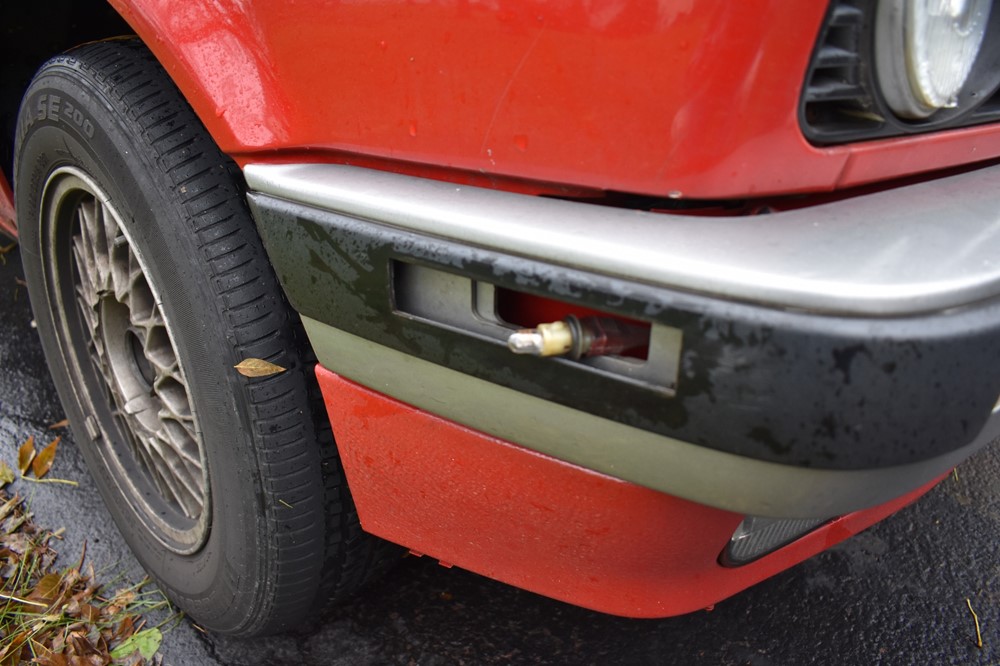
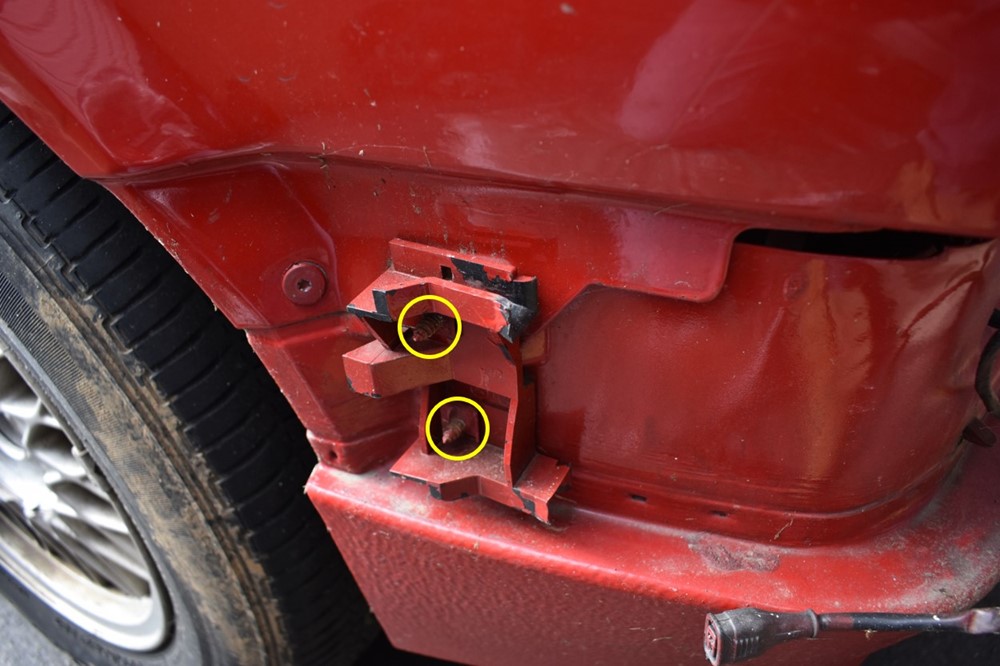
You can adjust the front to back angle of the bumper by adjusting the side brackets. Using a 10 mm socket, reach in from inside the fender well (if your plastic guards are missing), or from underneath the car, and loosen the two screws sticking through the bracket (shown here with the bumper removed).
-
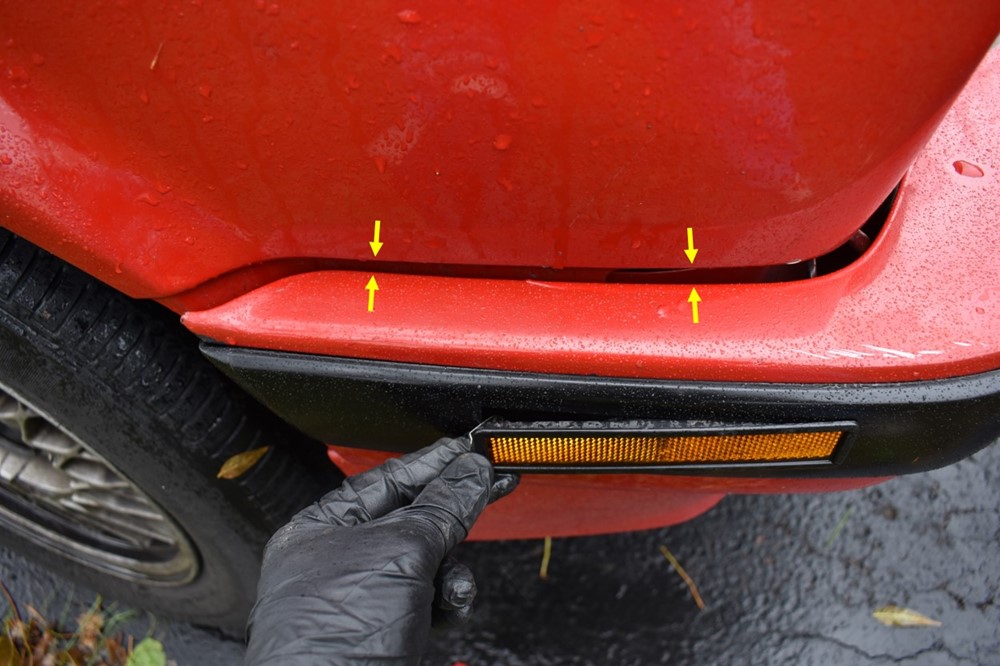
Push the side of the bumper up or down, and while holding it where you want it, reach back behind and snug up the screws. Once one is tight, you should be able to let go of the bumper to get behind the fender and fully tighten both screws. Repeat on the other side of the car if necessary. You want the bumper to have an even gap from the lip on the fenders and valance, all the way around, a bit like (if poorly) shown below.
- Enjoy your freshly installed bumper! In our case, nothing brand new, but at least it’s the right color!
Sign up to never miss a new How-To from Classic Bimmer Bits!