E30 Hood Support Replacement
How-To Credit
This how-to is a Classic Bimmer Bits original, with much credit due to the many members of the community who have helped us learn along the way!
Parts
- Hood Support (41611906327)
- Hood Support Spacer (51231906523)
- Hood Support pin (if needed) (41611906284)
- Pin Clip (if needed) (51211854873)
- Base Washer (if needed) (41611833135)
- Retaining Washer (if needed) (41611833134)
- Wave Washer (if needed) (07119904115)
- Retaining Nut (if needed) (07119905515)
Tools
- Flathead Screwdriver
- 13mm wrench
Torque Specs (ft-lbs):
- N/A
Prodedure
- This is fairly uncommon job; however, if your hood suffered repeated slam-closes, or was generally abused over the last 30 years, the hinge in the middle can get sloppy, and that point it’s a downward spiral of flexing and damage that means it will eventually need to be replaced. Fortunately, it’s an easy job. Follow the steps below and your hood will be back in action quickly!
- Start by opening the hood (hopefully that was obvious.)
-
The support is attached to the hood with a pin and clip. Push the clip away from its open side – directly upwards in the picture below.
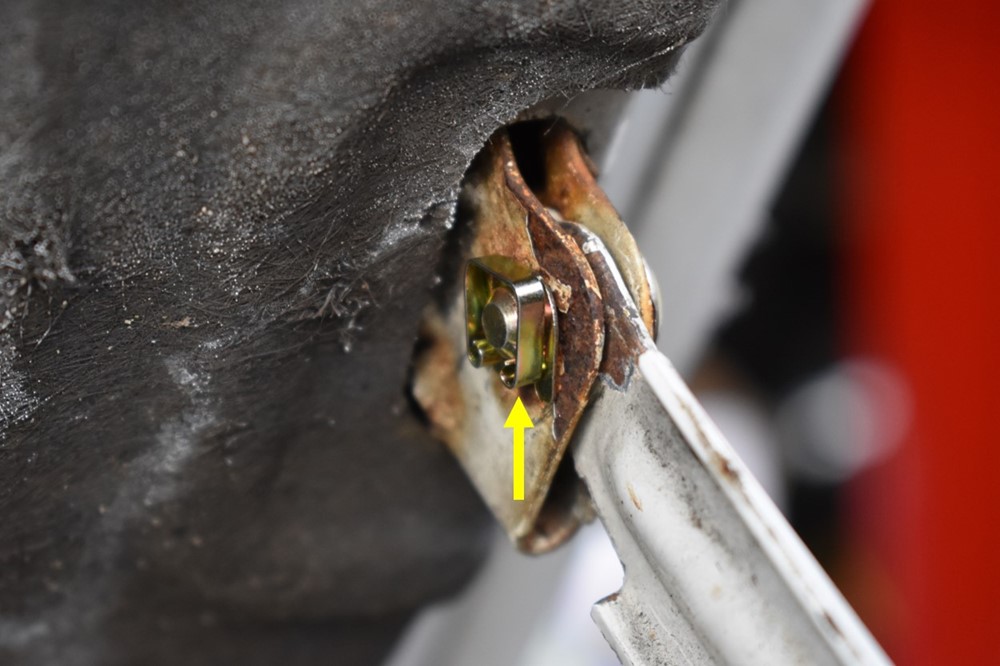
- Before you pull the pin out of the hinge, prepare for how you want to support the hood. With the pin out, you can very carefully let the hood open more, and rest the front edge of the hood against the grill. Just be very careful with this step, if your hood or grill are in concourse shape, you may not want them pressing on each other. As an alternative, you can use a rod or 2×4 to keep the hood propped open.
-
With your plan for the hood sorted out, hold the hood with one hand, and push the pin out of the hinge. There’s supposed to be a snap-in spacer that prevents the metal-on-metal contact here, you’re lucky if your car still has it!
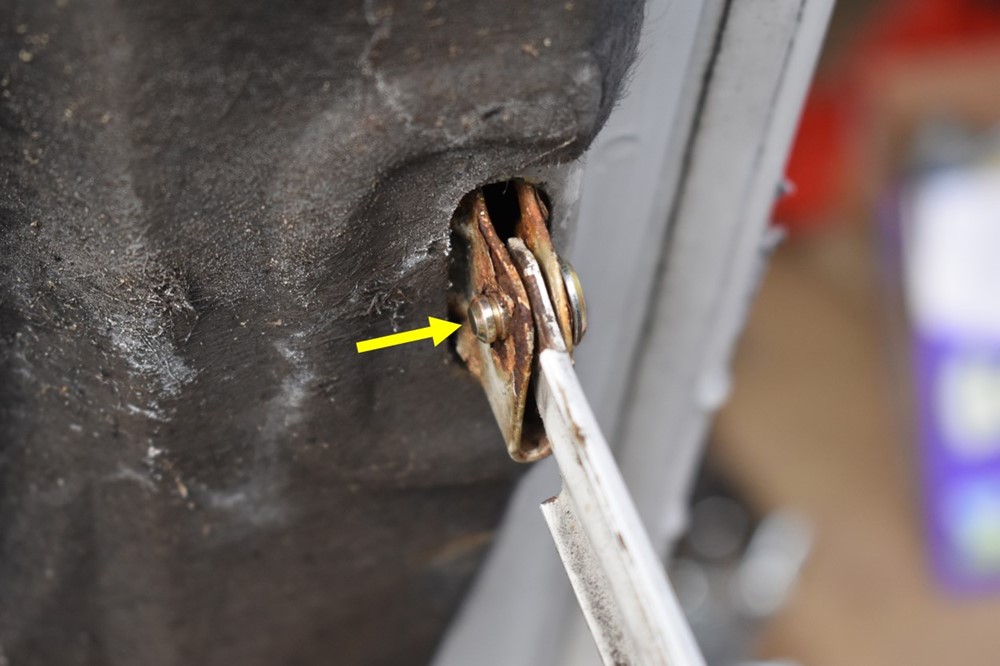
-
Use a flathead screwdriver to pop the clip off the front end of the hood strut, and push the strut off of the post.
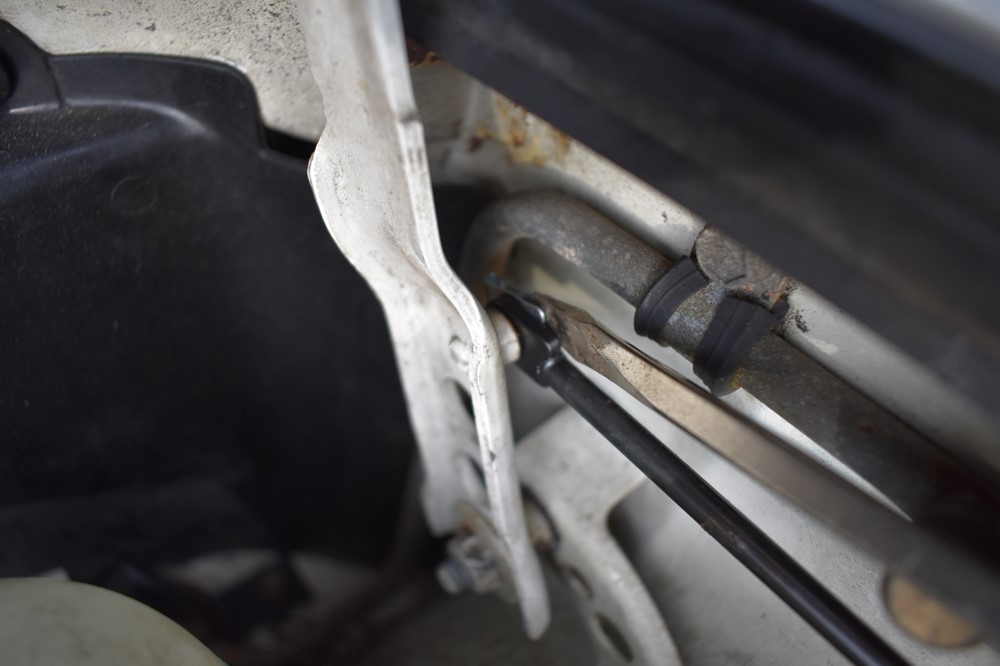
-
Use a 13mm wrench to remove the nut from the bottom of the hood support.
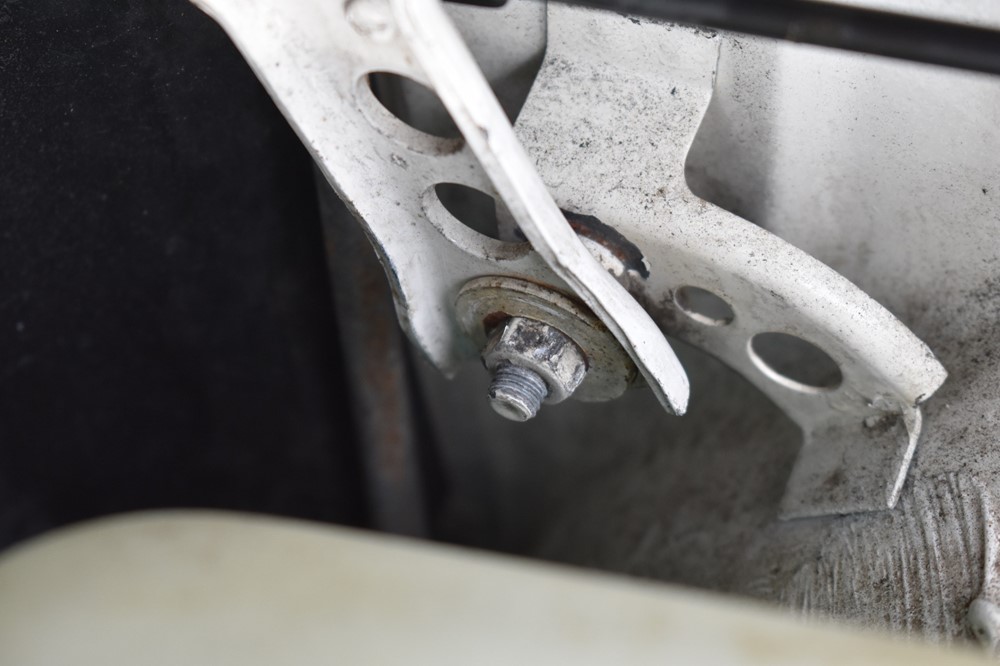
-
Remove the two washers from the post, and pull off the hood support (notice that our support is missing the wave washer). Pull off the washer that’s left on the post.
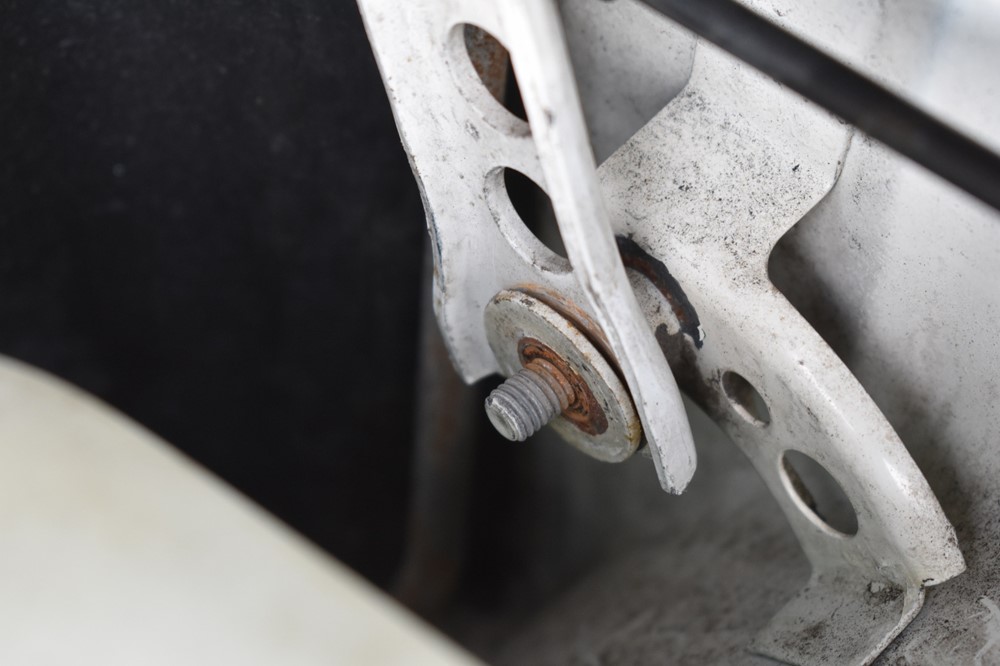
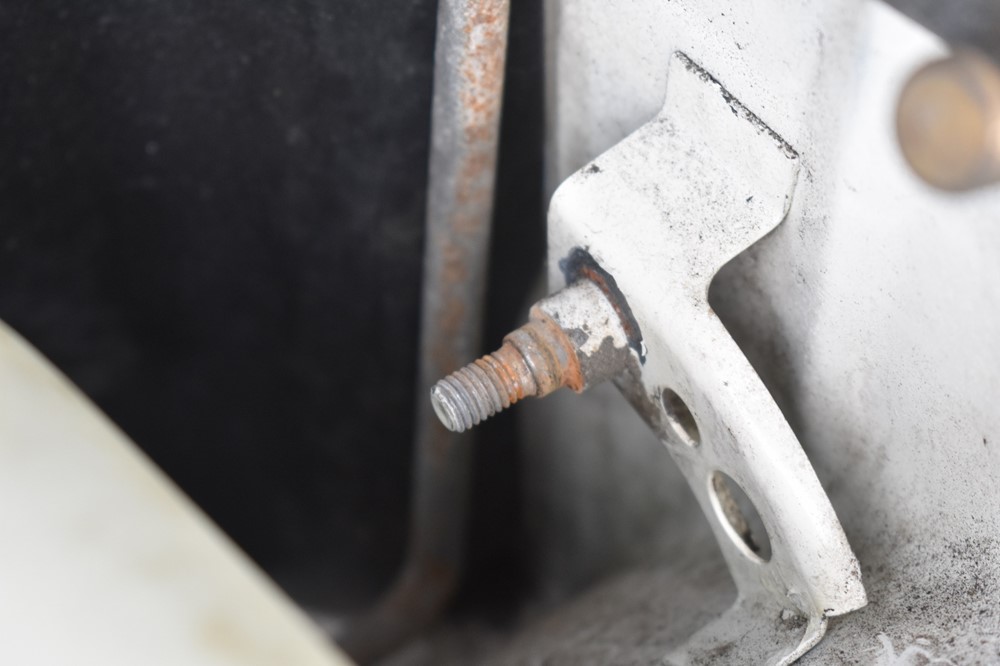
- If you’re re-using the washers, clean them all and make sure they’re in good shape.
-
Install the first washer back onto the post. Install the hood support onto the post, with the mount for the strut towards the outside of the car.
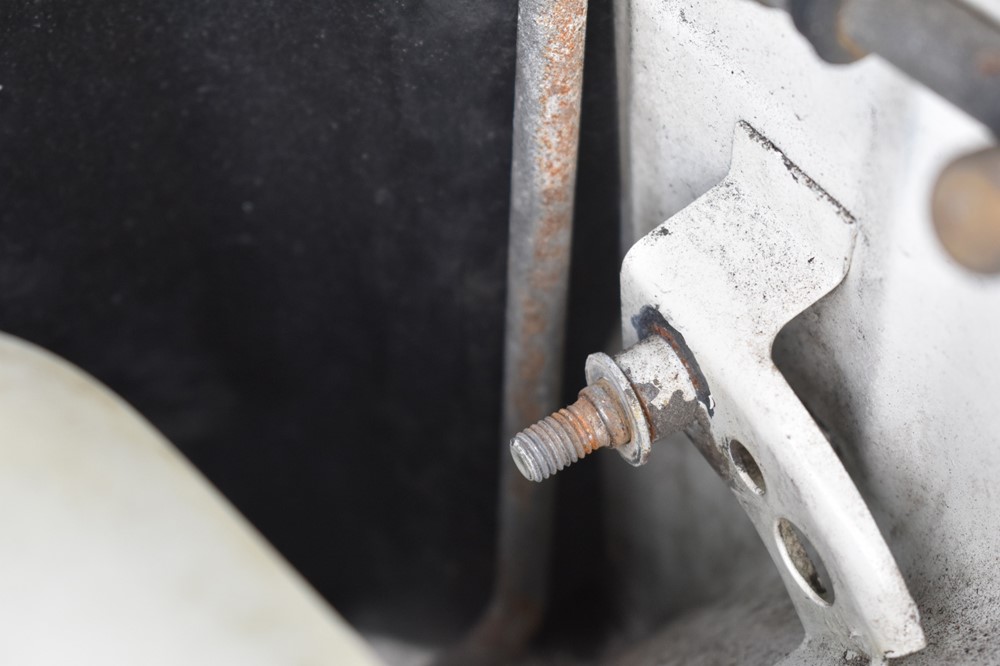
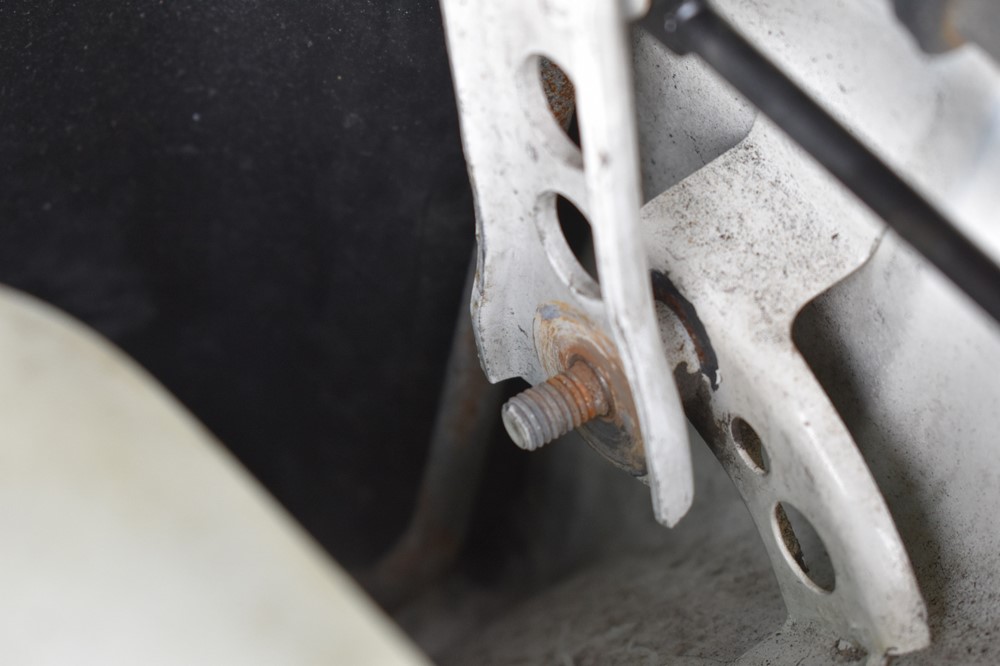
-
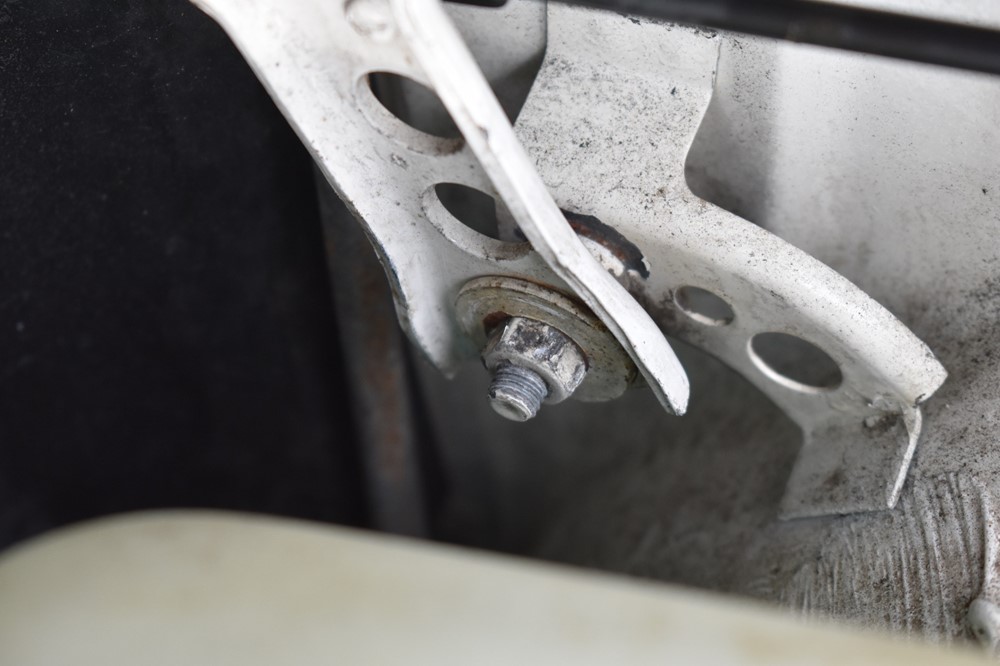
Install the washer, then wave washer (still missing in our pics). Install the nut, and tighten it until the support just barely turns freely. You definitely don’t want any slop, but there’s also no need for the support to bind against the washers.
-
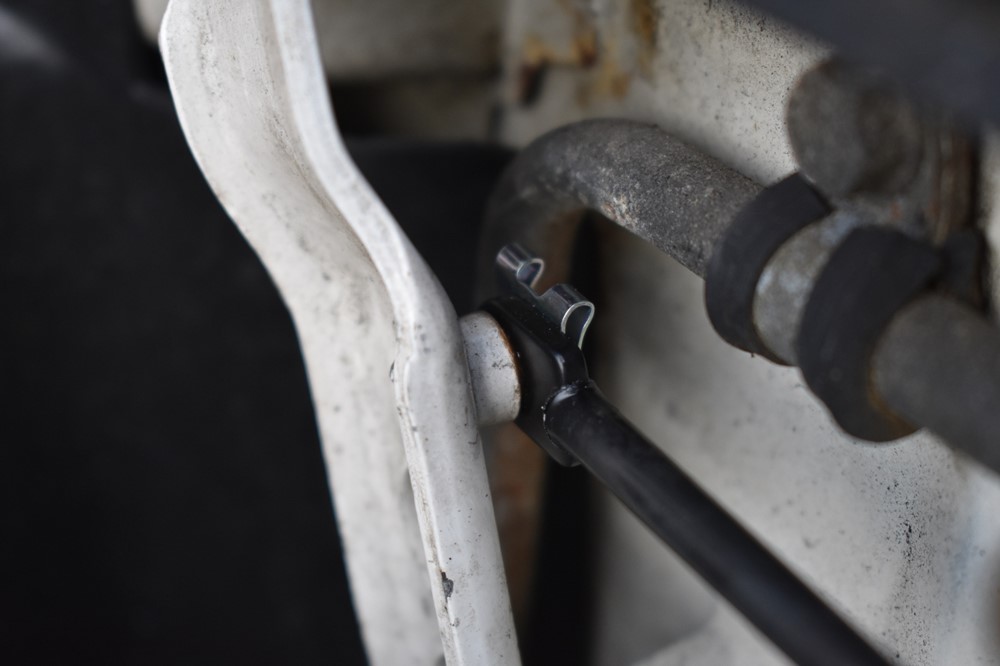
Reinstall the strut onto the hood support, and install the locking clip.
-
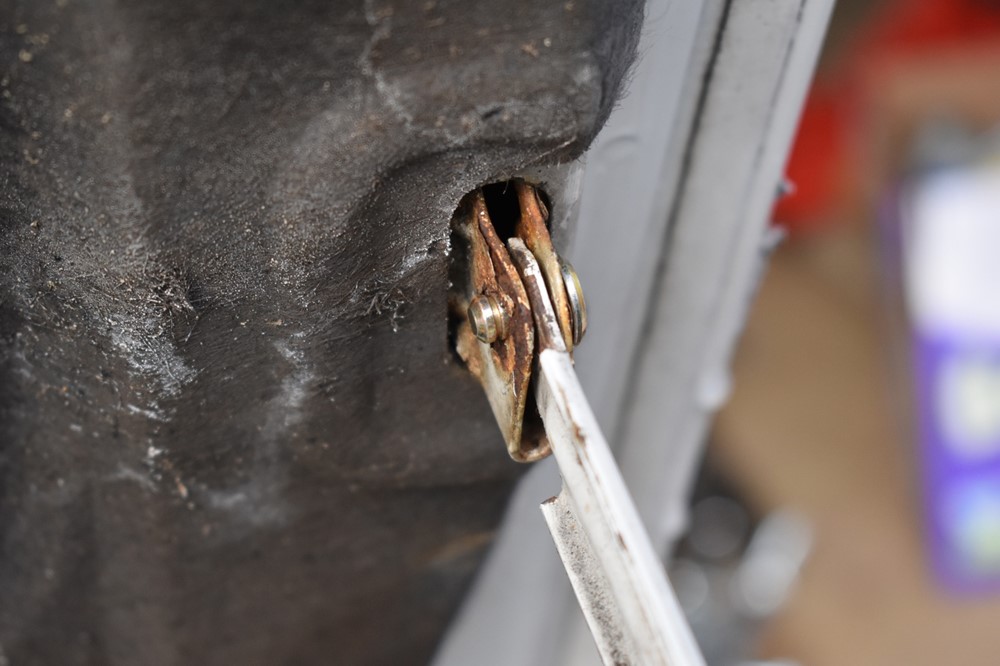
If you ordered a replacement spacer, fold it over the top of the hood support so that the two “C” shapes are centered over the hole in the support (still missing in our picture below). Insert the top of the hood support into the bracket in the hood.
-
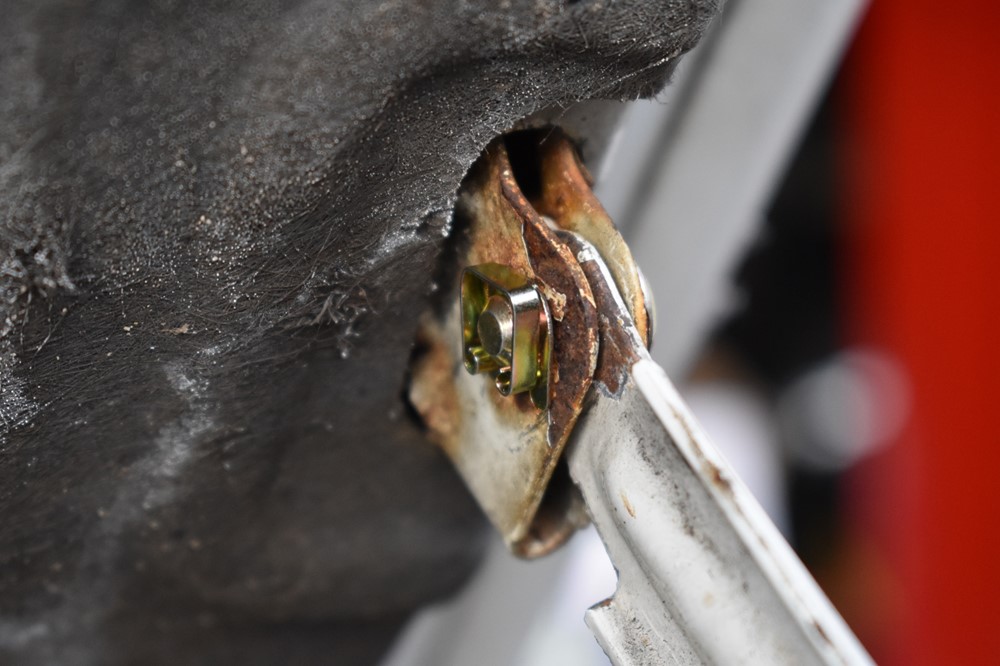
Slide the clip over the end of the pin (straight down in our picture) until it snaps into place.
- Remove whatever you were using to support the hood, and you’re all set. Close and open the hood just to make sure everything is working smoothly.
Sign up to never miss a new How-To from Classic Bimmer Bits!

