
E30 Kick Panel Replacement
How-To Credit
This how-to is a Classic Bimmer Bits original, with much credit due to the many members of the community who have helped us learn along the way!
Parts
- Kick Panel (51451917351)
- (3) Retainer Pins (51451916579)
Tools
- Flathead Screwdriver
Torque Specs (ft-lbs):
- N/A
Prodedure
- If you’re doing any work under the dash, removing the gauge cluster, strangling your door chime, etc, you’ll need to first remove the kick panel. It also, as the name implies, gets kicked, and so if yours is damaged and needs to be replaced, we’ve got you covered. It’s a simple job, let’s jump in!
-
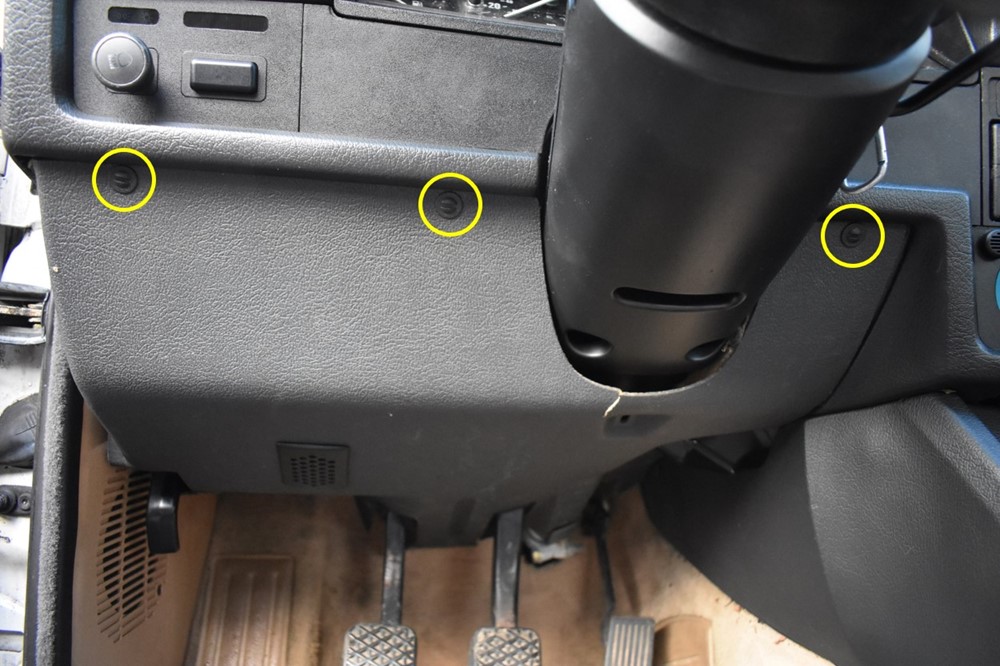
There are 3 locking clips that hold the kick panel in place. They’re located across the top of the kick panel, just under the dash.
-
To remove the clips, turn each one 90°, so that the slot is oriented vertically, then pull them out of the slot in the kick panel. It will start to fall down, so support it with your hands.

-
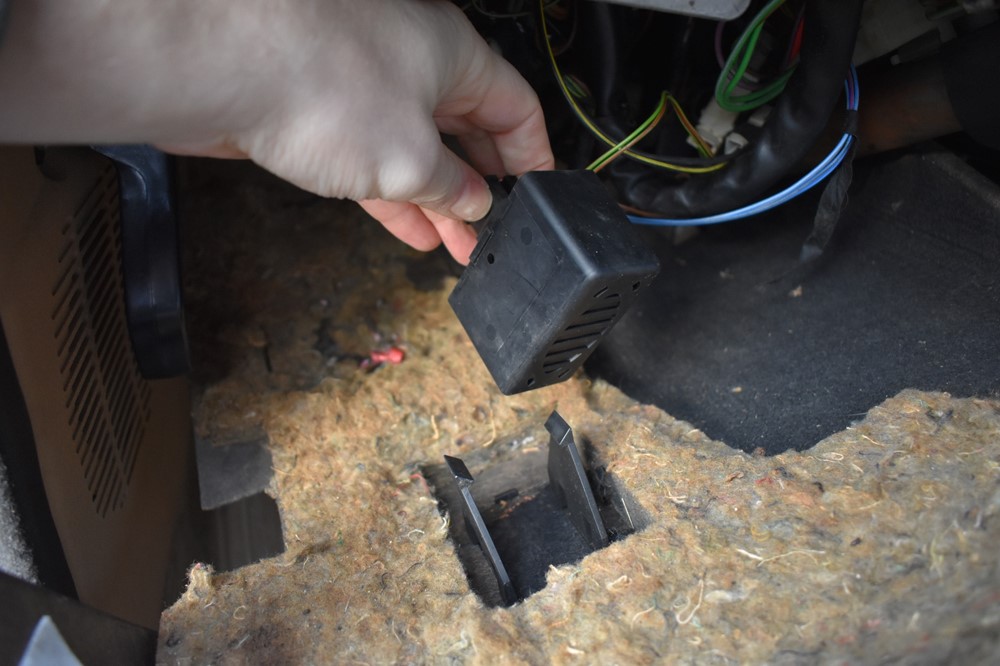
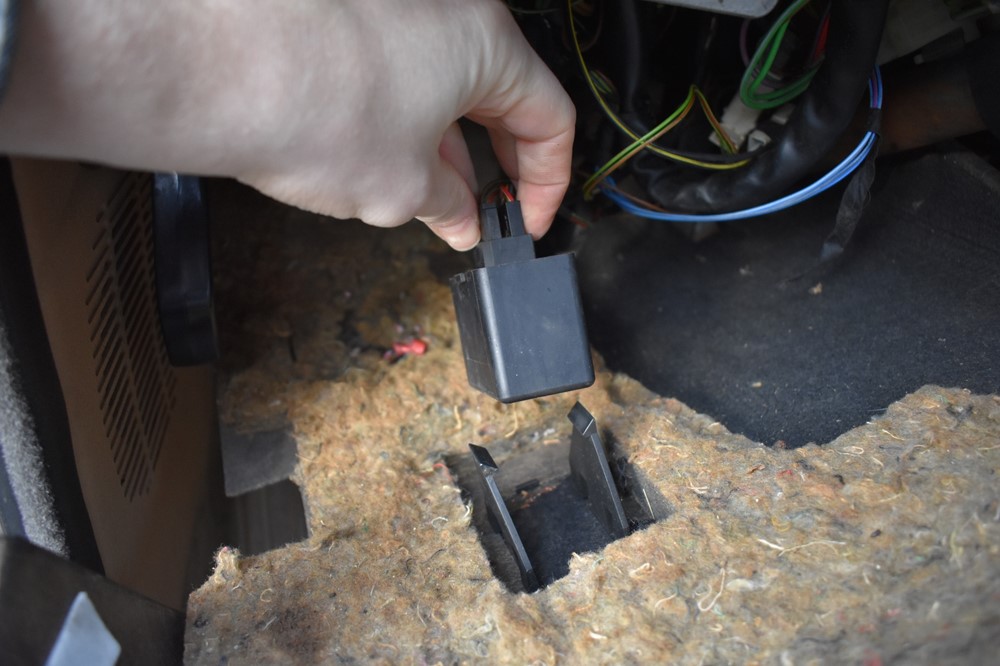
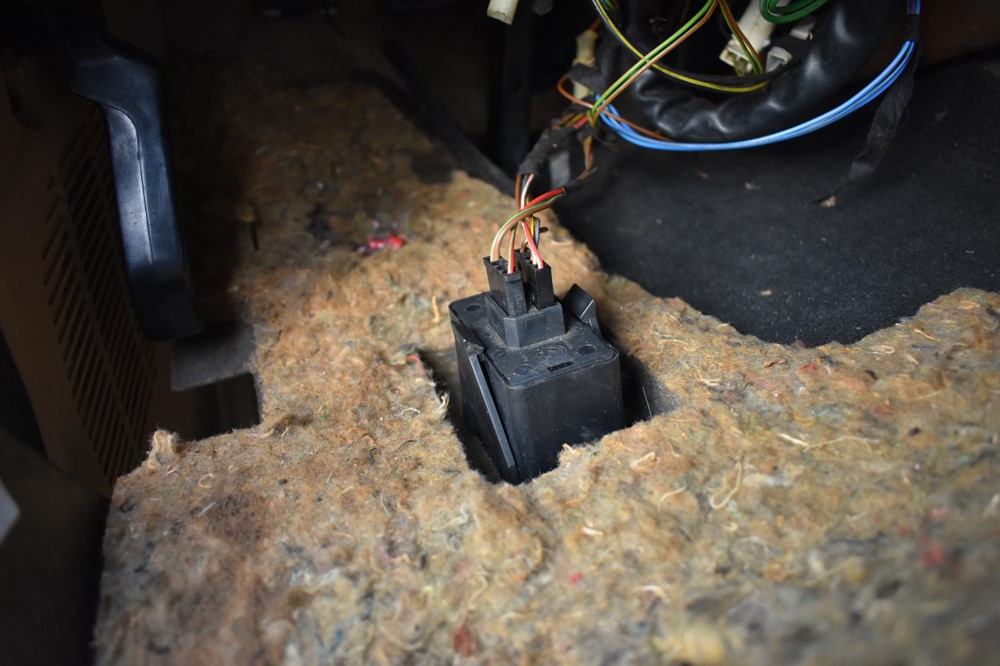
With the front of the panel lowered, pop the door chime out of the two tabs that keep it clipped to the kick panel.

-
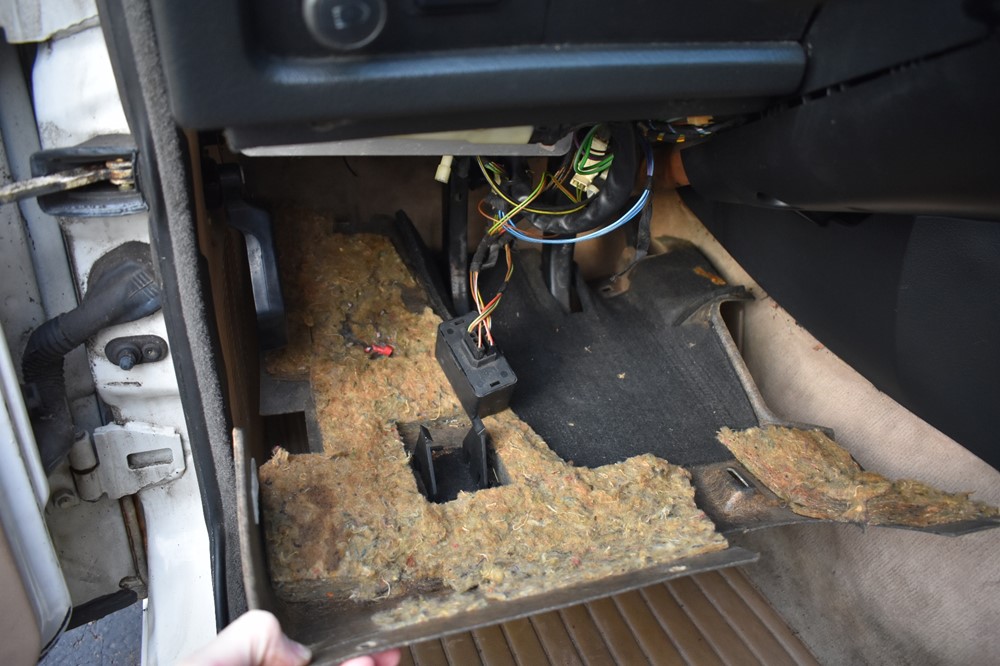
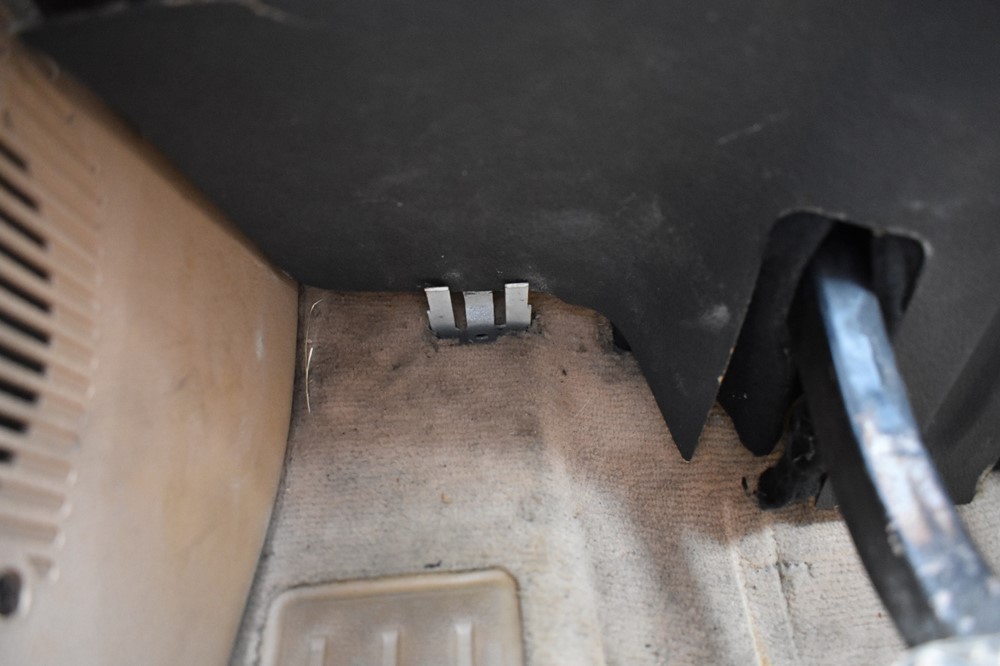
The back of the panel is retained in two slots: one on the bottom of the steering column, and the other on the firewall, a bit above the dead pedal (the pad for your left foot to rest when not on the clutch.) Pull the panel forward out of the slots.

-
Let the back of the panel drop down around the pedals. You’ll have to wiggle the panel a little bit to get it out, especially the rear right corner of the panel, as it has to get around the gas pedal and clear the sides of the center console. Be careful not to bend the kick panel as you wiggle it out.
- Reinstallation is straightforward. Holding the panel in roughly it’s installed orientation, work it back around the pedals until you reach the clip on the bottom of the steering column.
-
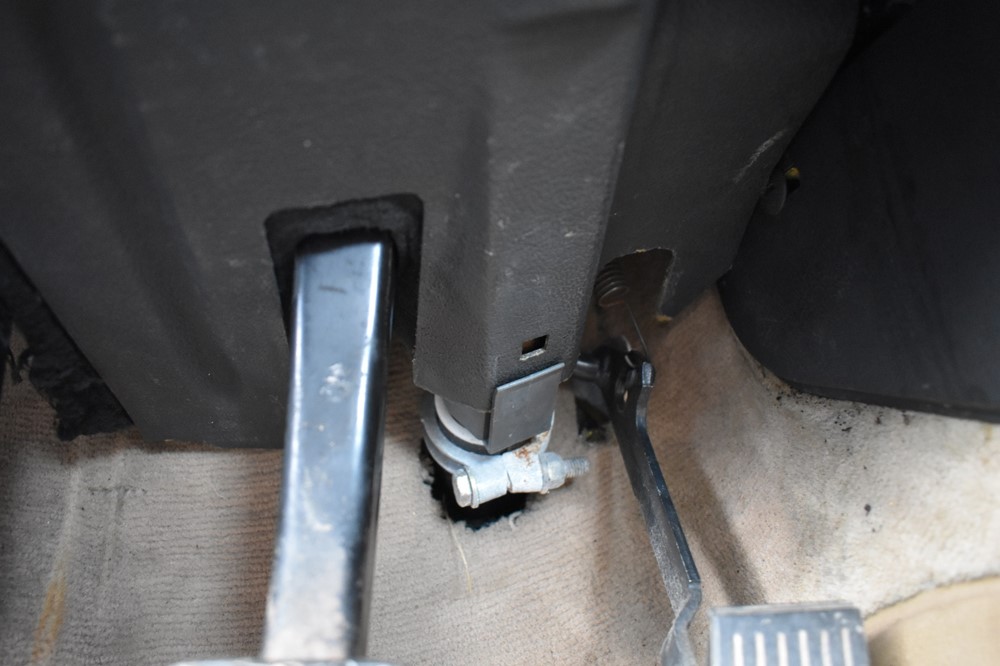
Insert the back of the panel into the clip on the steering column.
-
Rock the front of the panel a little bit towards the center of the car, so that the back edge stays engaged in the steering column clip, but clears the clip above the dead pedal. Rock it back, guiding the panel into the clip above the dead pedal.
-
Supporting the panel with one hand, snap the door chime back into its clips.
-
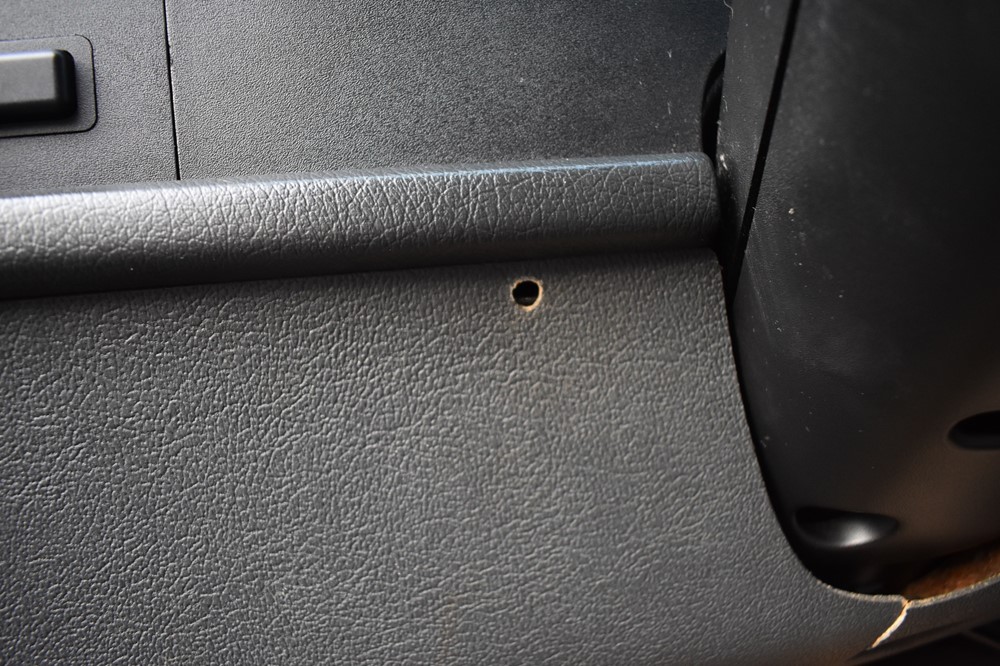
Push the front of the panel up into place, and align the center hole with the slot in the dash.
-
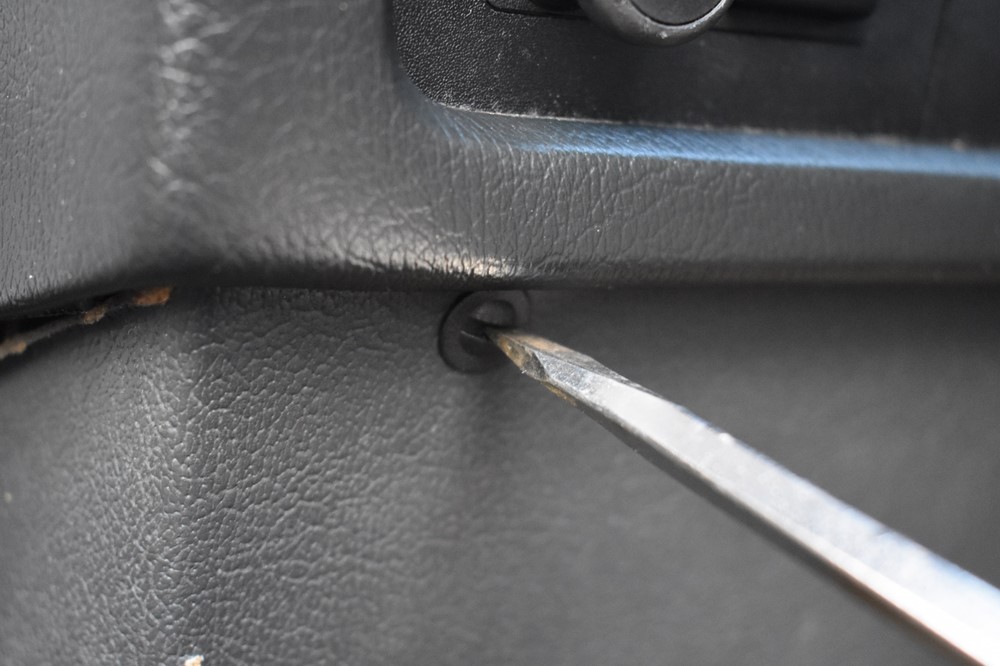
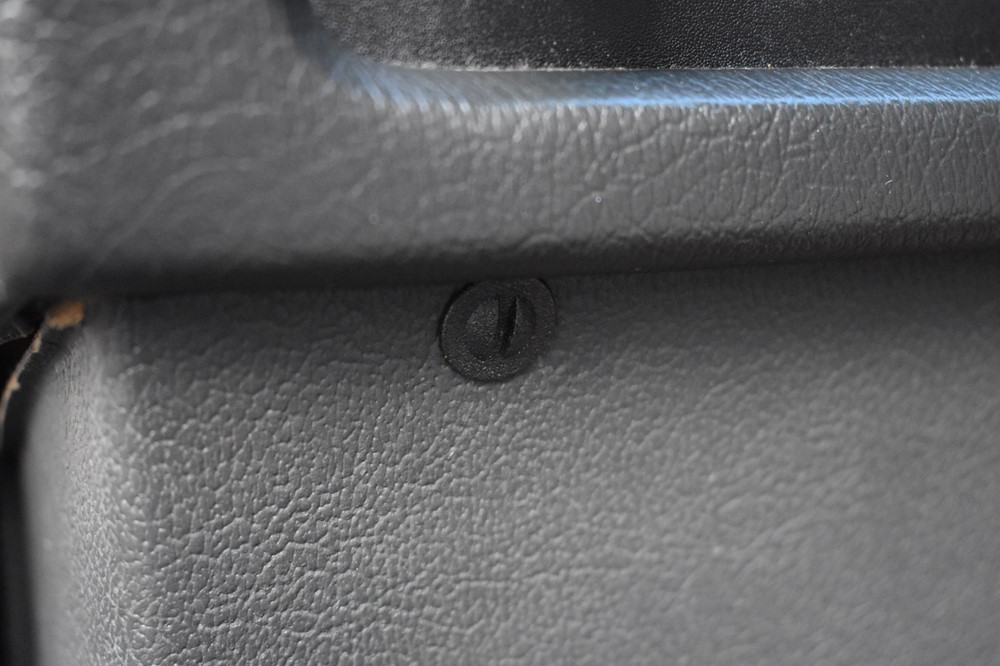
Insert a clip with the groove oriented vertically. Using the flathead screwdriver, apply a little force to the clip so that the kick panel is presses against the dash behind it, then turn the clip 90° so that the groove is horizontal.


-
Repeat step 13 for the left and right clips. It may take a little adjusting to get the holes to light up with the slots in the dash.

- You’re done!