E30 Power Steering Pump Replacement
How-To Credit
This how-to is a Classic Bimmer Bits original, with much credit due to the many members of the community who have helped us learn along the way!
Parts
- Power steering pump (32411141243 – all M20 engines)
- (2) small crush washers (32411093596 or 32411129986)
- (2) large crush washers (32411093597)
- (1 quart) Automatic Transmission Fluid (Dexron II or higher)
- Optional: tensioning gear (12317677914)
- Optional: tensioning bar (12311719992)
(We make a commission for parts purchased through the Amazon links above, which helps keep this site hosted and free. We only link to OEM or OE parts, the same quality parts that we use on our cars.)
Tools
- 13mm combination wrench or socket
- 19mm combination wrench
- 22mm combination wrench
- Drain Pan
Torque Specs (ft-lbs):
- Large banjo bolt (input hose): 30 ft-lbs (40 N-m) (may need to go slightly higher if re-using crush washers)
- Small banjo bolt (output hose): 26 ft-lbs (35 N-m) (may need to go slightly higher if re-using crush washers)
- Pump mounting bolts: Guten-tight
- Tensioning gear nut: Guten-tight
Prodedure
- Replacing your power steering pump is a surprisingly simple job. If your pump has started failing and needs replacement, follow the steps below and you’ll be back in business quickly!
-
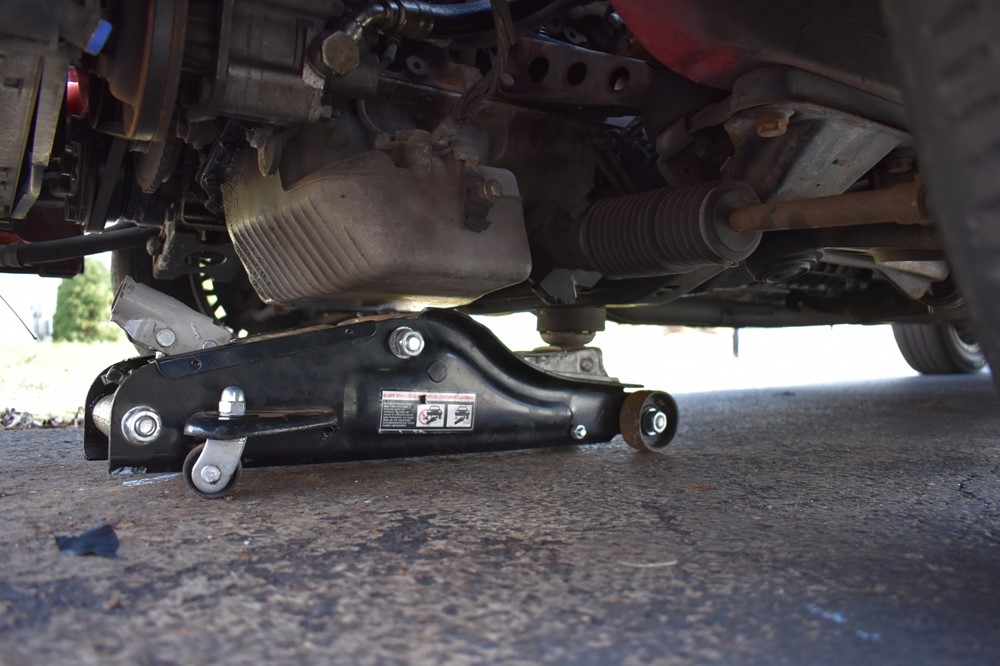
Start by jacking up the front of the car. If you have a low-profile jack that will fit under the oil pan, you can place the jack under the middle of the front subframe, as shown.
-
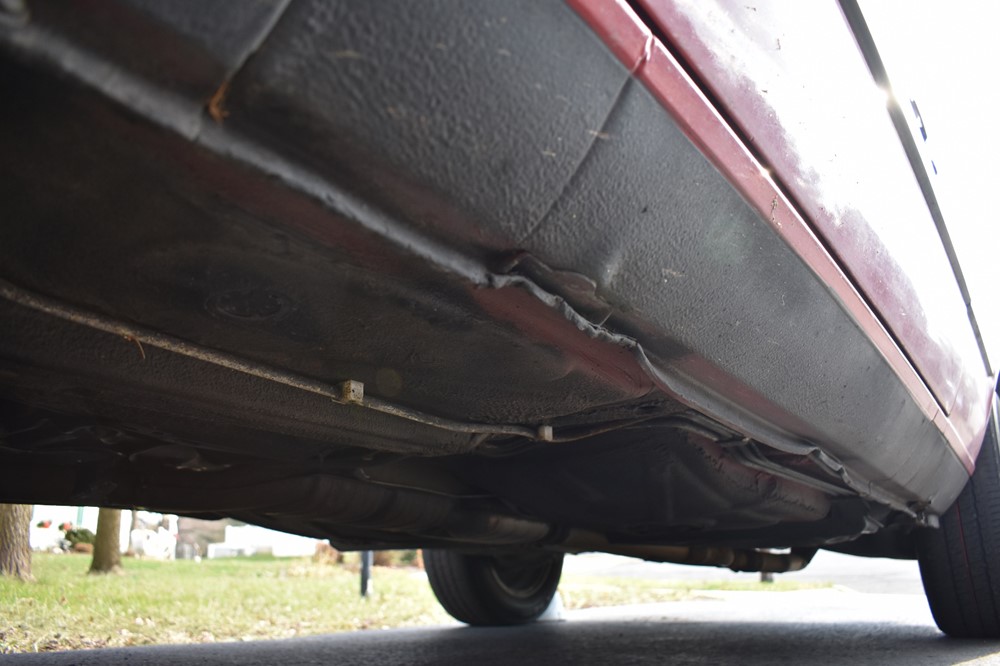
If your jack won’t fit under the oil pan, you can use the car jack from the trunk and jack up one side of the car at a time. As you can see, the factory jack points on this car were damaged when a previous owner used a floor jack instead of the jack from the trunk.
-
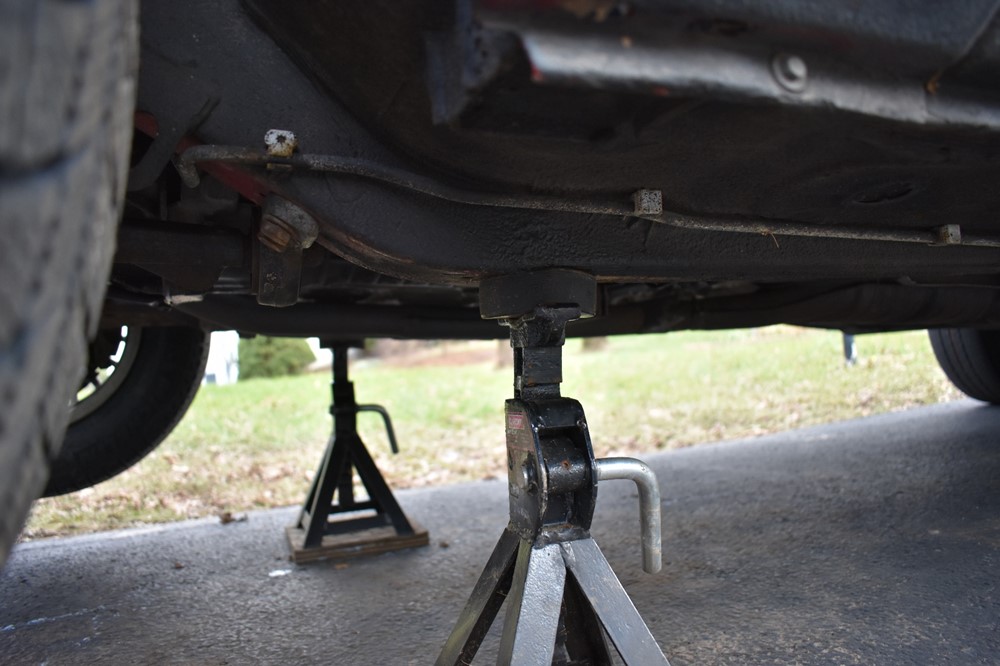
Jack the car up until the front wheels can turn freely. Place jack stands under the frame rails on either side. If you haven’t picked up a few hockey pucks for your jack stands already, go ahead and buy some! They make great pads for the frame rails.
-
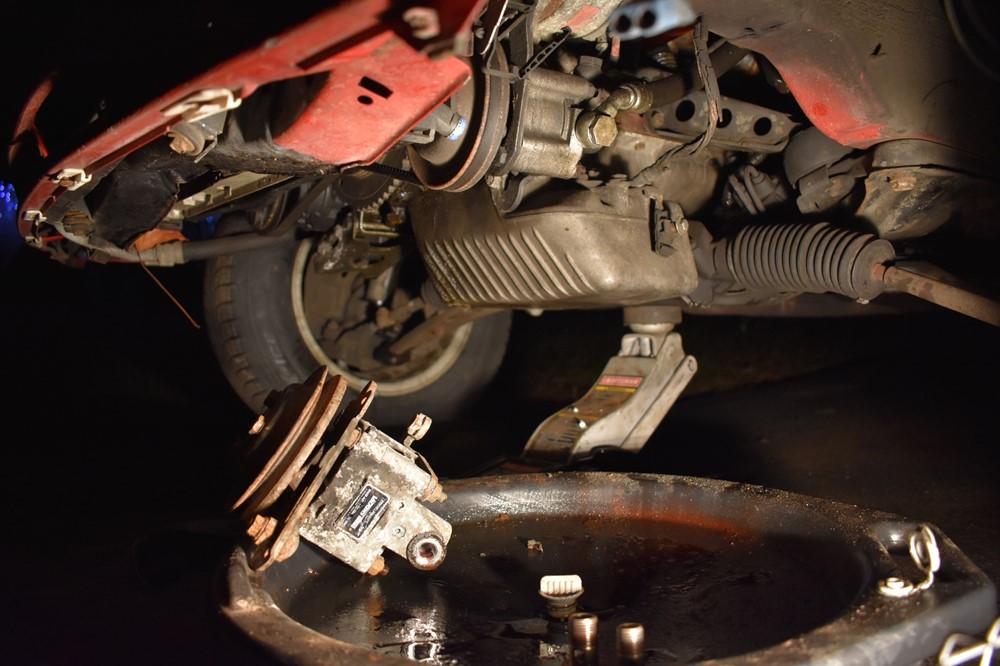
Place a drain pan under the steering pump (ignore our “new” pump already in the drain pan waiting to go in).
-
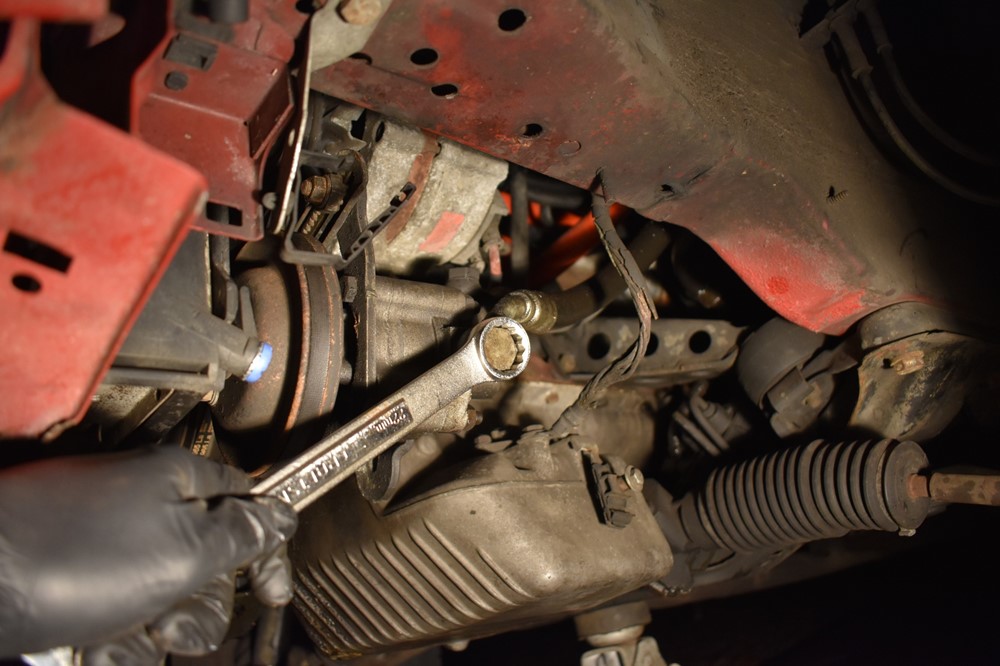
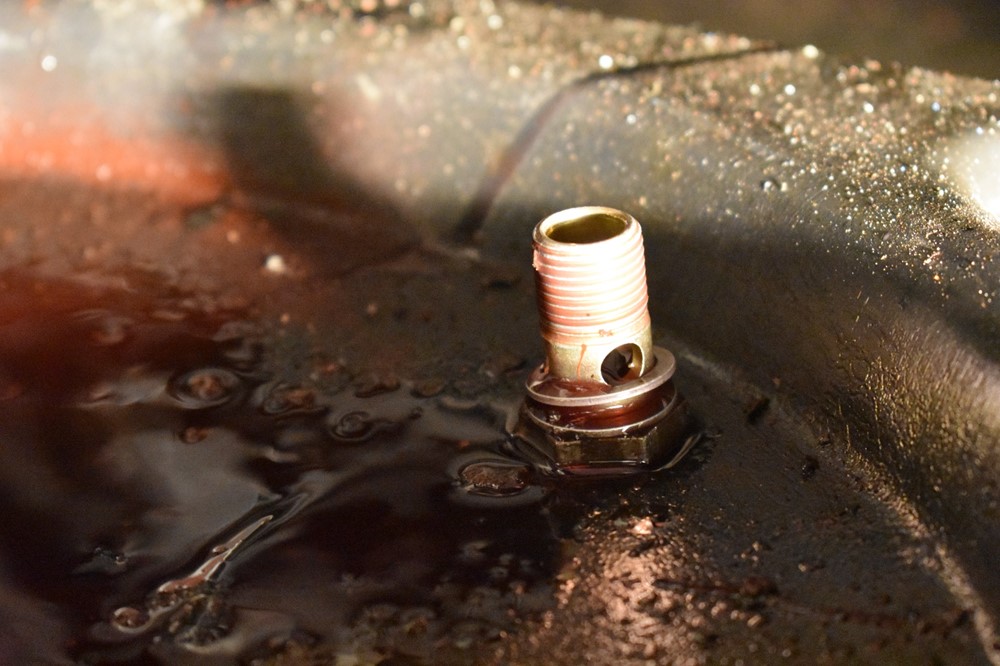
Using the 22mm wrench, loosen and remove the banjo bolt from the side of the steering pump. Make sure you account for both the crush washers that go with the bolt, as one will fall off when you pull the bolt out of the fitting. Since we were in a pinch on this replacement and needed to re-use the washers, we stored them both on the bolt.
-
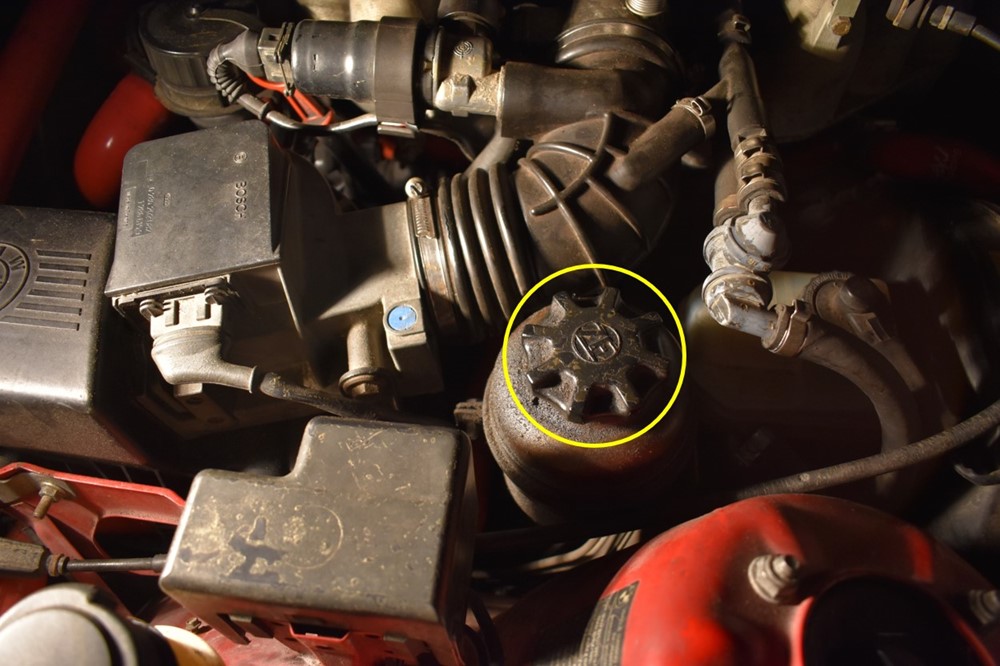
Let the ATF drain from the pump and hose. Remove the cap from the power steering pump reservoir to allow the system to drain completely.
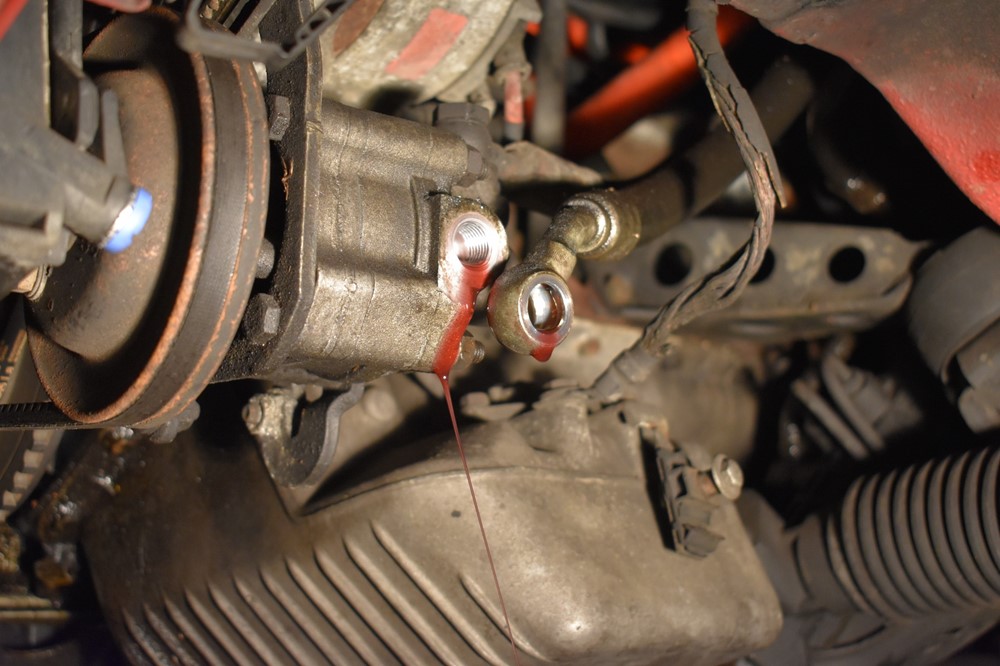
- Put the key in the ignition and turn it to the “accessory” position, but do not turn the car on. Turn the steering wheel back and forth from lock to lock several times to drain all of the fluid from the system.
-
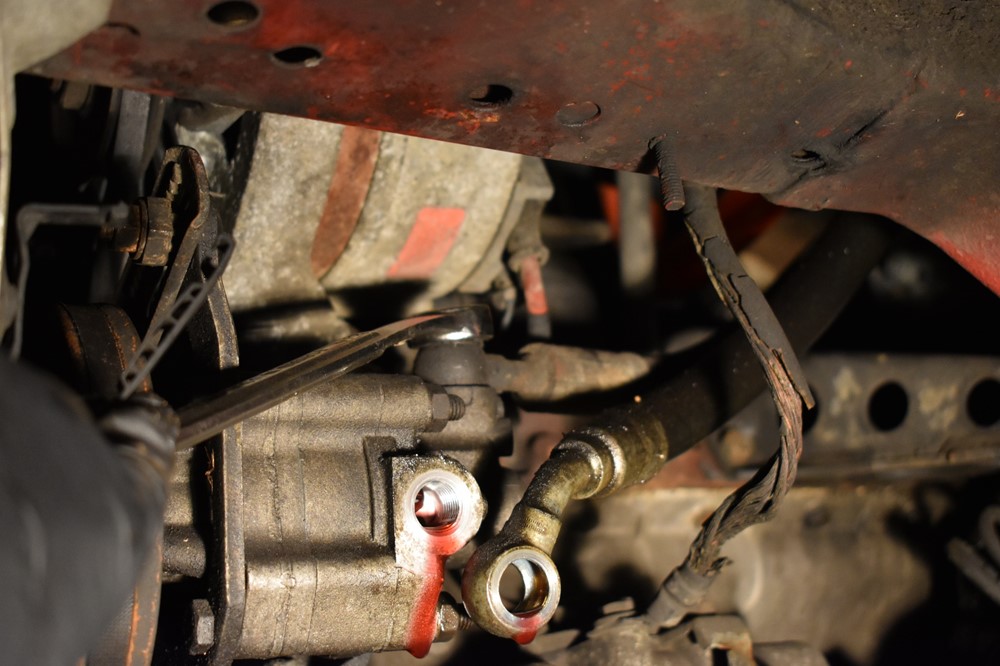
Use a 19mm wrench to loosen and remove the banjo bolt from the top of the pump. Pull the hose over so that it drains into the drain pan.
-
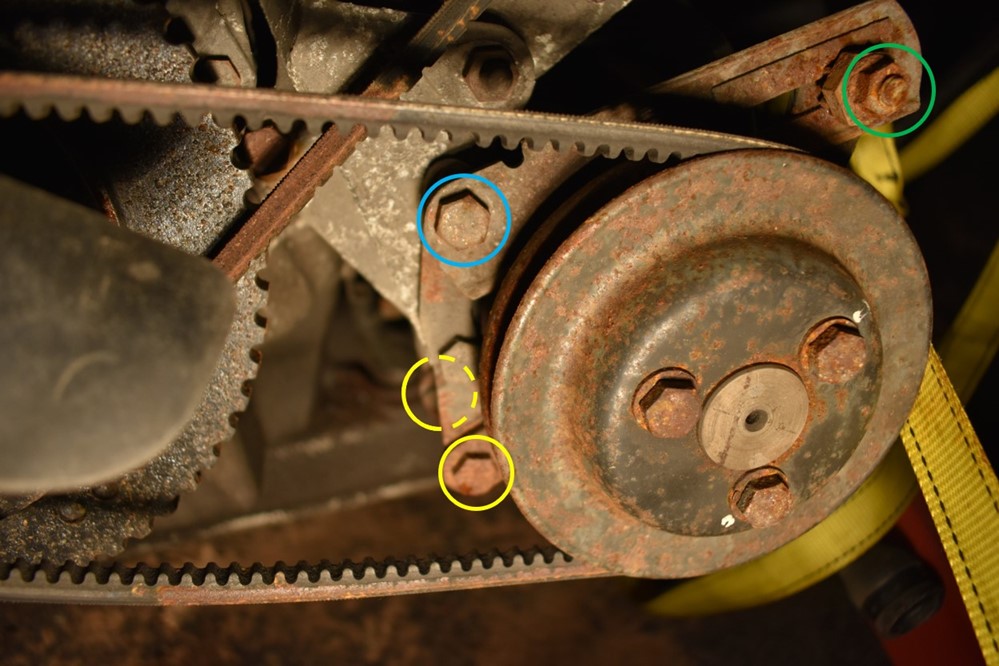
There are 2 bolts (yellow) and 1 nut (green) that need to be removed, and one bolt that must be loosened (blue), in order to remove the steering pump.
-
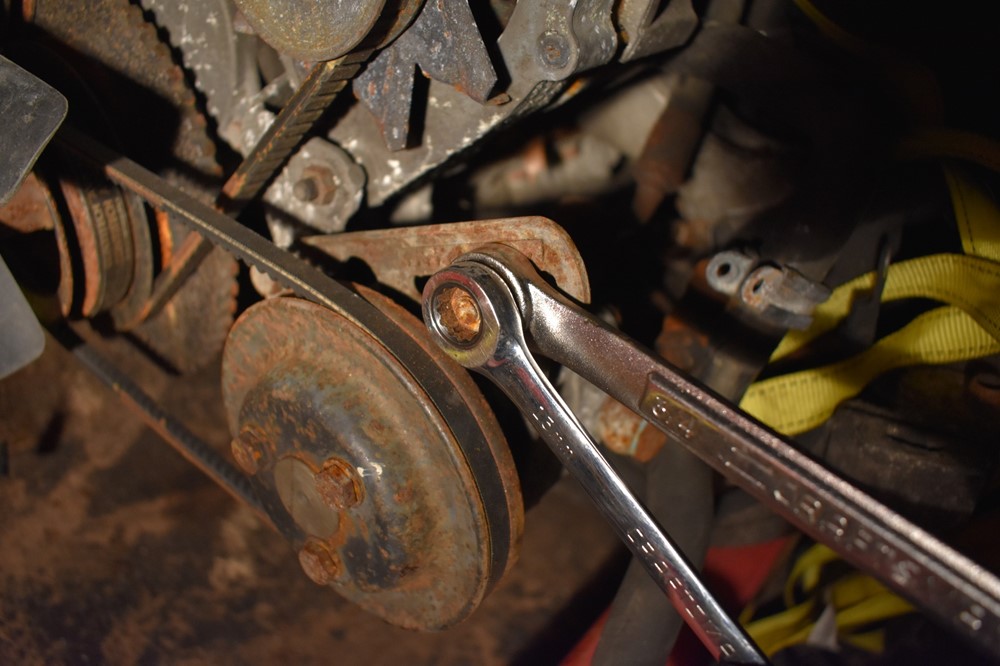
Start with the tensioner nut at the top-right of the pump. Use a 19mm wrench to hold the geared nut in place as shown, and use a 13mm wrench or socket to remove the nut that clamps down the gear. Pull off both the nut and gear.
-
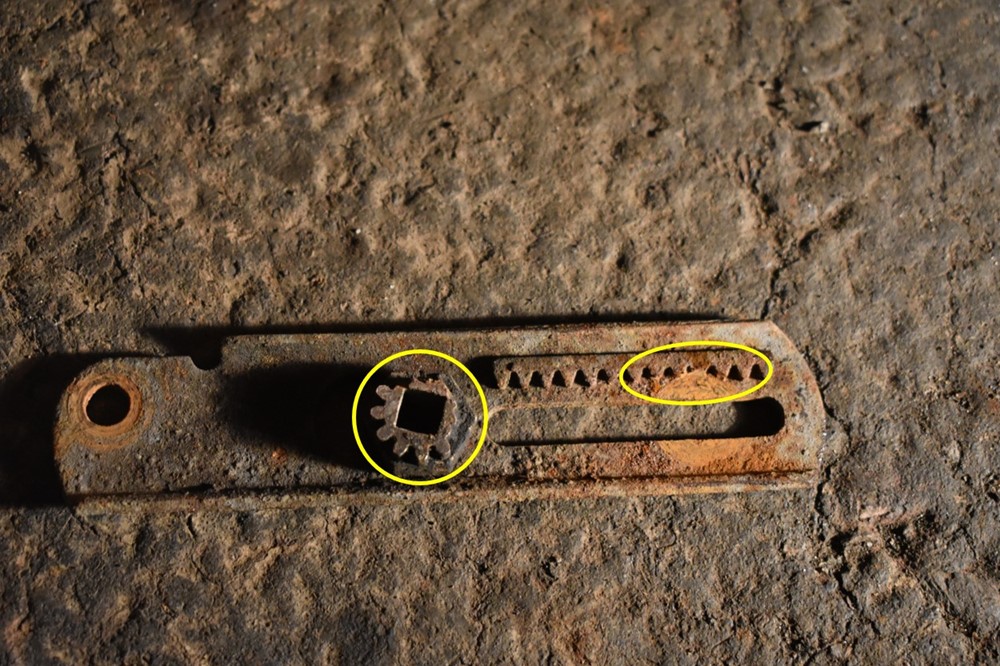
If your tensioning gear or bar look like this, with missing teeth, you should replace them. You’ll need the teeth to tension the belt later (although in a pinch, you can get by with tensioning by hand).
-
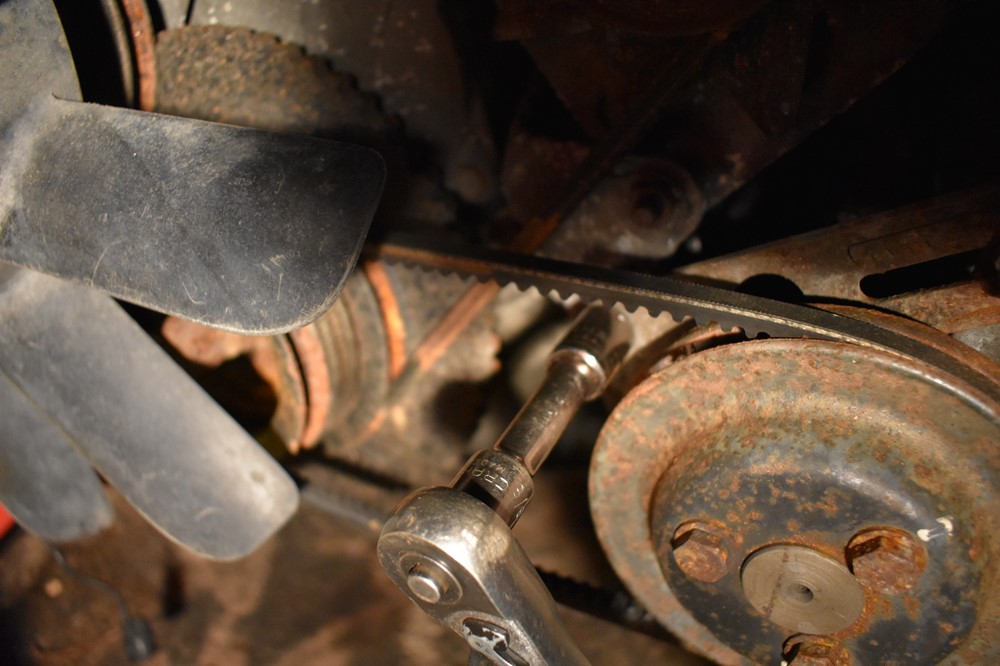
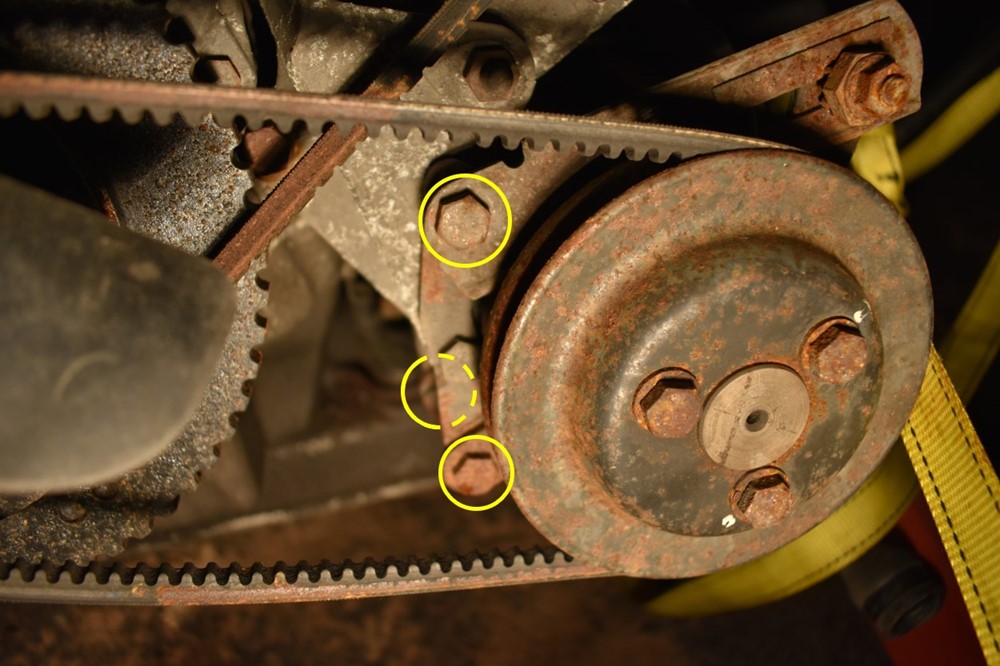
The next bolt is difficult to see from underneath the engine. It’s just to the upper left side of the pump, at the other end of the geared tensioning bar. You only need to loosen this bolt. The picture below shows the location of the bolt, on an engine outside the car. Use a 13mm wrench to loosen it, but do not remove it.
-
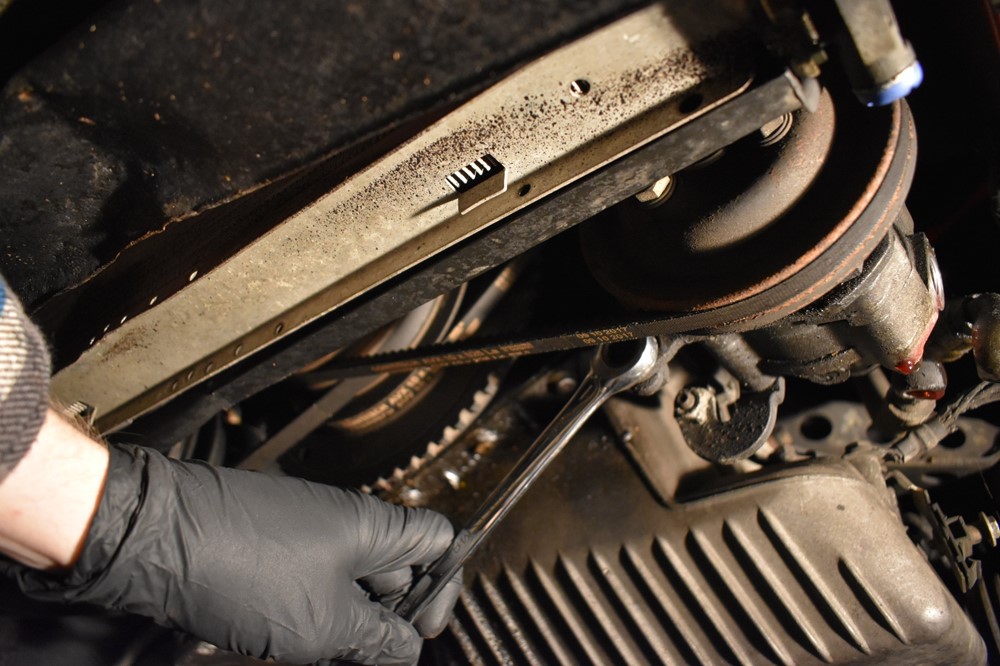
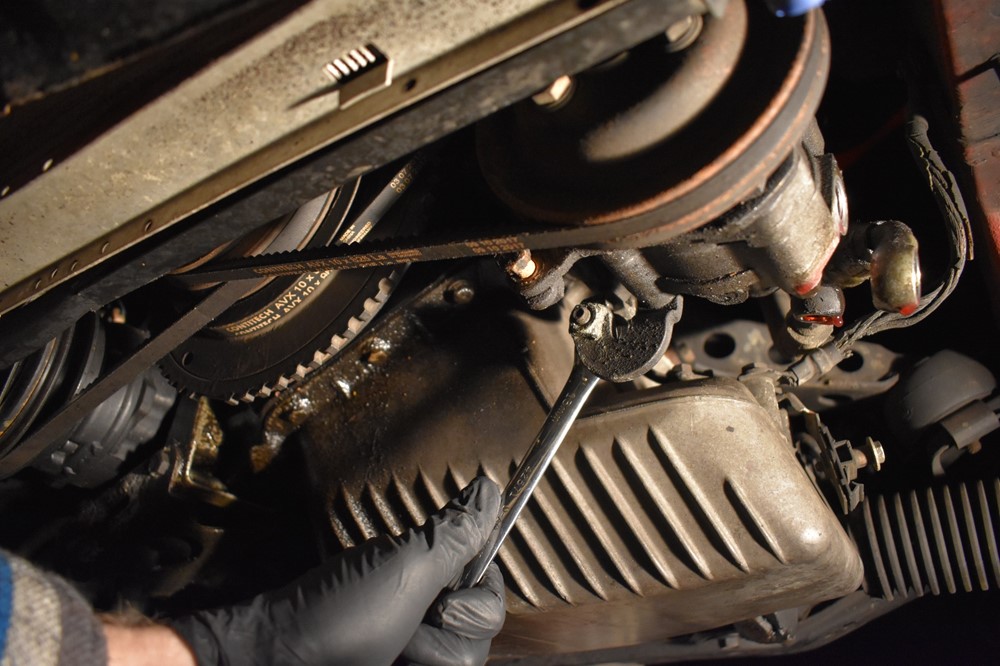
Use a 13mm wrench to loosen the two bolts at the bottom of the pump, one from the front and one from the back.
-
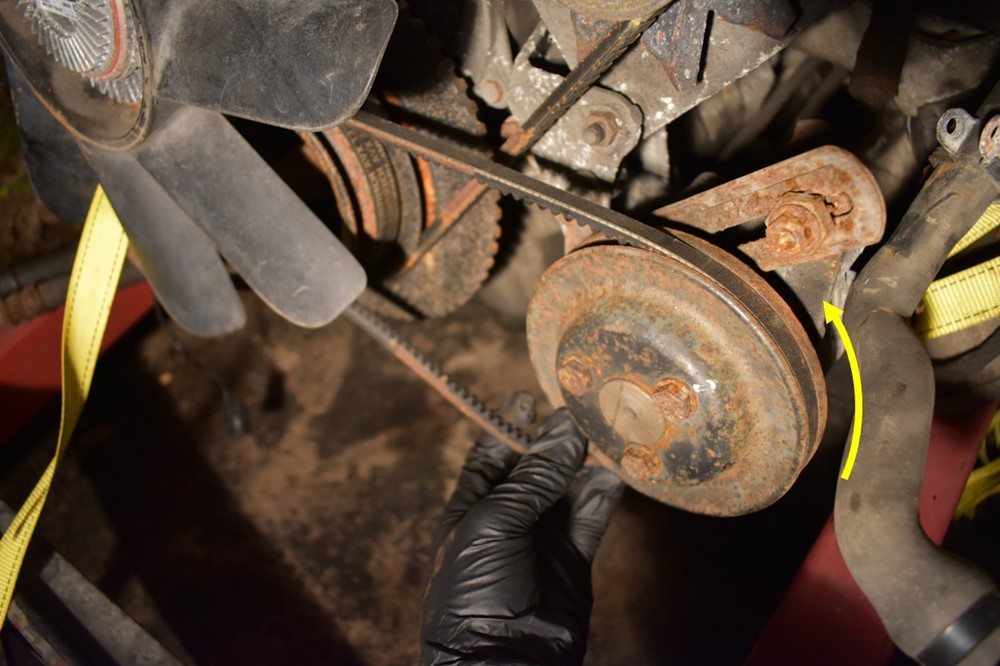
Once the bolts are loose, rotate the pump upwards and towards the crankshaft pulley, to create enough slack in the steering pump belt to remove it. Make sure your hands are clean of ATF before you touch the belt, and set it aside where it won’t get oil on it, or you’ll have issues with slipping when the belt is back on.
-
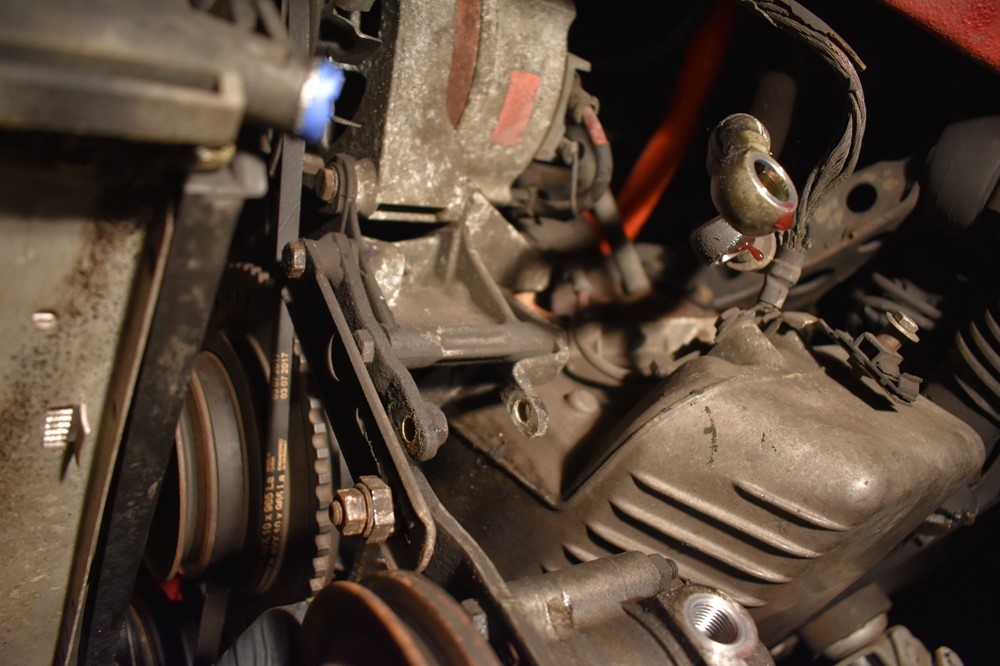
Remove the two loosened bolts at the bottom of the pump, and remove the pump from the car. Hold the pump over the drain pan to drain the remaining ATF.
-
Raise the new pump into place, and start the two bottom bolts until the threads engage. Thread them in until they just start to snug up, but the pump can still swing freely.
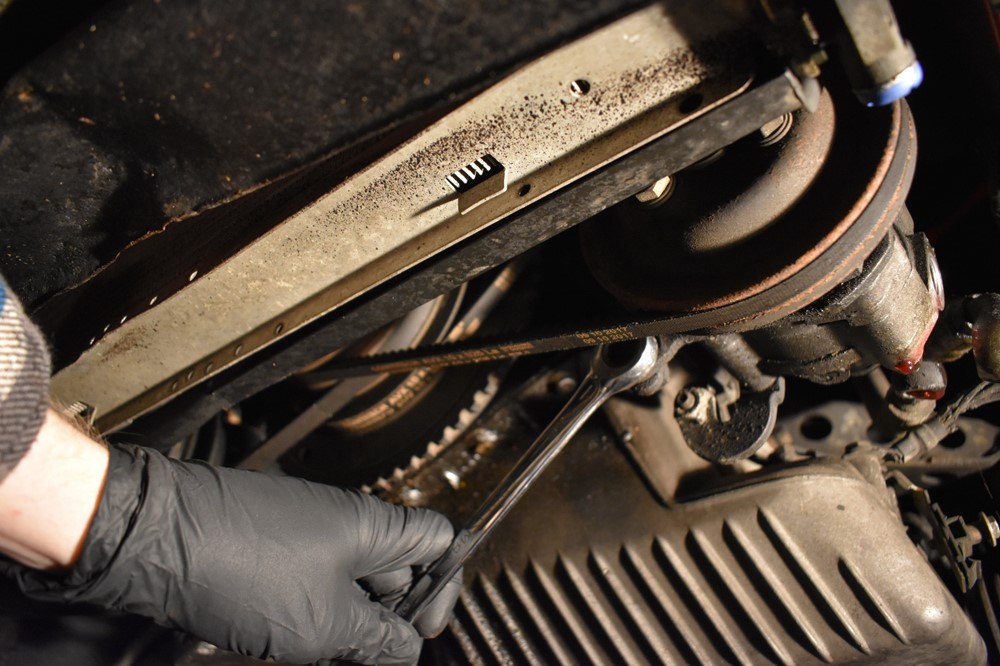
- Push the pump upwards and towards the crankshaft pulley, and reinstall the belt on both the crankshaft and steering pump pulleys.
-
Place the tensioning bar over the stud on the pump, and install the gear, with the toothed side towards the bar. Install the nut and tighten it until it just starts to snug up.
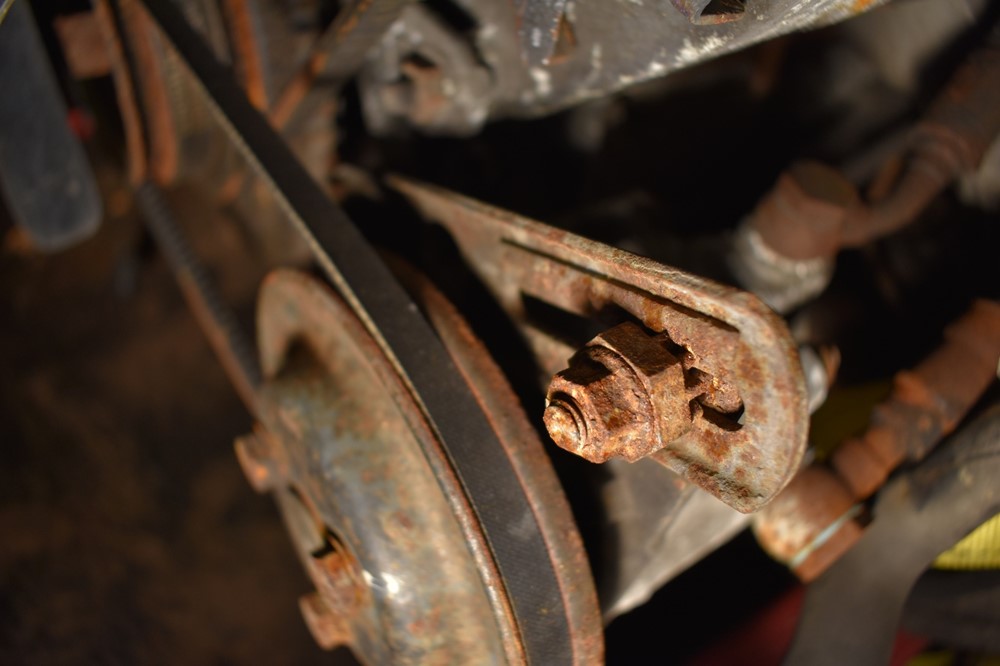
- You now need to tension the belt. Exact specs for belt tension are hard to judge. We haven’t had much luck finding them for our cars, and typically they’re based on a certain amount of displacement under a particular load, or other specs that are difficult for shade tree mechanics like us to use. In all reality, the best belt tension is tight, but not too tight, as vague as that may sound. Put some tension on the belt and see how it feels when you press on the belt in between two of the pulleys. There should be a little bit of give, but no slop. It’s better to lean a hair towards the loose side, you’ll hear a loose belt squeal and can fix, whereas an overly tightened belt just puts excess load on the belt and the bearings of the components.
-
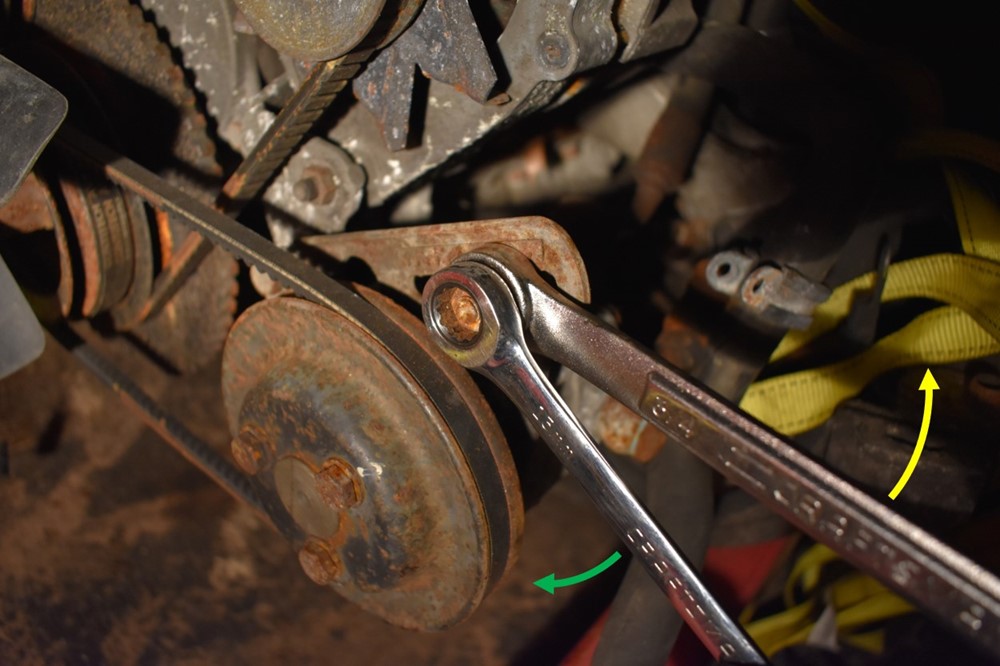
Place the 19mm wrench on the tensioning gear, and rotate upwards to put tension on the belt (yellow arrow). When the tension feels right (sorry!) hold the 19mm wrench steady, and use the 13mm wrench to tighten the nut (green arrow). Check how much the belt deflects, it should be some, but not sloppy. If you’re not happy with the tension, loosen the nut and repeat this step. When it’s right, tighten the nut to spec.
- If you’re tensioning gear or bar are shot, and you don’t have the time to wait for new ones to arrive, you can get away with tensioning manually. Place one hand on the top of the pump, and pull it out and down to apply tension to the belt. Use the 13mm wrench to tighten the nut. Check the tension to see if it feel right, and repeat until it does.
-
Tighten the remaining 3 bolts to spec.
-
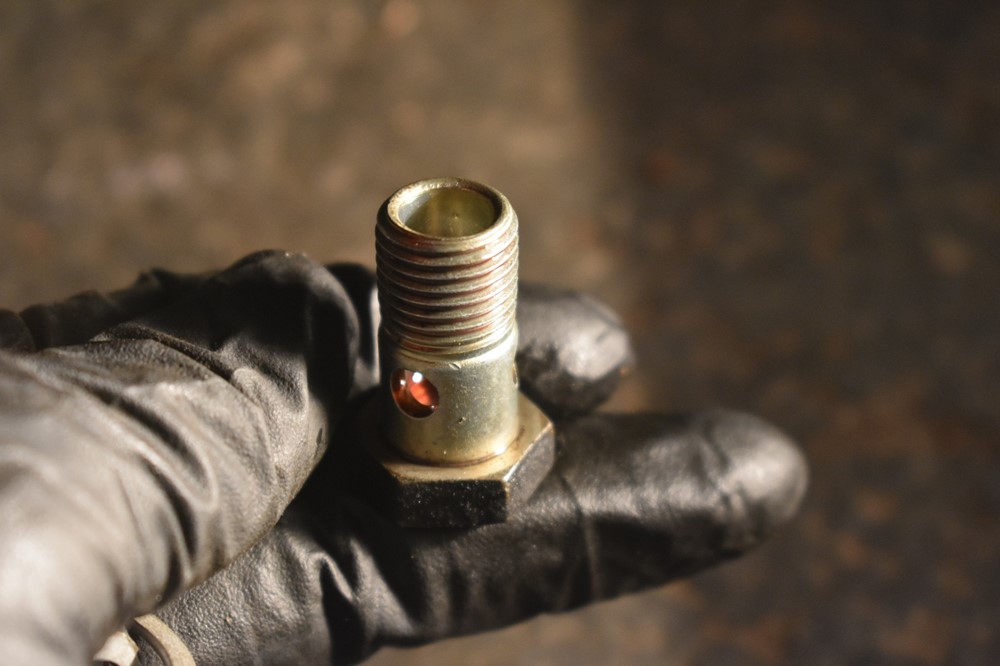
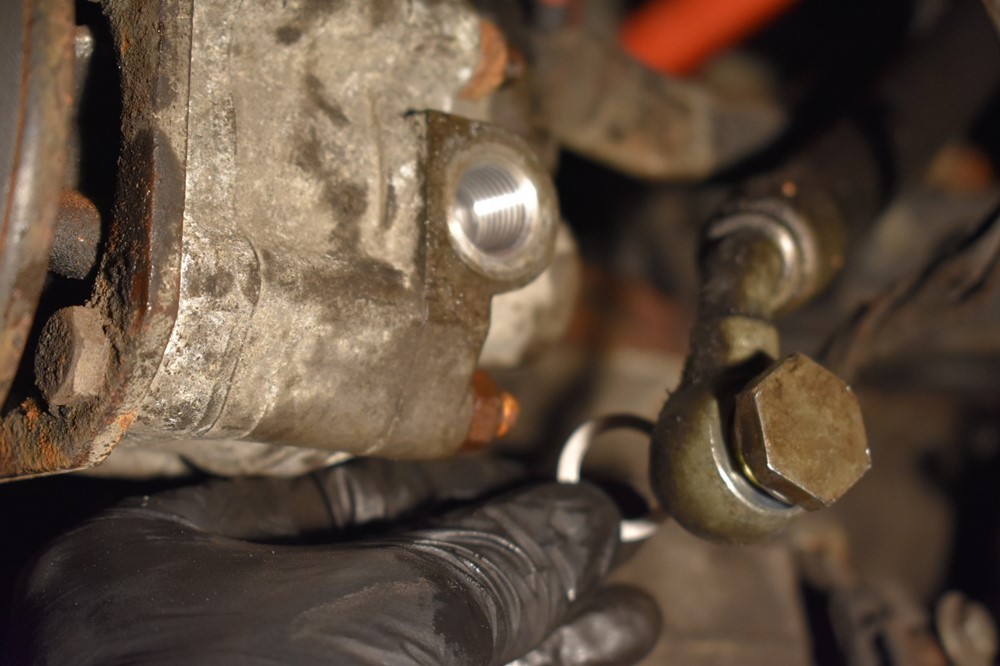
Clean both of the banjo bolts, removing any dirt and grease. You don’t want any dirt or particles to get into the fluid.
-
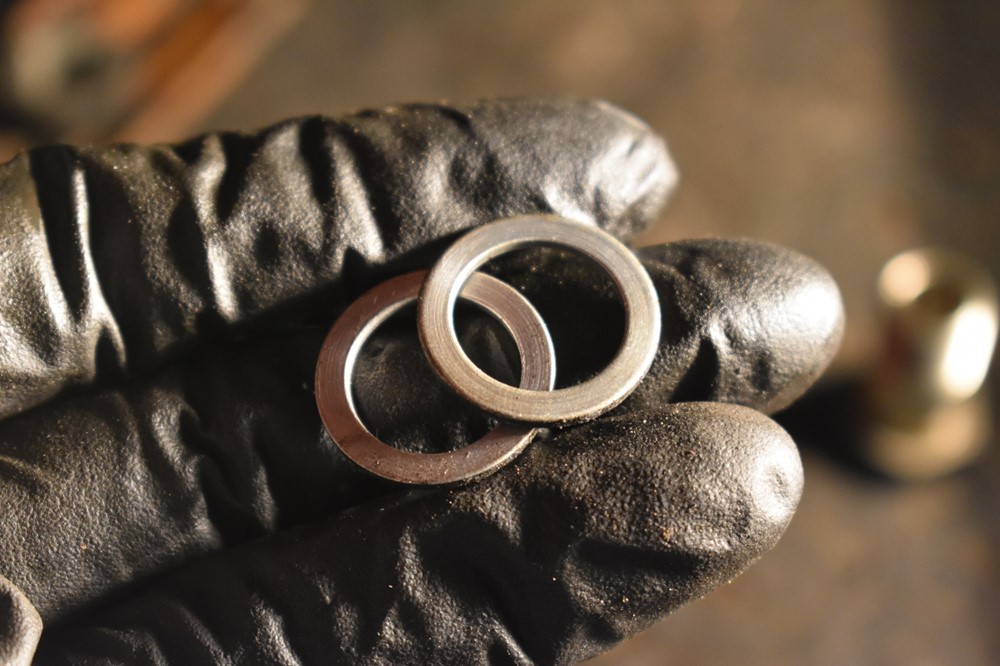
Anytime you remove the banjo bolts, you should replace the crush washers. It’s just a good idea. However, you can get typically get away with re-using them if you absolutely have to. If you do re-use them, make sure they are very clean, you can’t afford to have any dirt or particles affecting the sealing surfaces.
-
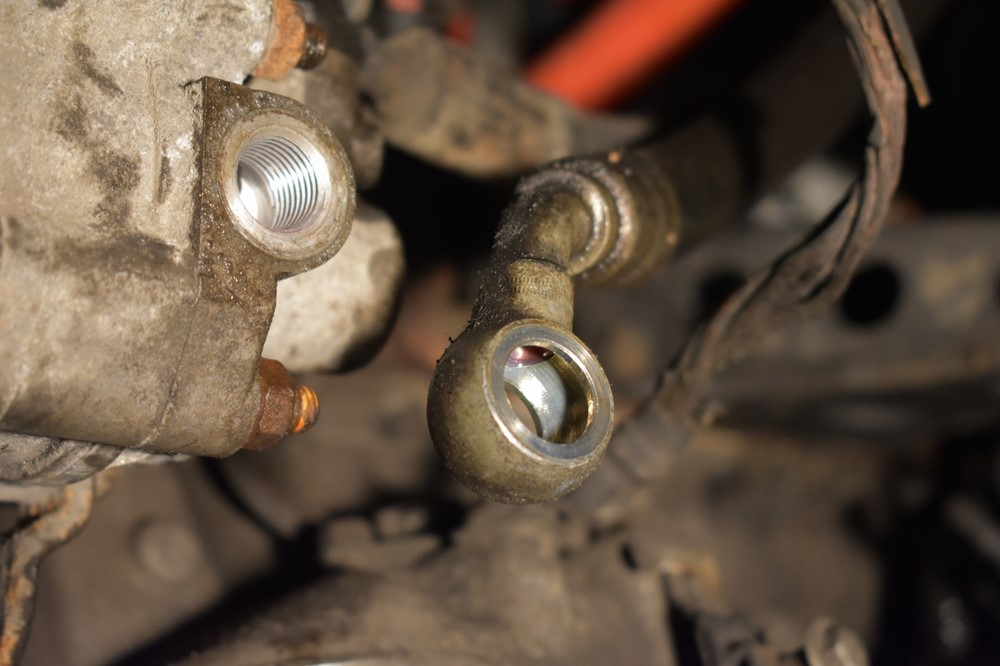
Clean the sides of both hose fittings to remove any dirt, dust or remaining ATF. You need these sealing surfaces to be very clean.
-
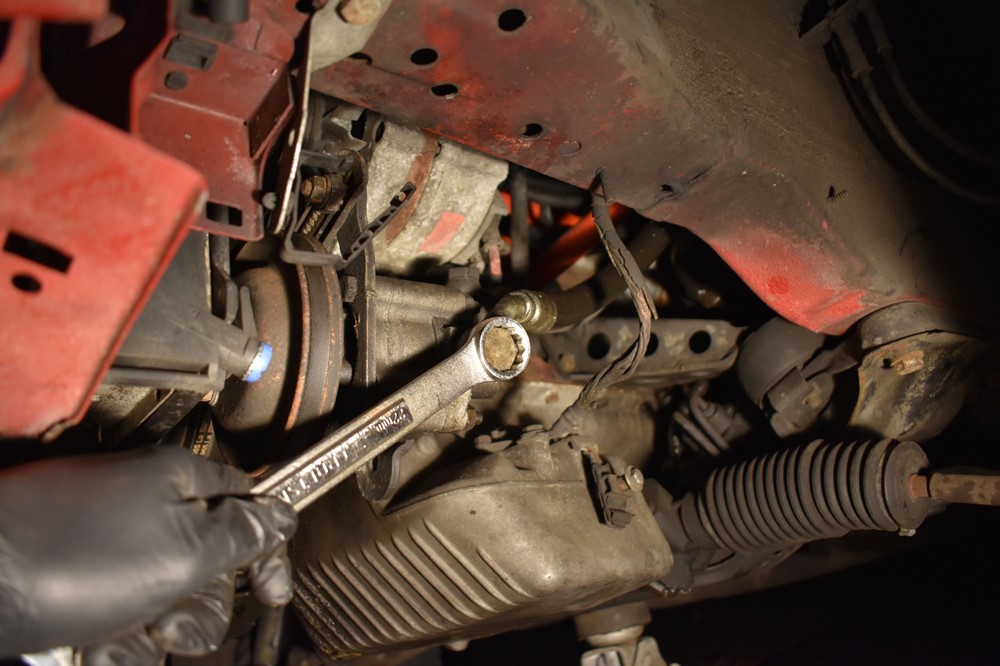
Place a crush washer on the smaller banjo bolt, insert it through the top hose fitting, and add another crush washer. Thread the bolt into the top of the steering pump, and torque it to spec. You’ll likely need to hold the hose fitting in place to keep it from rotating into an odd position when you tighten the bolt.

-
Repeat step 25 for the larger banjo bolt.
-
You’re now ready to fill and bleed the system. Fill the reservoir about 3/4 full, then turn the steering wheel lock to lock several times to start working air bubbles out of the system. Then start the car, and again turn the wheel back and forth from lock to lock, until you don’t see any more bubbles coming up in the fluid.
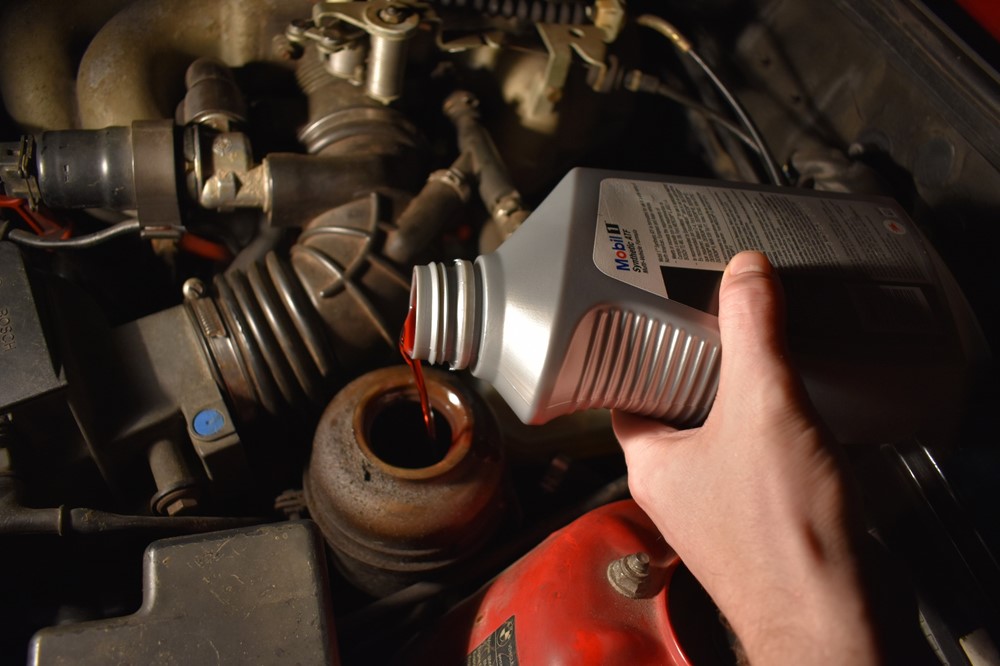
- Oftentimes, there will still be some air in the system at this point. To get it out, sit in the car, and press the gas pedal to hold the car at about 3000 rpm. Turn the steering wheel back and forth from lock to lock 5-6 times, to work any remaining air out of the system.
- Top off the fluid until it sits between the marks on the cap.
- Enjoy your squeal-free ride! Sometimes you’ll get a squeal or two during the first couple of drives, if there’s any residual air bleeding its way out of the system, so don’t panic. If it’s more of a belt squeal than the pump whining, it’s possible that the belt is too loose, in which case you’ll need to loosen all the bolts and re-tension.
Sign up to never miss a new How-To from Classic Bimmer Bits!

