
E30 Radiator Replacement
How-To Credit
This how-to is a Classic Bimmer Bits original, with much credit due to the many members of the community who have helped us learn along the way!
Parts
- Radiator (if replacing)
- Coolant hoses (if replacing)
- ~2 gallons of coolant
(We make a commission for parts purchased through the Amazon links above, which helps keep this site hosted and free. We only link to OEM or OE parts, the same quality parts that we use on our cars. However, you should always look around to see which site has the best prices.)
Tools
- 10 mm socket and wrench
- Flat head screwdriver
Torque Specs (ft-lbs):
- N/A
Prodedure
-
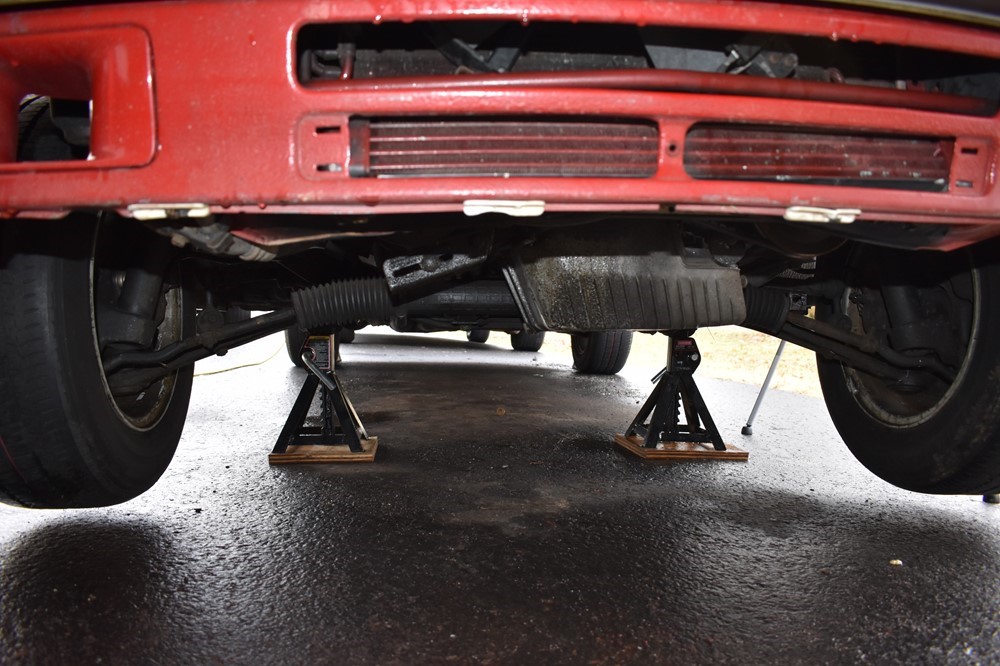
Jack up the front of the car and place on jack stands. Place the jack under the front subframe, and jack stands under the frame rails.
-
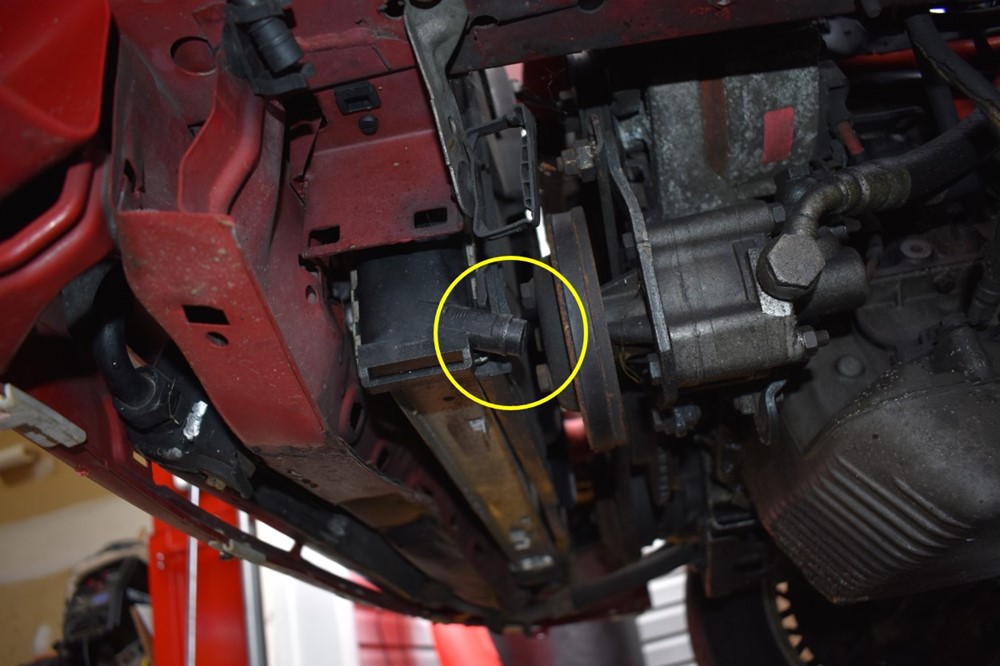
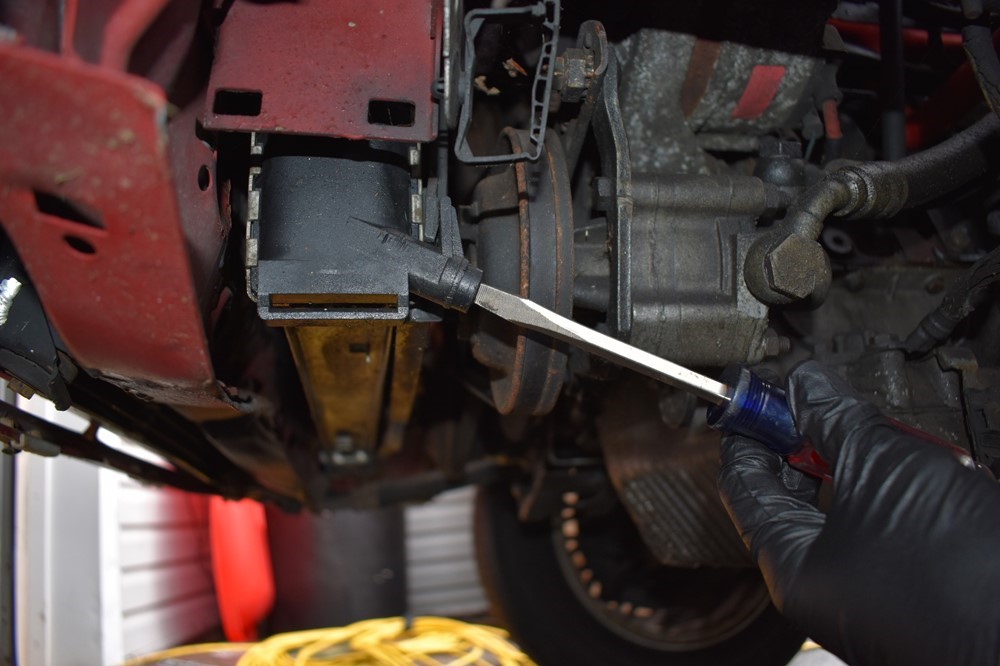
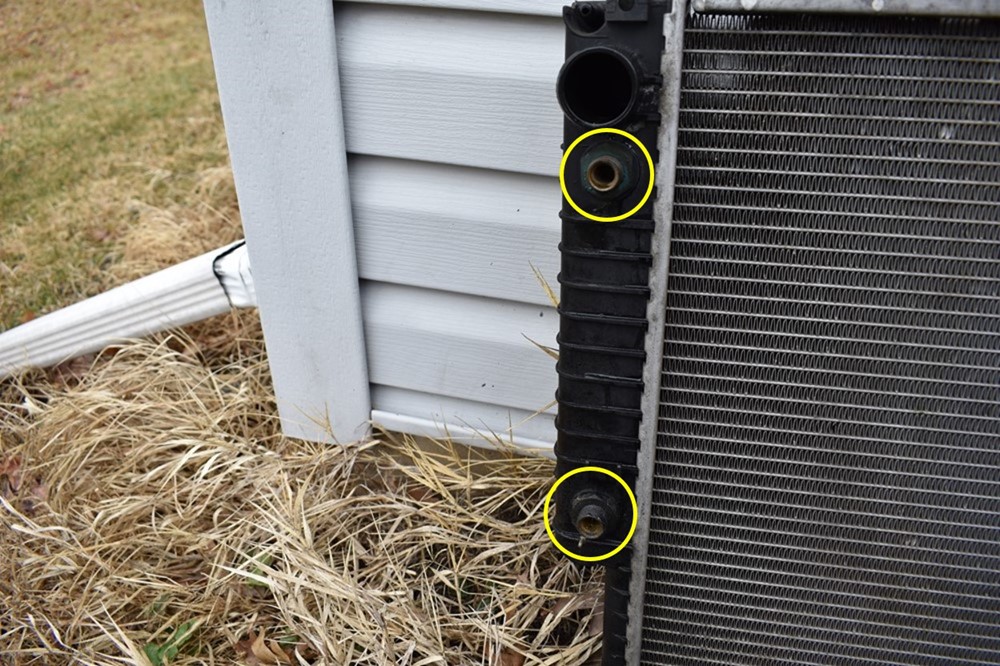
Locate the radiator drain plug on the bottom driver side corner of the radiator
-
Place a drain pan under the radiator drain plug. Loosen and remove the drain plug with large flathead screwdriver. These plastic plugs get brittle over time, and the slots often break when removed. If your plug does break, the fix is pretty simple. Heat the end of the screwdriver with a torch for 30 seconds or so, and push it in to the end of the plug firmly. Your newly melted slot should be adequate to remove the plug. Let the radiator drain into the pan.
-
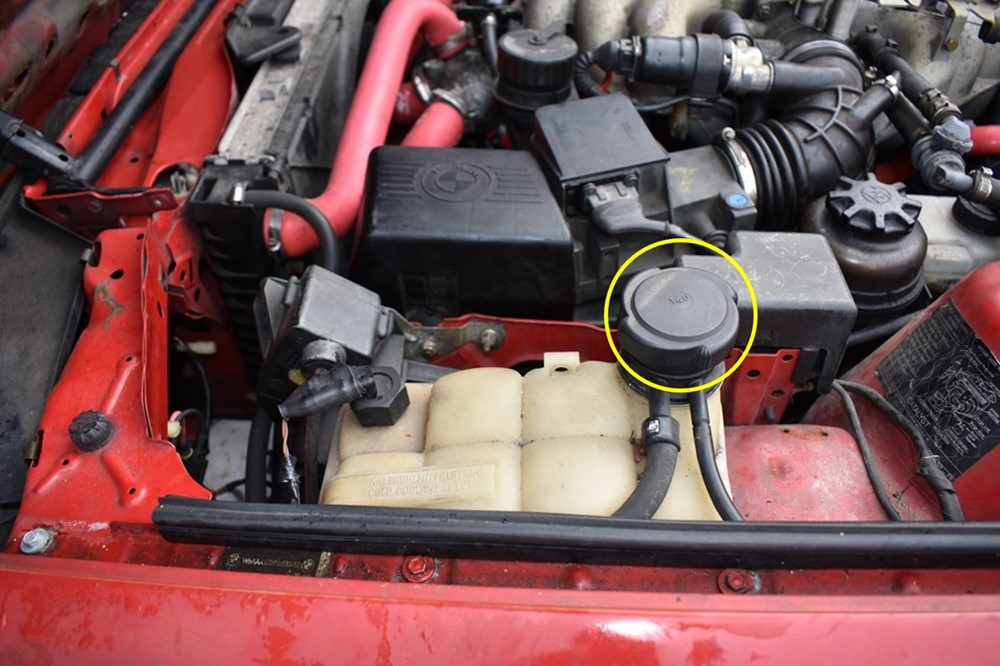
As the radiator drains, remove the cap from the coolant reservoir to let the radiator drain freely.
-
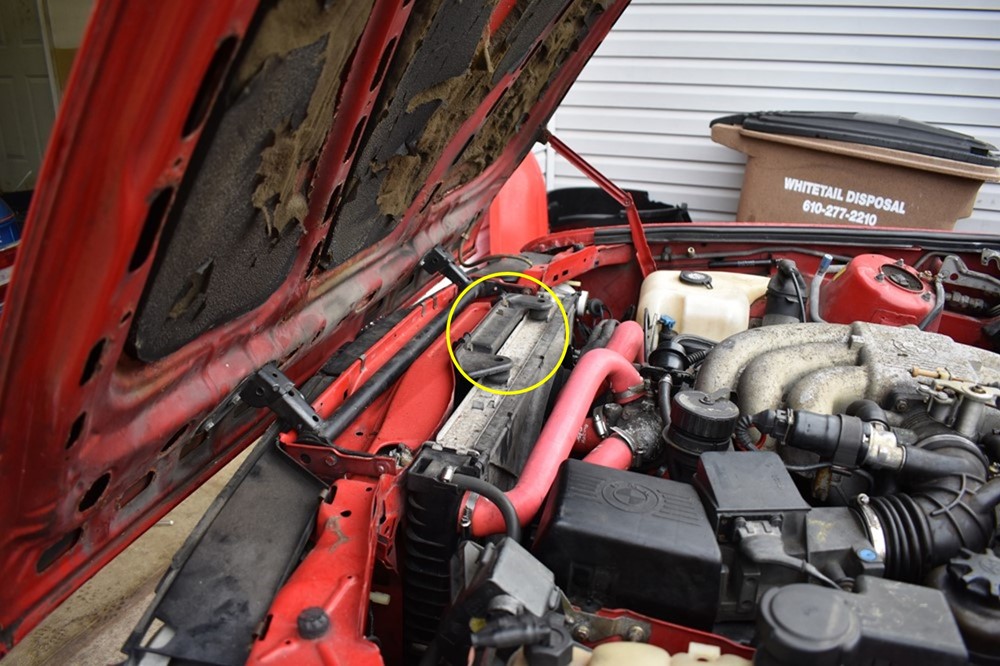
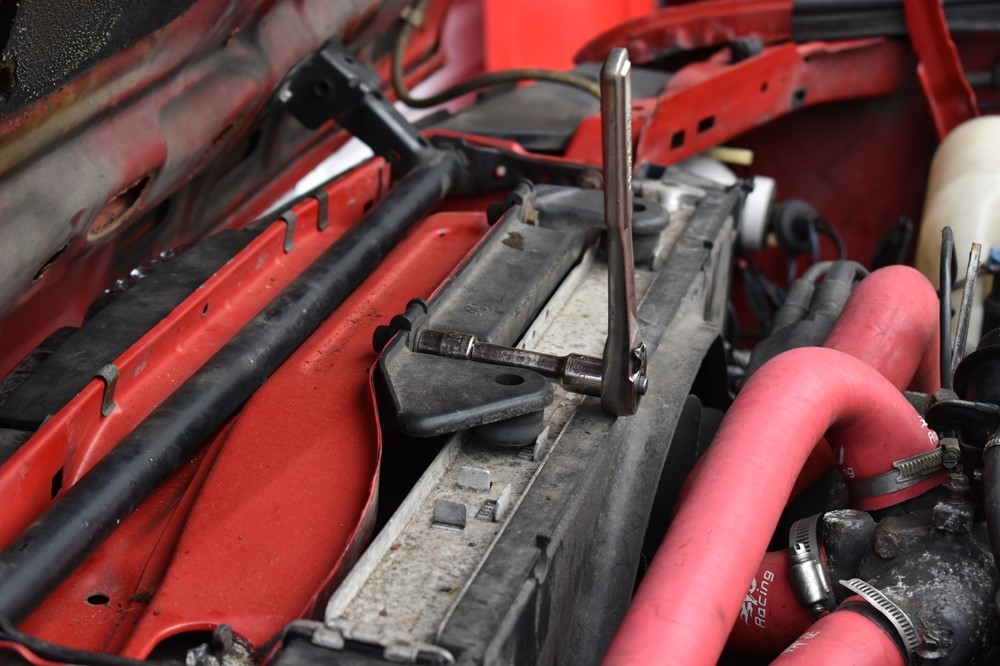
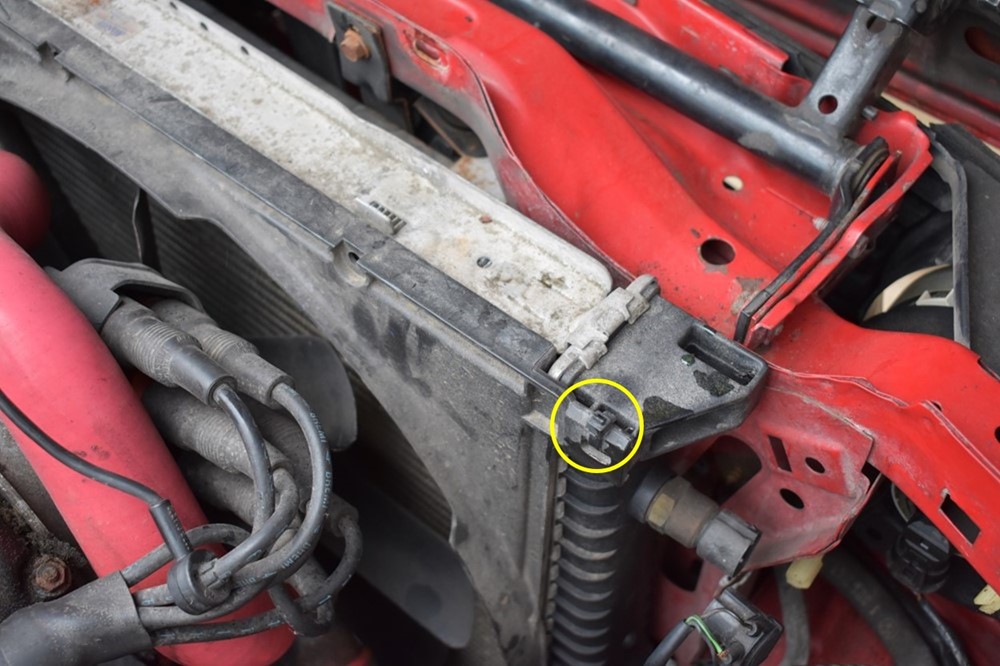
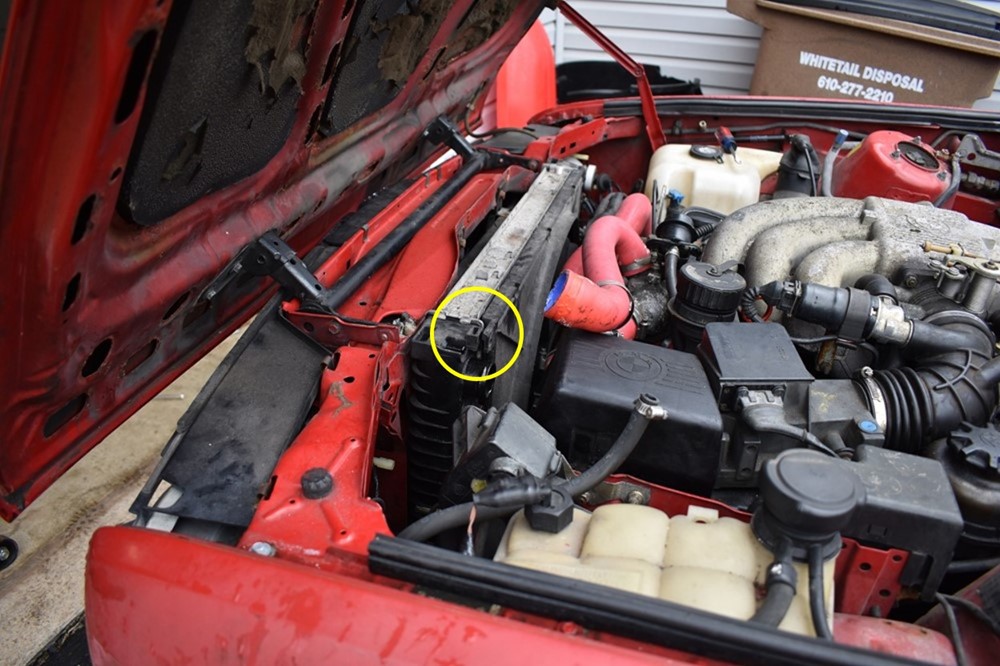
With the radiator drained, locate the radiator holder at the top of the bracket
-
Use a 10mm socket wrench to remove the two bolts mounting the holder in place
-
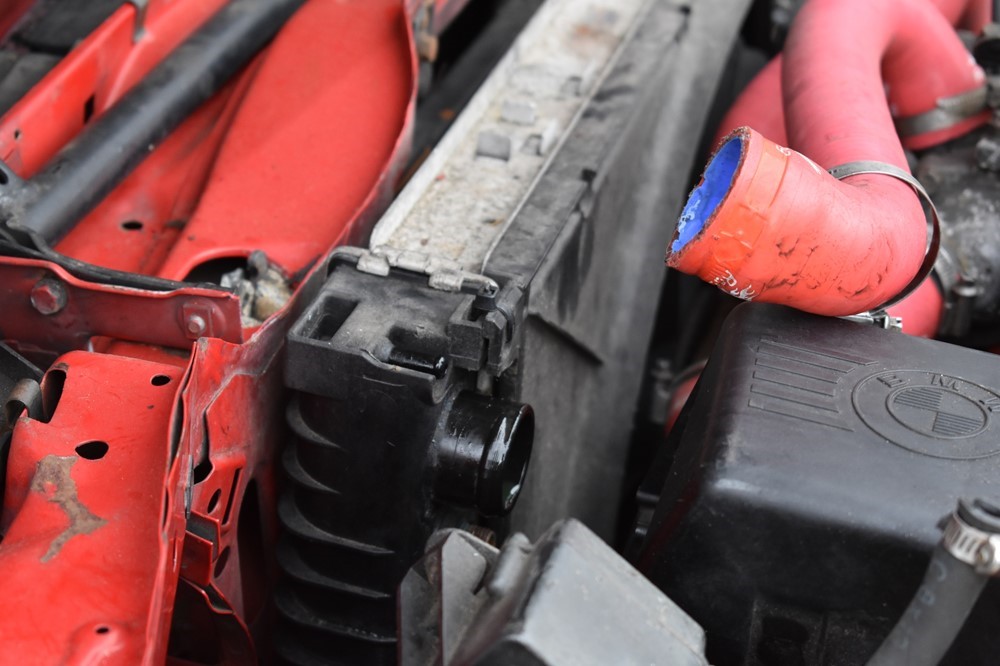
Loosen the hose clamps on the overflow hose and top hose and pull them off of the radiator.

-
If you have an auto transmission, you’ll need to disconnect the trans cooler lines from the driver side of the radiator (shown after removal below). Be prepared for the fluid to drain when you remove the bottom hose. This is a good time to flush the trans fluid, in which case you can let the hoses down into you drain pan to drain fully.
-
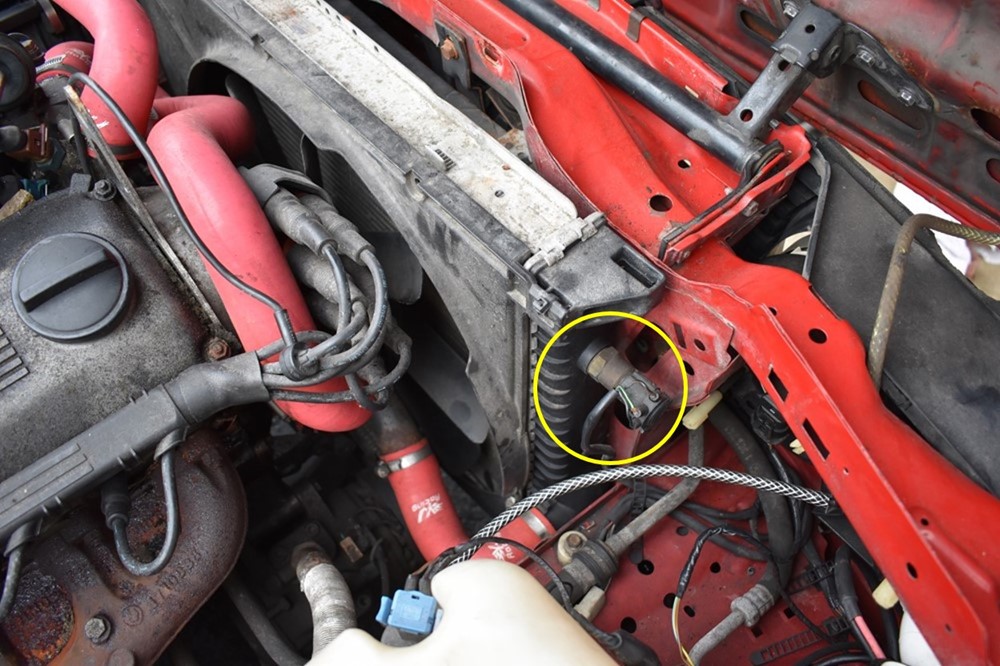
On the passenger side of the radiator, unplug the radiator temp sensor
-
Loosen the hose clamp on the bottom radiator hose and remove. You may want to move the drain pan over underneath the hose to catch any coolant left in the hoses.
-
Cut the zip ties at the top of the radiator shroud, on either side.
-
Carefully pull the radiator shroud back over the fan and upwards. It won’t come out of the engine bay, but needs to be behind the fan in order to remove the radiator.

-
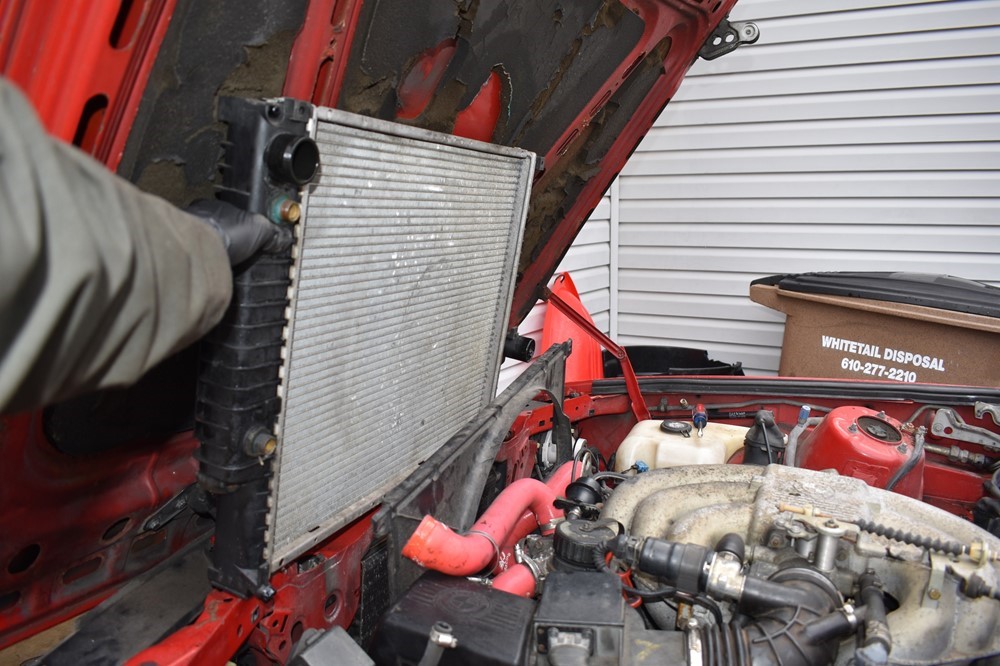
At this point, the radiator should be completely free. Gently pull it straight up and out of the engine bay. Be careful of spills, there will be some coolant left inside.
- Installation is the exact reverse of removal. Once everything in installed, fill with coolant and bleed.
Sign up to never miss a new How-To from Classic Bimmer Bits!