
E30 Tail Light Replacement
How-To Credit
This how-to is a Classic Bimmer Bits original, with much credit due to the many members of the community who have helped us learn along the way!
Parts
Early Cars (’83-’87)
- Left Taillight (63211368823)
- Right Taillight (63211368824)
- (2) Tail Light Gaskets (if re-using your taillight. A new light should come with a new gasket) (63211370679)
- (2) Tail Light Bulb Holders (if needed) (63211377883)
- Left Bracket (if needed) (63211374913)
- Right Bracket (if needed) (63211374914)
- (6) nuts (if needed) (63259128043)
Late Cars (’87-’92)
- Left Taillight (63211385381)
- Right Taillight (63211385382)
- (2) Tail Light Gaskets (if re-using your taillight. A new light will come with a new gasket) (63211380419)
- Left Tail Light Bulb Holder (if needed) (63211385383)
- Right Tail Light Bulb Holder (if needed) (63211386096)
- Left Bracket (if needed) (63211385377)
- Right Bracket (if needed) (63211385378)
- (6) nuts (if needed) (63259128043)
(We make a commission for parts purchased through the Amazon links above, which helps keep this site hosted and free. We only link to OEM or OE parts, the same quality parts that we use on our cars. However, you should always look around to see which site has the best prices.)
Tools
- 8mm socket and wrench
- Clean rag, water, and soap
Torque Specs (ft-lbs):
- N/A
Prodedure
-
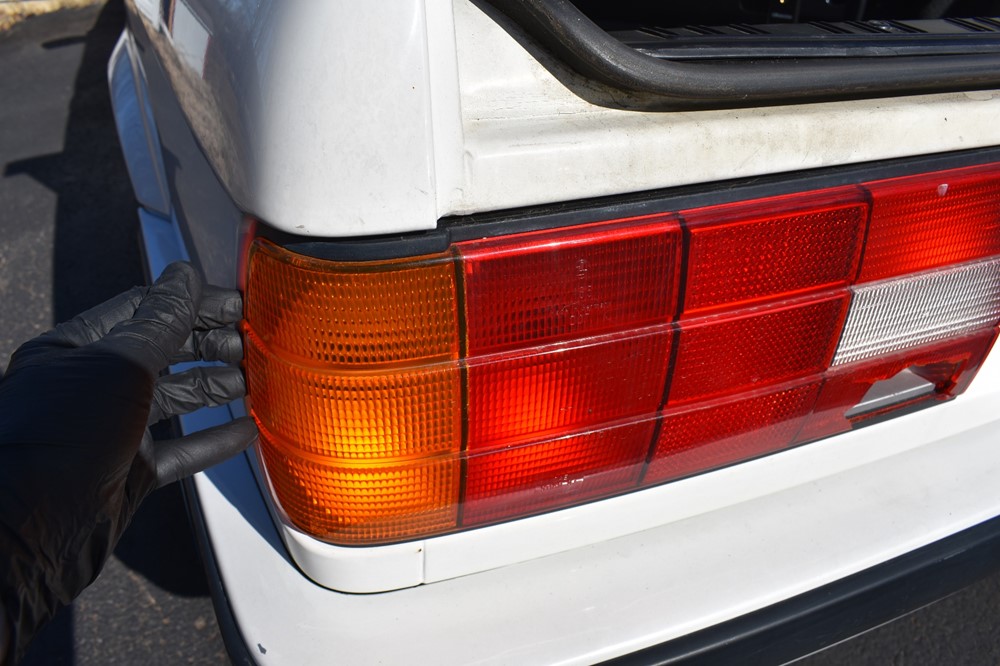
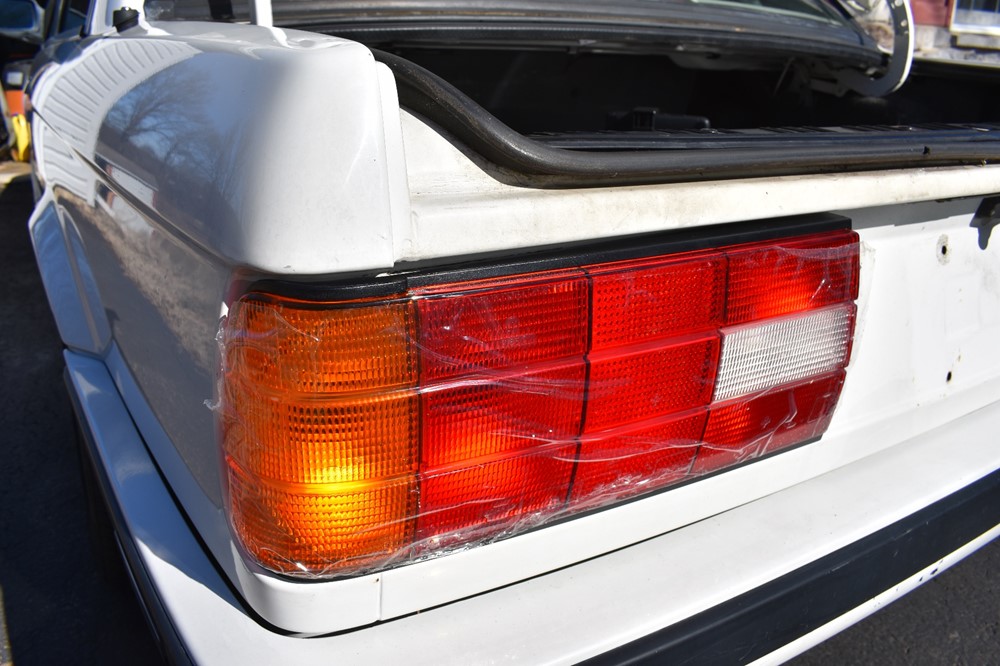
Tail light replacement is a very easy job; if you’ve got an 8mm socket and 10 minutes, you can do it. If your tail lights are cracked or crazing, it’s a nice replacement to keep the rear of your car looking sharp. This writeup was done using a post-facelift car (’87+), and while the tail light looks slightly different for early cars, the procedure is nearly identical.

-
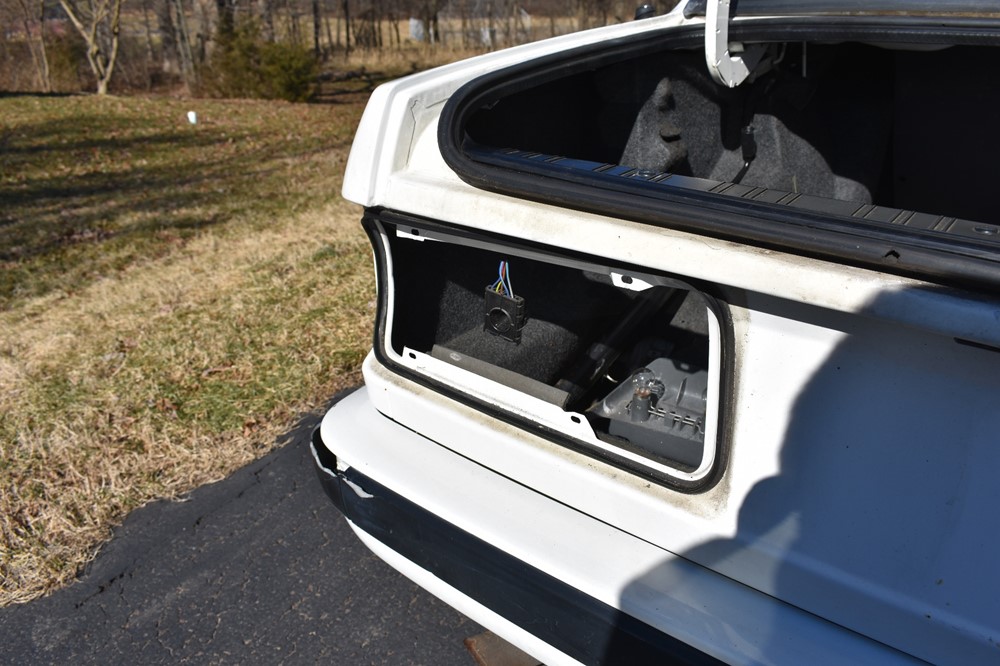
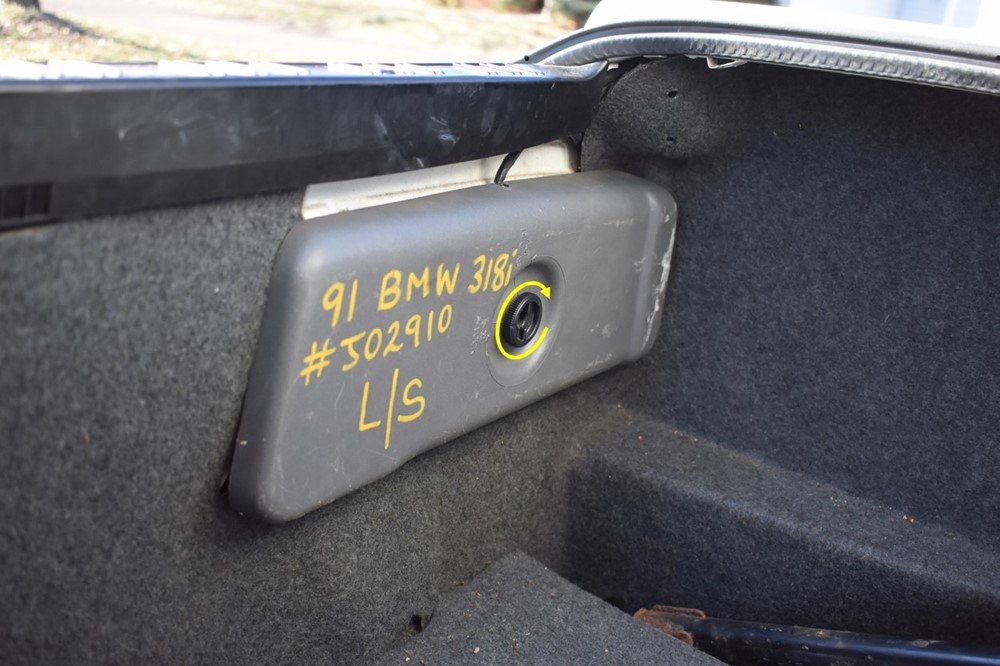
Open the trunk. On the inside of the trunk behind the taillight is the bulb holder. Turn the knob in the center counter-clockwise to unscrew it from the light.

-
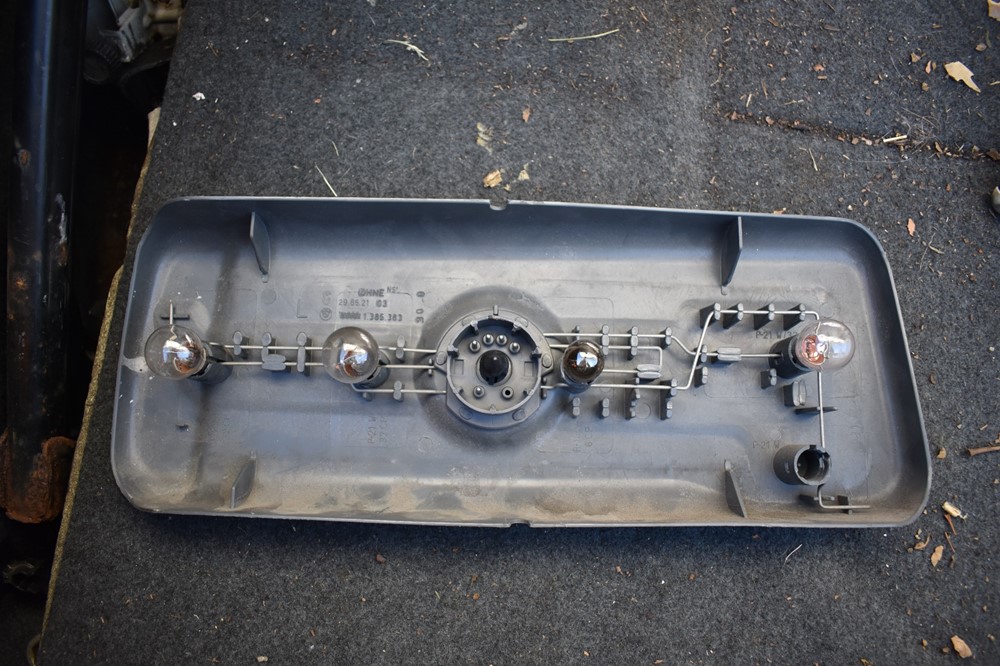
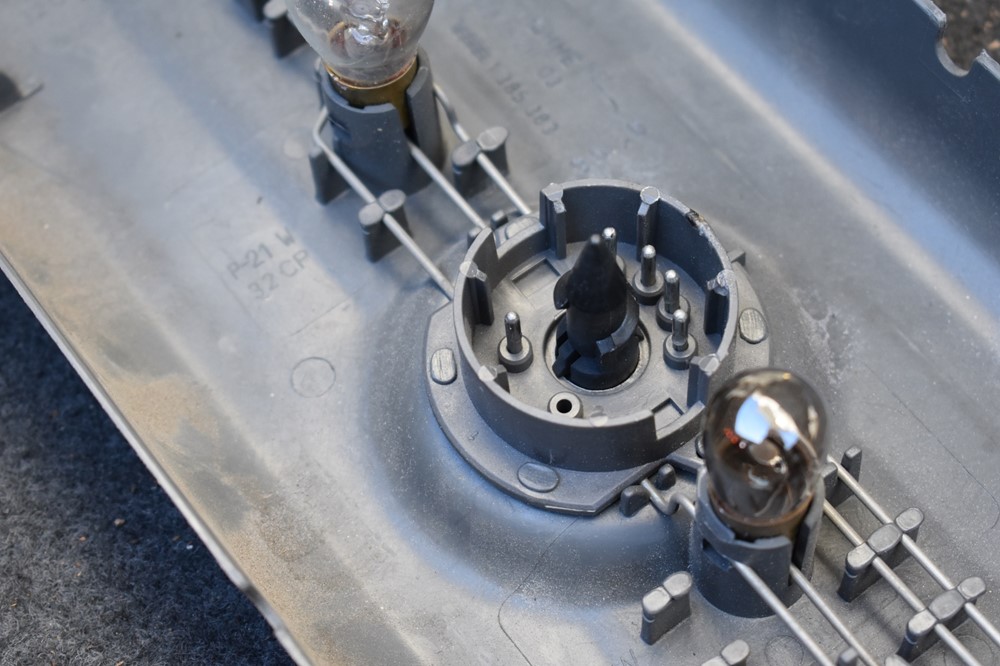
Pull the bulb holder straight out from the taillight, and set it aside. This is obviously a great time to replace any bulbs if you need to. Note that the bulb socket on the lower right is missing the power wire and is empty; for an American car, that’s intentional and is correct. Euro cars use these sockets for rear fog lights, something we don’t have in the US.
-
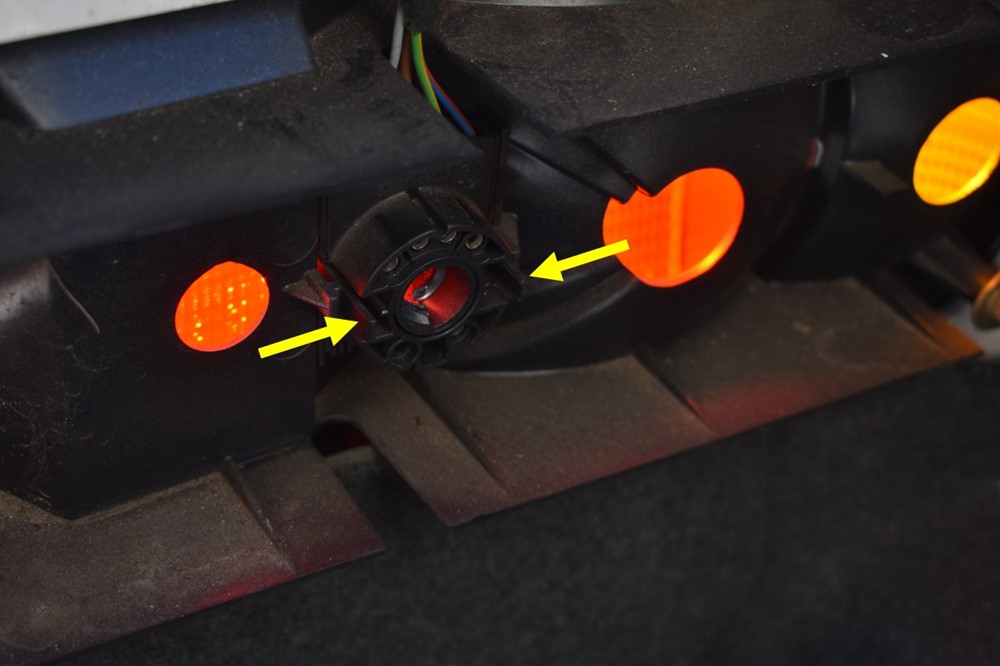
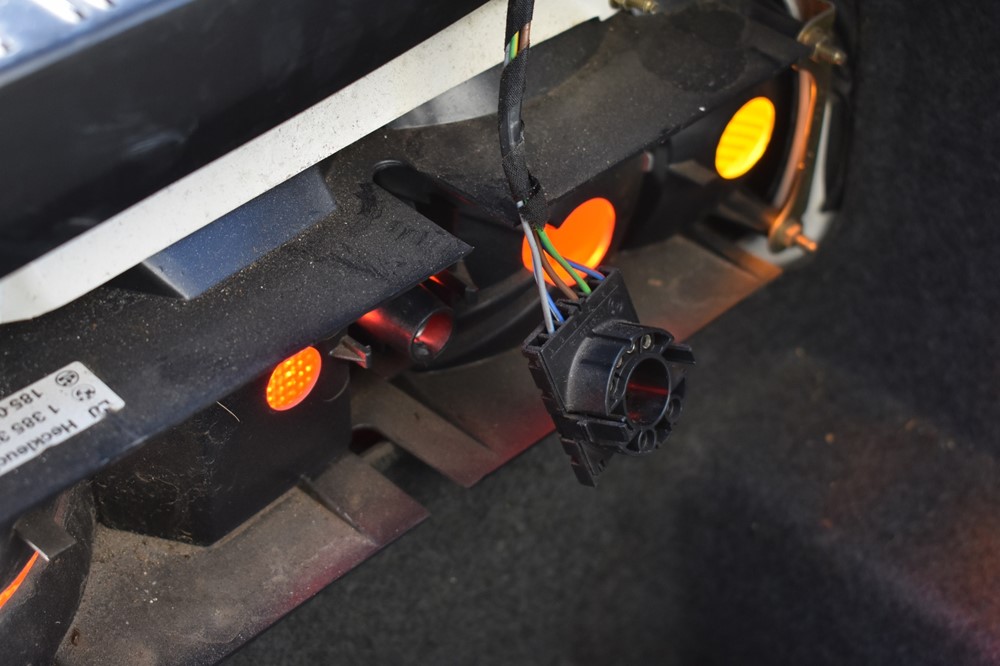
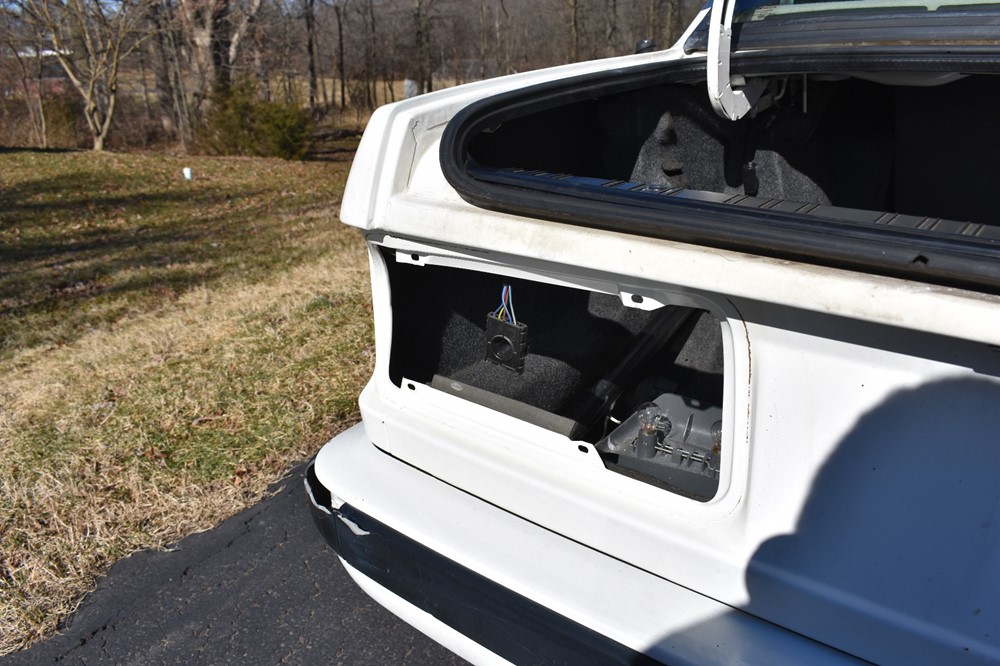
Take a look at the tail light now that the bulb holder is removed. In the center is the electrical connector. Squeeze the two tabs and pull it out of the tail light.
-
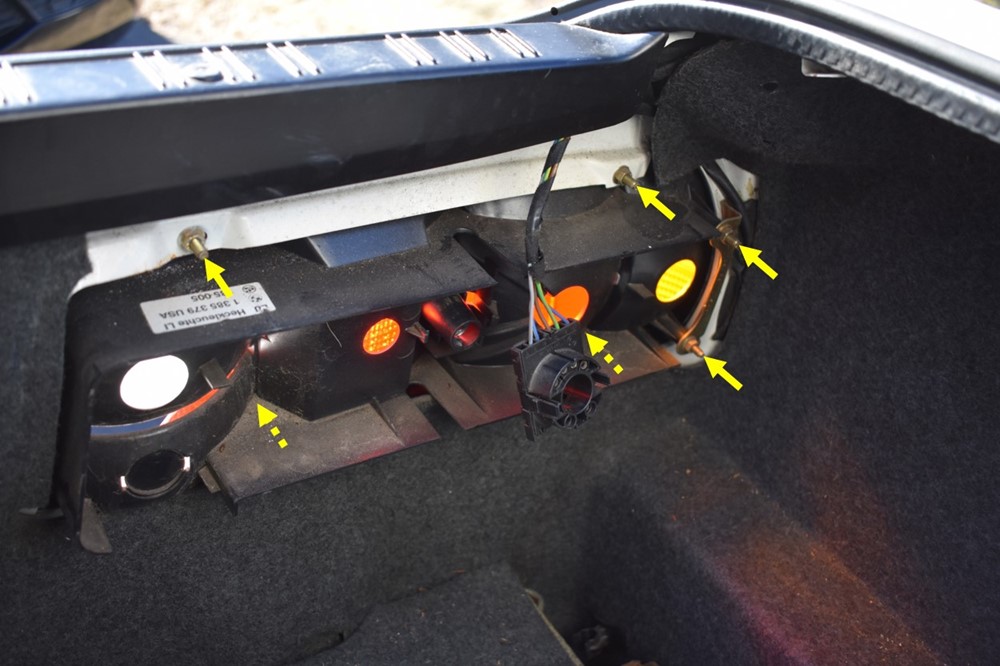
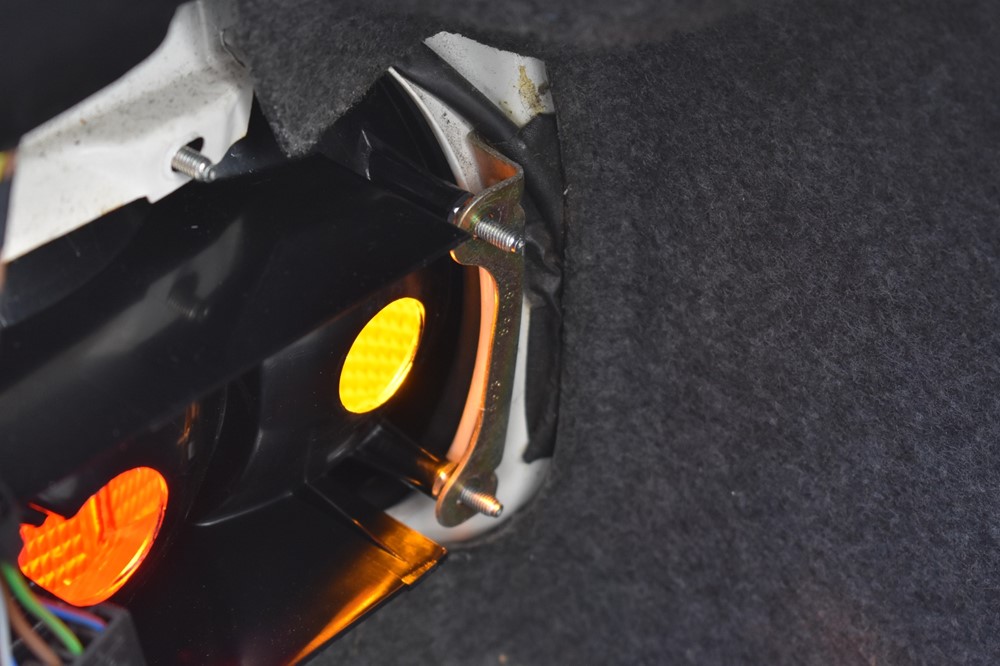
There are 6 nuts around the perimeter of the tail light. Use the 8mm socket to remove them. If you’re not planning to pull the tail light out of the car immediately, it’s wise to leave one nut slightly threaded on to prevent the tail light from accidentally falling out of the car. (Note: the two dotted arrows indicate the two nuts under the flange seen in the image below).
-
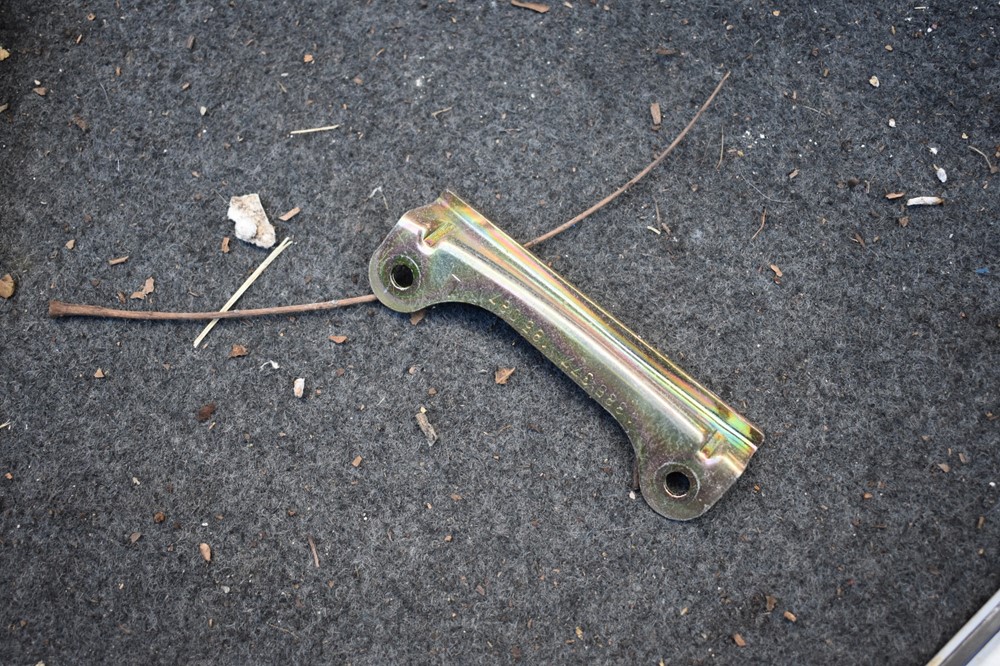
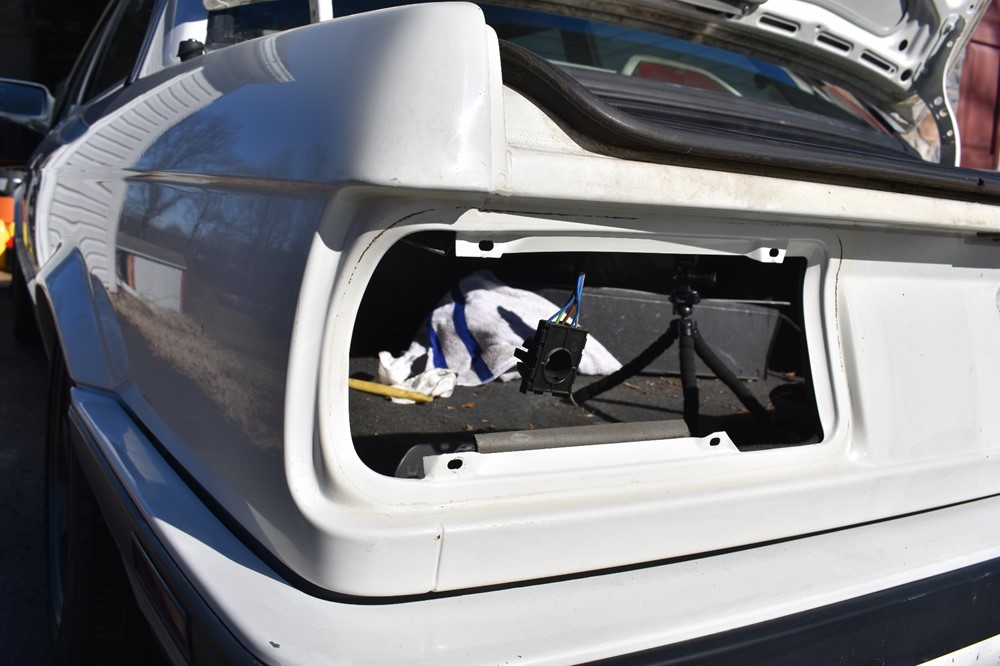
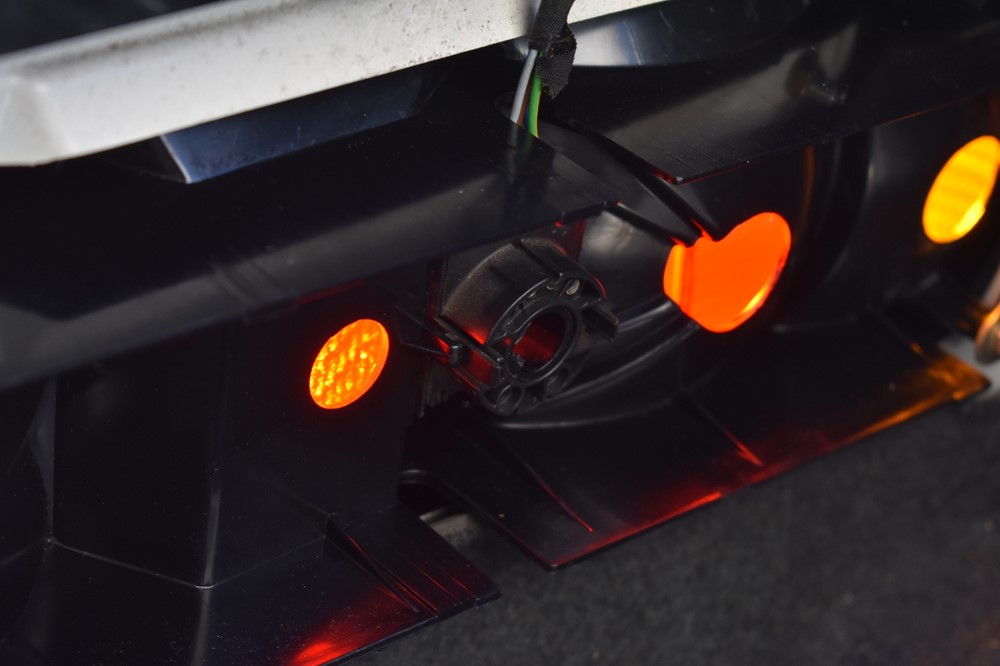
Pull this flange off of the studs on the tail light and set it aside.

-
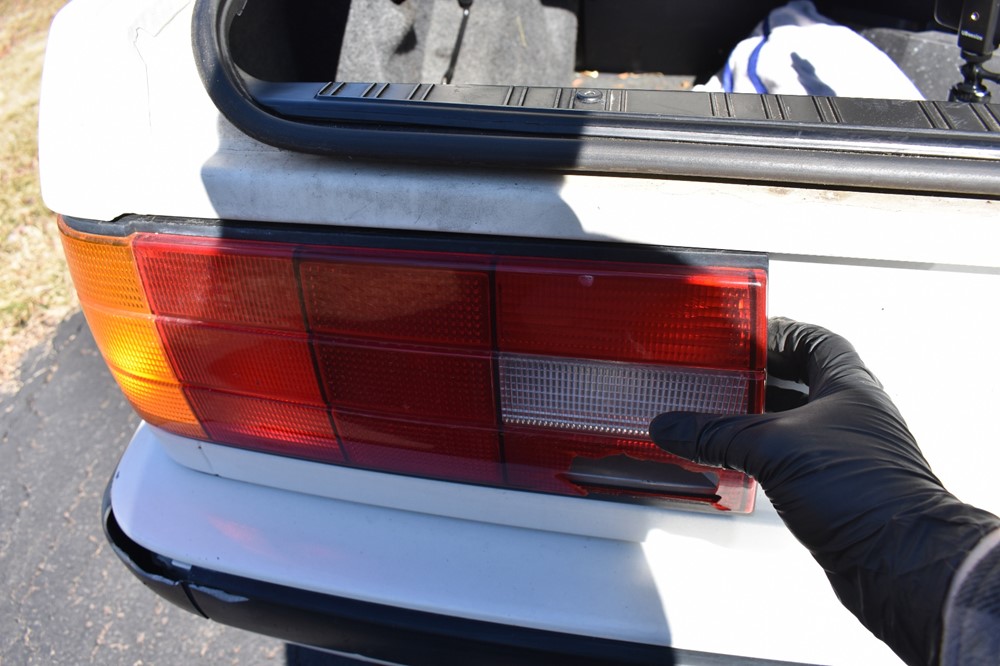
From outside the car, grab the left and right sides of the tail light and pull it straight back out of the car. (Don’t forget to remove the last nut if you left one on!)
-
The seal may have come off with the tail light, or stayed stuck to the car. If It’s still on the car, pull it off. If you’re re-using the taillight, reinstall the seal onto the light.
-
This is a good opportunity to clean area around the tail light, as dust and grime have most likely accumulated over the years. Some car wash soap, water, and a clean rag will take care of it. If you’re ambitious, you can wax the area as well.
-
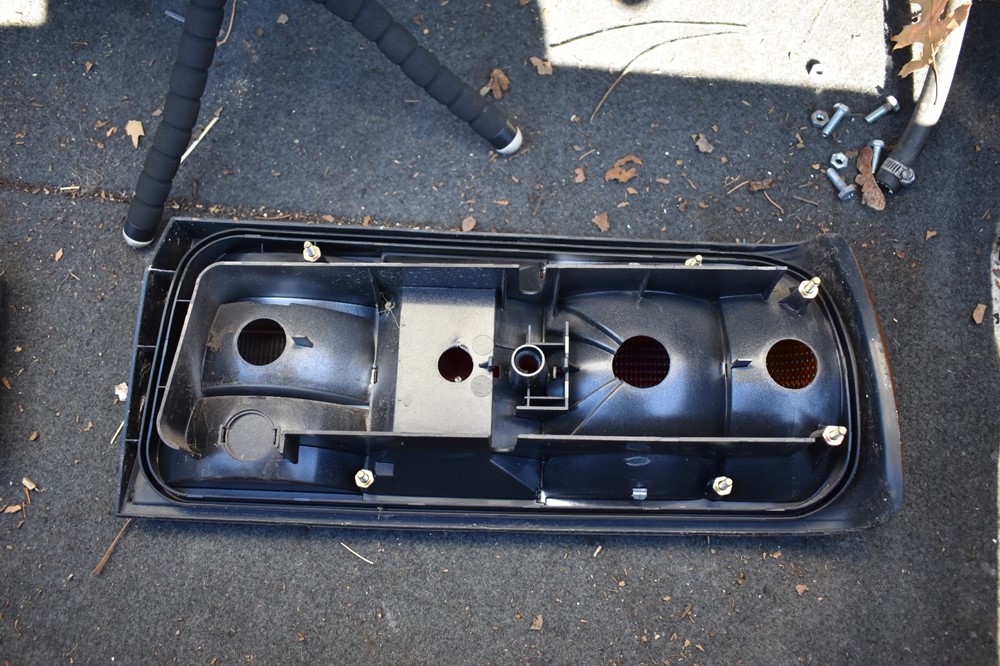
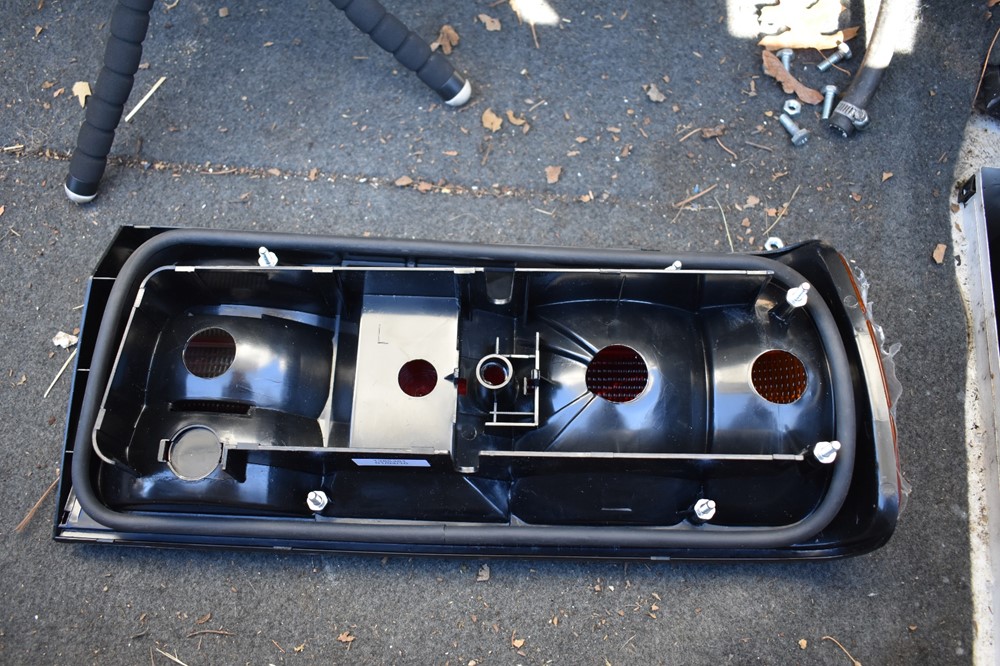
Here’s the back of the new taillight. Notice the seal comes installed around the perimeter of the taillight.
-
Carefully align the studs on the taillight with the holes in the body of the car, and install the tail light onto the car. Hold it in place while you thread one of the nuts on, to prevent the taillight from falling out.
-
Reinstall the metal flange onto the two outside studs.
- Reinstall the 6 nuts. Do not overtighten them; they really only need to be gently snugged just past hand tight.
-
Push the connector back into place until it snaps in.
-
Check the pins on the bulb holder to make sure they’re clean and corrosion free. It’s a good idea to smear a little dielectric grease on them to prevent future corrosion.
-
Insert the bulb holder back into the taillight. Turn the knob clockwise into it clicks and locks into place.
- You’re all set! If your new taillight came with a protective film on it, peel it off and enjoy your clean new lights.
Sign up to never miss a new How-To from Classic Bimmer Bits!