
E30 Accessory Belt Replacement
How-To Credit
This how-to is a Classic Bimmer Bits original, with much credit due to the many members of the community who have helped us learn along the way!
Parts
- Alternator/Water Pump Belt (BMW: 11511711091 or Contitech: CRP-10X965)
- A/C Compressor Belt (BMW: 64551722991 or Contitech: 64521706826)
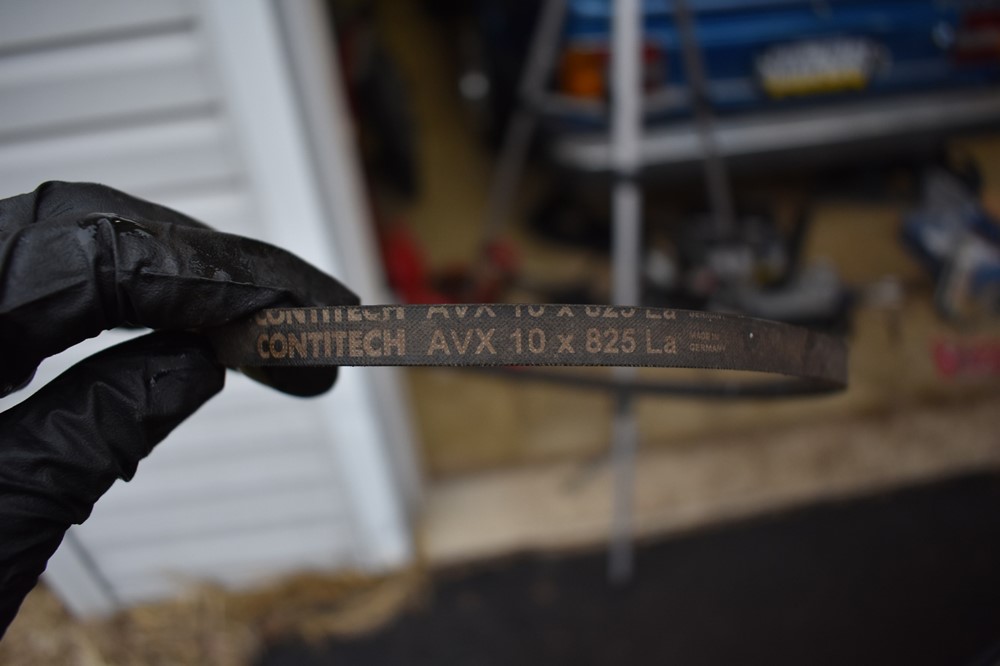
- Power Steering Pump Belt (BMW: 32421706597 or Contitech: CRP-10X825 )
- Tensioner Adjustment Nuts (if stripped or broken, up to 3) (12317677914)
(We make a commission for parts purchased through the Amazon links above, which helps keep this site hosted and free. We only link to OEM or OE parts, the same quality parts that we use on our cars.)
Tools
- 19mm wrench
- 13mm wrench
- 13mm socket
- Extension for socket
- Sharpie, to mark belts
Torque Specs (ft-lbs):
- N/A (Good and tight!)
Prodedure
- Accessory belts don’t get a lot of attention until they break. Whether one of yours has broken, or they’re just old, dry-rotted and need replacement, the job doesn’t take long, and is cheap insurance to avoid getting stranded without power steering, A/C, or worse, a dead car with no water pump and no alternator. This write-up is for a late-model 325i. Everything you be identical across 325 years and models, except for some of the belt part numbers. While the general guidelines are the same, this may not be relevant to 318 models.
-
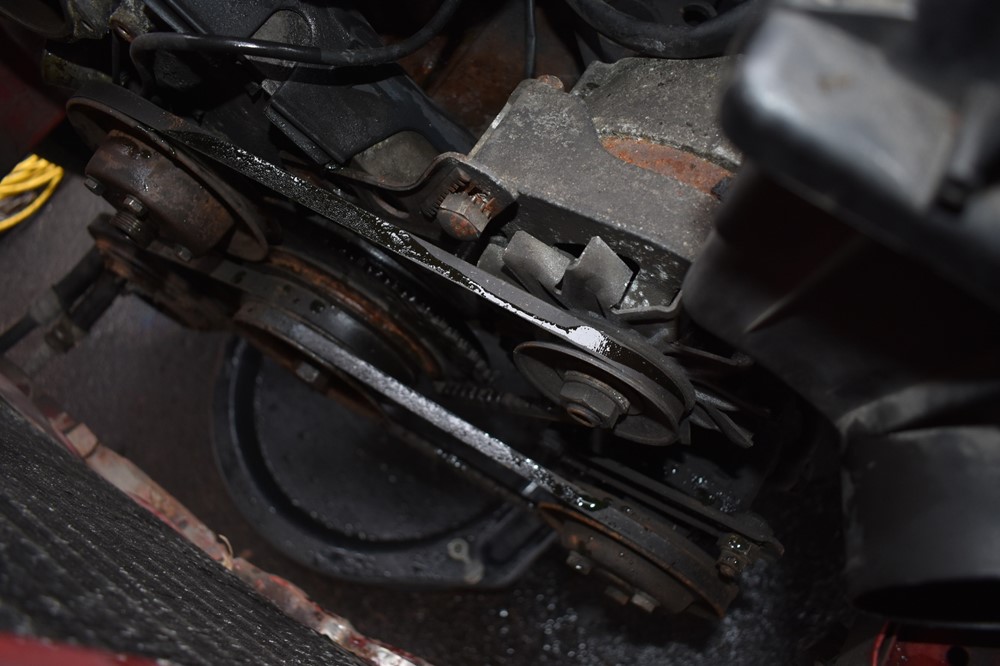
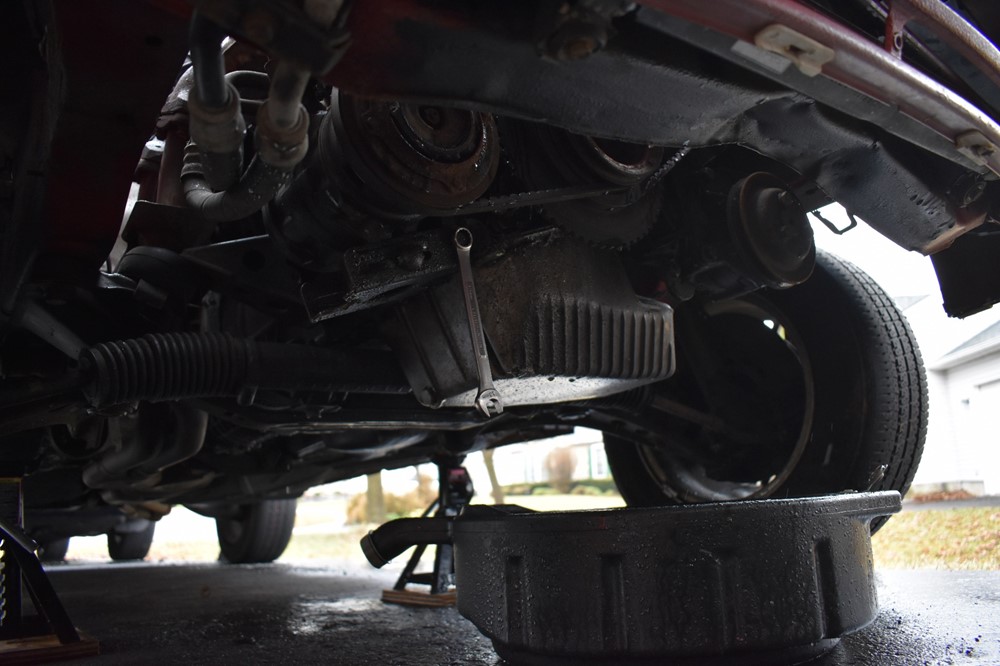
The E30 M20 has 3 accessory belts. They are 1) alternator and water pump, 2) A/C (if equipped), and 3) power steering. Here they are, with the radiator and fan removed to show them more clearly. You technically don’t have to remove the fan and radiator to get the belts out, but at the very least, removing the radiator does make the job easier. You’ll also hear plenty of advice to just cut the old belts out with a razor, which works; however, you’re going to have to follow all of these steps to install the new belts, so why not just loosen everything to remove the belts and make sure you understand which one goes where?
-
The belts need to be removed from front to back. This is true even if you only want to replace one belt, since there’s no way to get a new belt in behind the others. Therefore, we’ll start with the power steering pump.
-
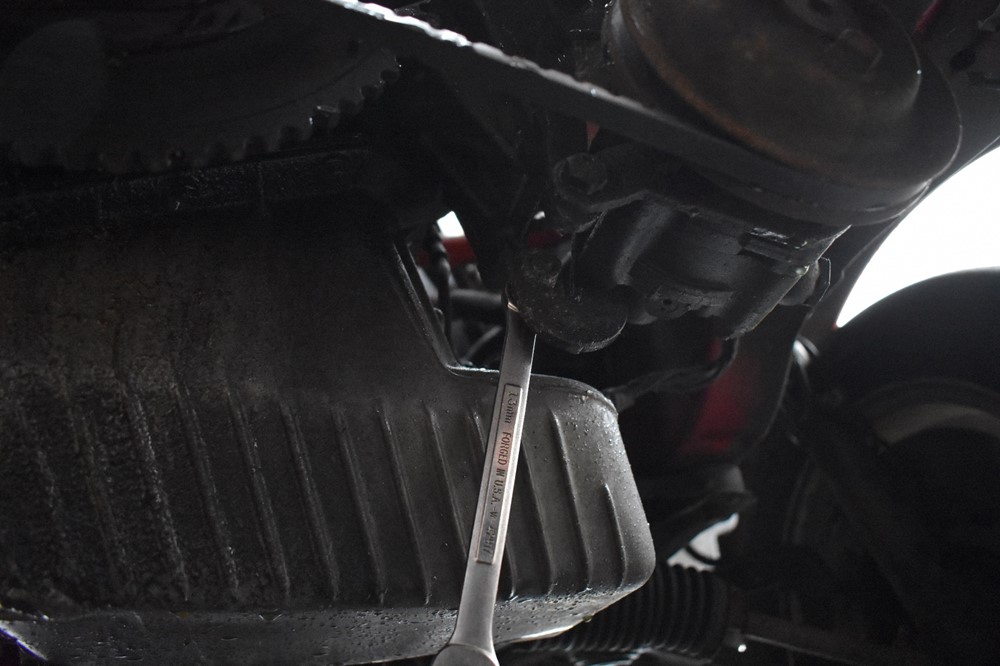
Using a 13mm wrench, or 13mm socket with extension, loosen (don’t remove) the bolt on the front hinge of the power steering pump.
-
Similarly, loosen the bolt on the back hinge of the steering pump.
-
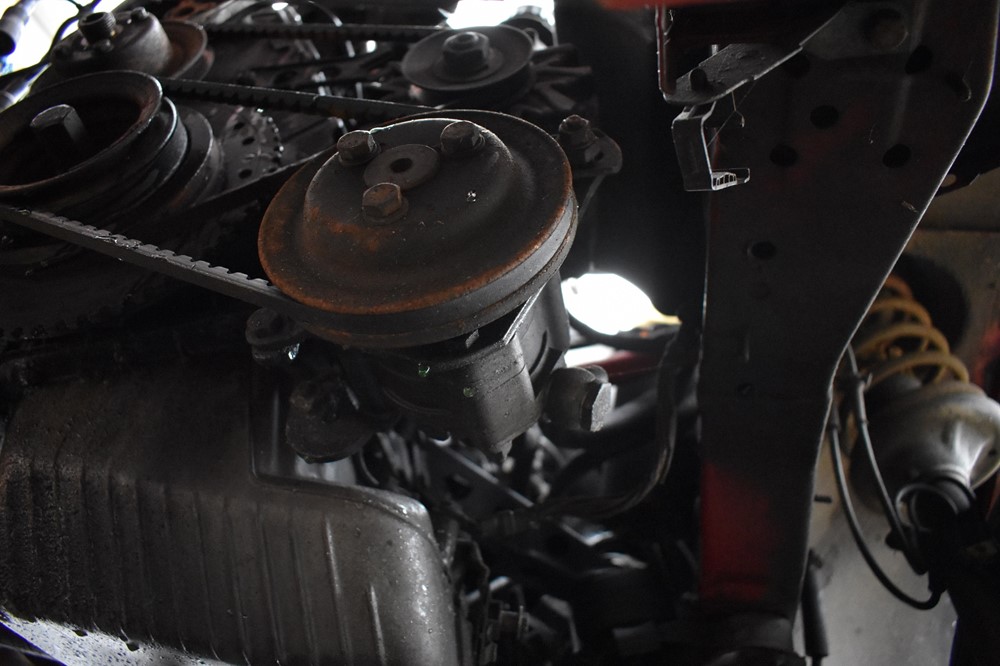
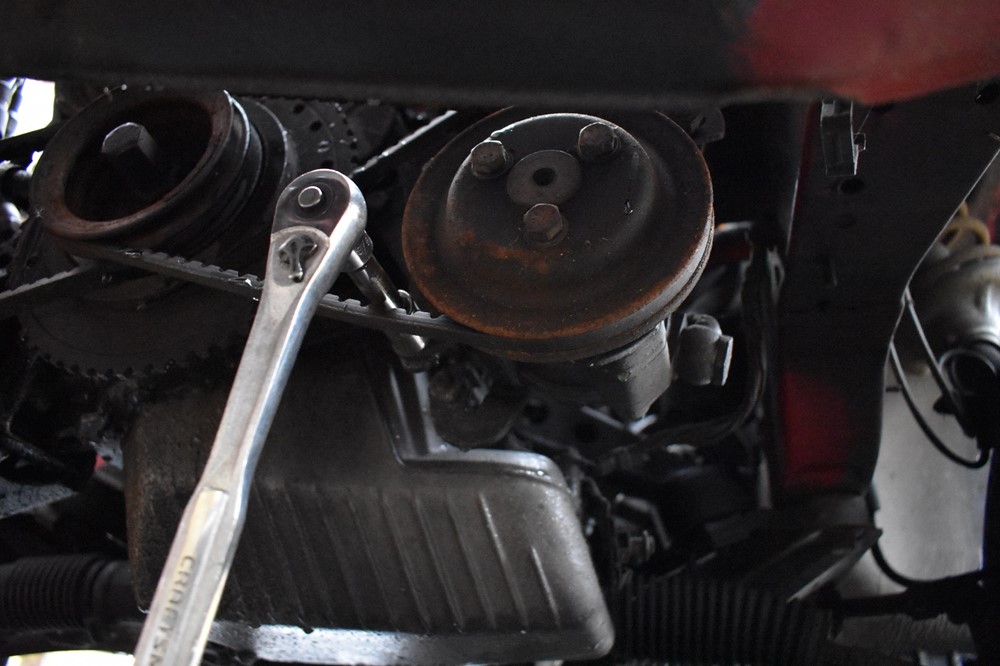
Use a 13mm socket to loosen, but not remove, the bolt on the power steering pump tensioner bracket.
-
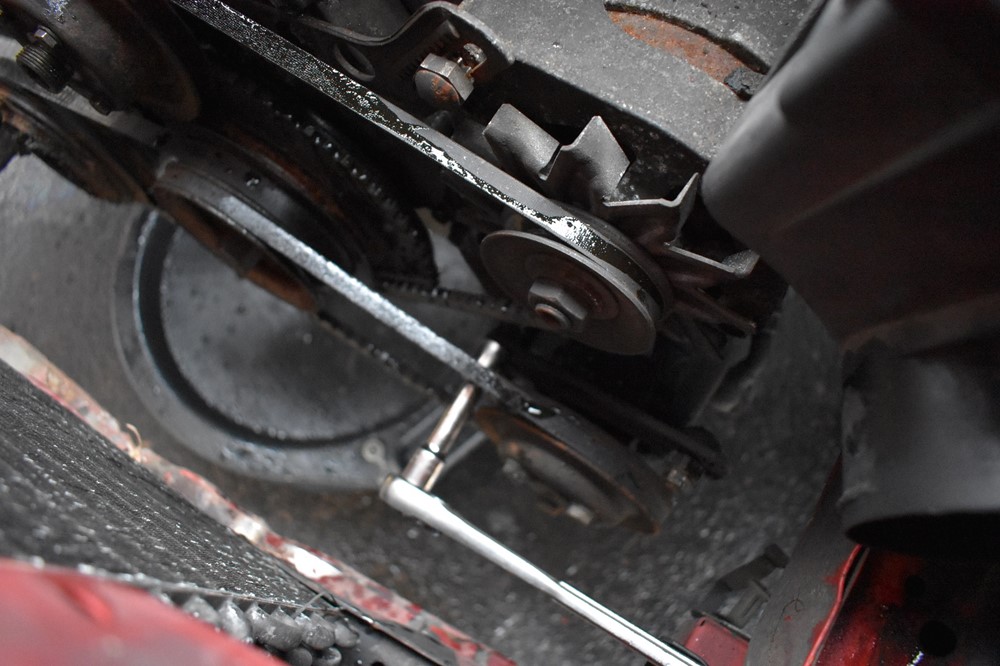
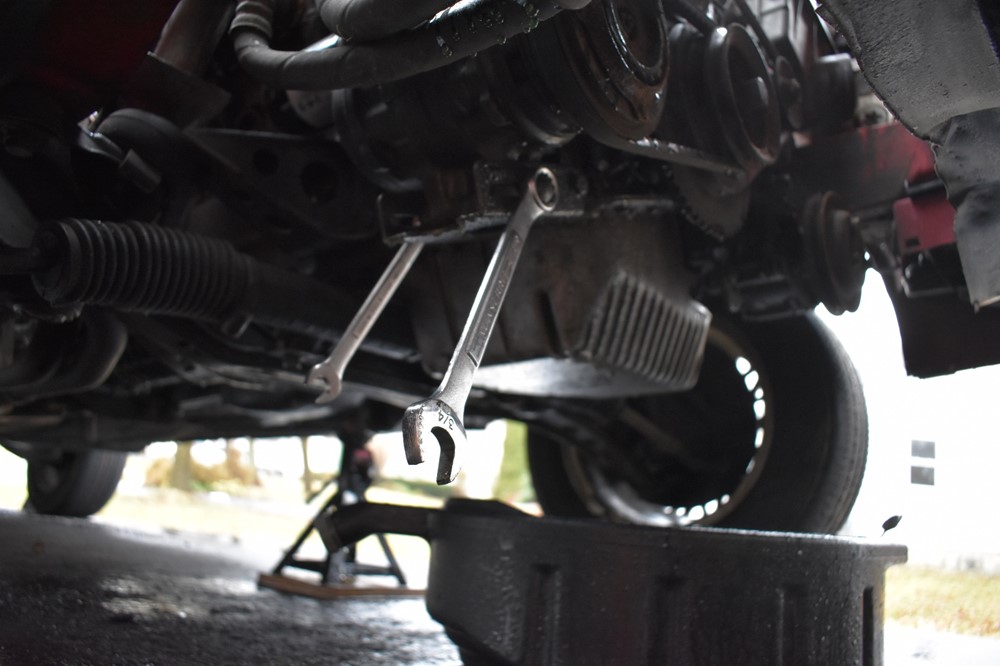
Place a 19mm wrench over the nut on the front of the power steering pump tensioner, then place a 13mm socket over the lock nut. Holding the 19mm wrench, loosen the lock nut, then then turn the tensioner nut to release the tension on the belt. Create as much slack as you can in the belt to make installing the new belt easier. It can helpful to snug up the nut at this point, to hold the pump in place with slack in the belt. (Also, forgive the crummy picture!). The teeth on the adjusting nut (12317677914) or the teeth on the tensioner bracket are notorious for breaking off, if you can afford to replace them, they make tensioning the belts much easier.
-
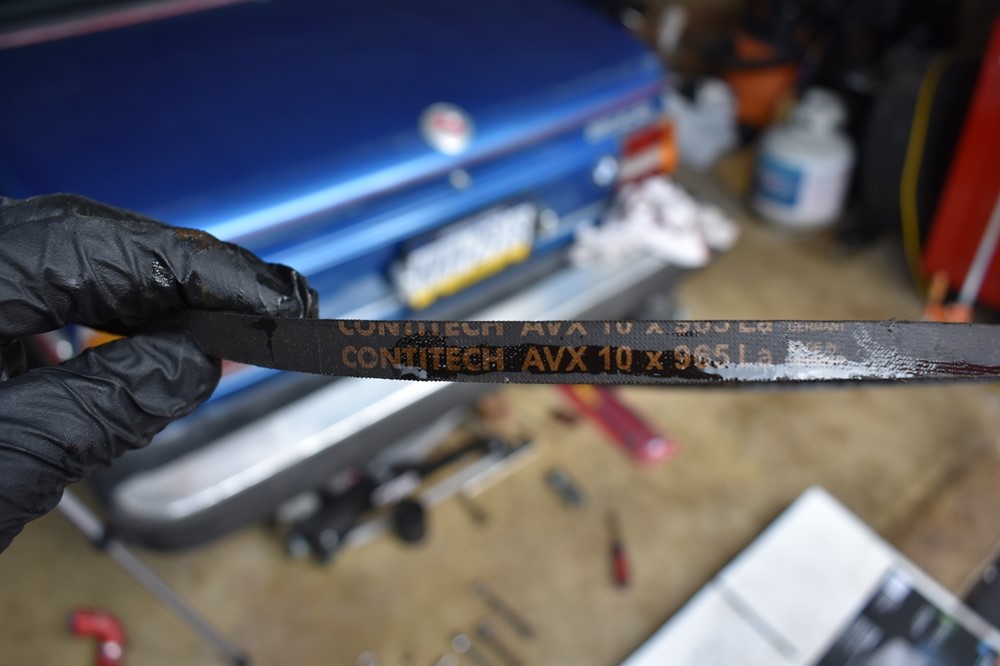
With the tension off the belt, pull it off of the pulleys. I like to take note of the size of the belt, just to make sure I replace with the right size. Another way to do this is to mark the belt with a sharpie (with “PS” for example) and compare sizes before you install the new belt.
-
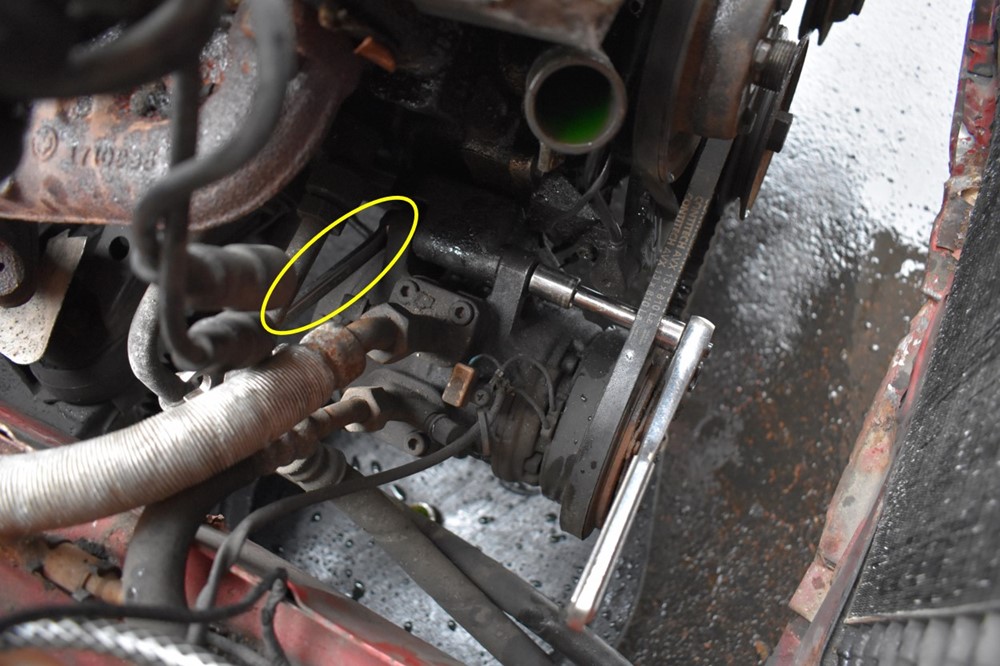
Next is the A/C belt. Slide a 13mm wrench in behind the A/C compressor and place it on the compressor hinge nut (circled in yellow). Place another 13mm wrench or socket on the head of the compressor hinge bolt. Loosen, but do not remove.
-
Similarly, loosen the compressor tensioner bracket hinge (2nd 13mm wrench on the back nut isn’t shown in the image below).
-
Place a 19mm wrench on the large adjusting nut on the front of the tensioner bracket, and a 13mm wrench on the locking nut on the back of the bracket. Holding the 19mm wrench in place, loosen but do not remove the locking nut. Then, use the 19mm wrench to turn the adjusting nut to remove the tension on the belt and create as much slack as possible. Again, it’s helpful here to snug up the locking nut to hold the belt slack. The adjustment nut is the same part number here 12317677914) as for the power steering pump, and are worth replacing if stripped.
-
As with the steering pump belt, make note of the size or mark the belt to identify it. Notice that our belt broke while pulling it off the pulley, it was ready to blow at any minute!

-
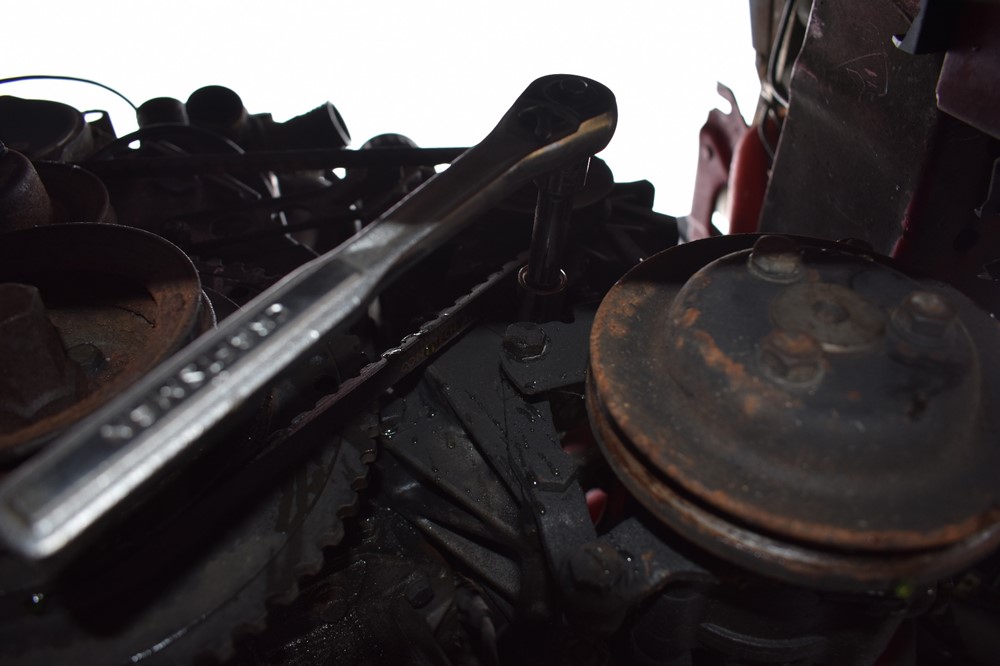
Lastly, it’s time to remove the water pump and alternator belt. The alternator hinge nut is located between the power steering pump and the alternator belt. Use a 13mm socket and extension to loosen, but do not remove.
-
Use a 13mm socket to loosen, but not remove, the nut that holds the alternator belt tensioner bracket.
-
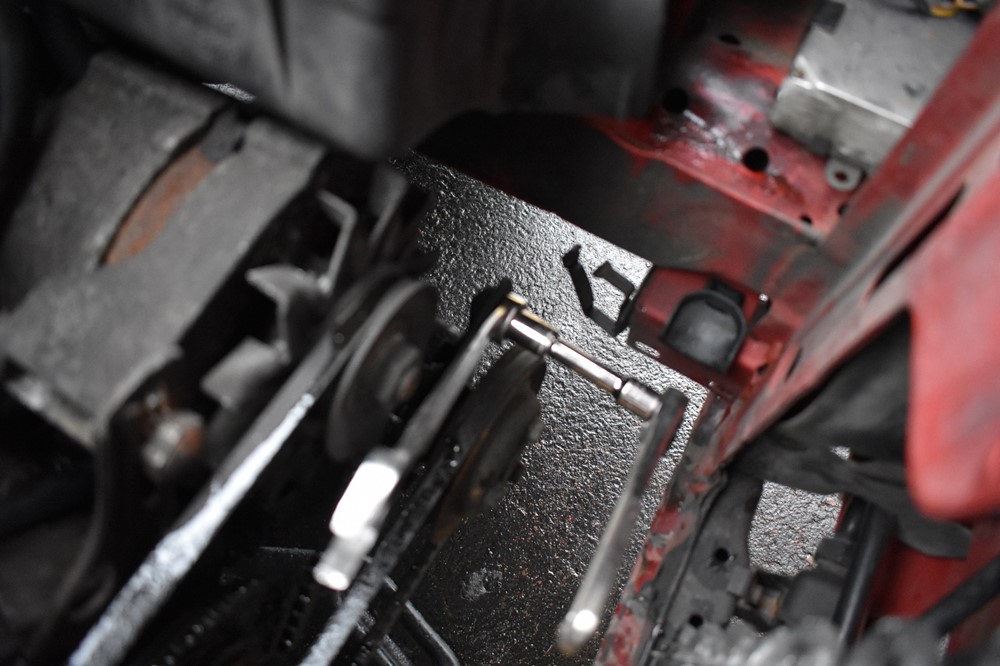
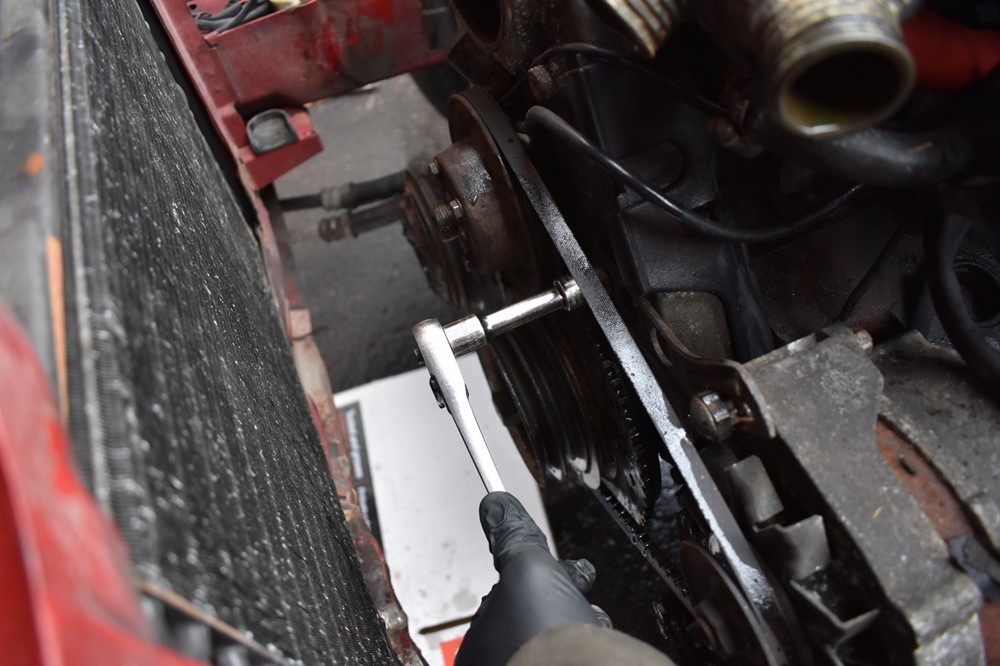
Use a 19mm wrench to hold the tensioner adjustment nut in place, and use a 13mm wrench to loosen the nut (circled) on the back of the adjustment bolt. Use the 19mm wrench to turn the adjustment nut and create as much slack as possible in the belt. Snug the locking nut up again to hold the slack. Once again, the adjustment nut part number is the same as the others (12317677914) and can be replaced if damaged.

-
Remove the belt. If you haven’t removed the fan, you’ll need to work the belt over the fan to get it out. Like the others, note the size or mark it appropriately.
- Congratulations, you’re halfway! All of the belts are removed. Now to install the new belts. The order is the reverse of installation. In the next step, we’re going to talk about belt tension. Exact specs for belt tension are hard to judge. We haven’t had much luck finding them for our cars, and typically they’re based on a certain amount of displacement under a particular load, or other specs that are difficult for shade tree mechanics like us to use. In all reality, the best belt tension is tight, but not too tight, as vague as that may sound. Put some tension on the belt and see how it feels when you press on the belt in between two of the pulleys. There should be a little bit of give, but no slop. It’s better to lean a hair towards the loose side, you’ll hear a loose belt squeal and can fix, whereas an overly tightened belt just puts excess load on the belt and the bearings of the components.
-
Work the new alternator/water pump belt over the fan and pull into place over the rear-most crankshaft pulley, water pump pulley, and finally over the alternator pulley. Using the 19mm wrench on the adjustment nut, turn it to put tension on the belt. Hold the 19mm wrench in place and tighten up the 13mm locking nut on the back of the adjuster.

- Tighten up the bracket hinge nut and alternator hinge nut (see steps 13 and 14 for location).
-
Next, install the A/C compressor belt. Place in the middle groove in the crankshaft pulley, then pull it over the compressor pulley. Similarly to the alternator, use the 19mm wrench on the adjustment nut to put tension in the belt, then tighten the 13mm nut on the back of the adjustment bolt.

- Tighten the bracket hinge and compressor hinge nuts (see steps 9 and 10 for locations)
-
The last belt is the power steering belt. Place the belt over the front-most groove in the crankshaft pulley, then pull it over the water pump pulley. Using the same tensioning method, use the 19mm wrench to tension the belt then use the 13mm wrench to tighten the locking nut, which in this case is in front of the adjustment nut.

- Tighten the tensioner bracket hinge bolt and the two power steering pump hinge bolts (see steps 4, 5, and 6 for locations).
- If you removed the radiator, reinstall it and fill and bleed the coolant system.
- Congratulations, you now have new belts! If you hear any squeaking when driving with new belts, chances are one or more are slipping. Take a look at the belts for slop, and follow the appropriate steps above to loosen, tension, and tighten any belts that look suspect.
Sign up to never miss a new How-To from Classic Bimmer Bits!