
E30 Camshaft Seal Replacement
How-To Credit
This how-to is a Classic Bimmer Bits original, with much credit due to the many members of the community who have helped us learn along the way!
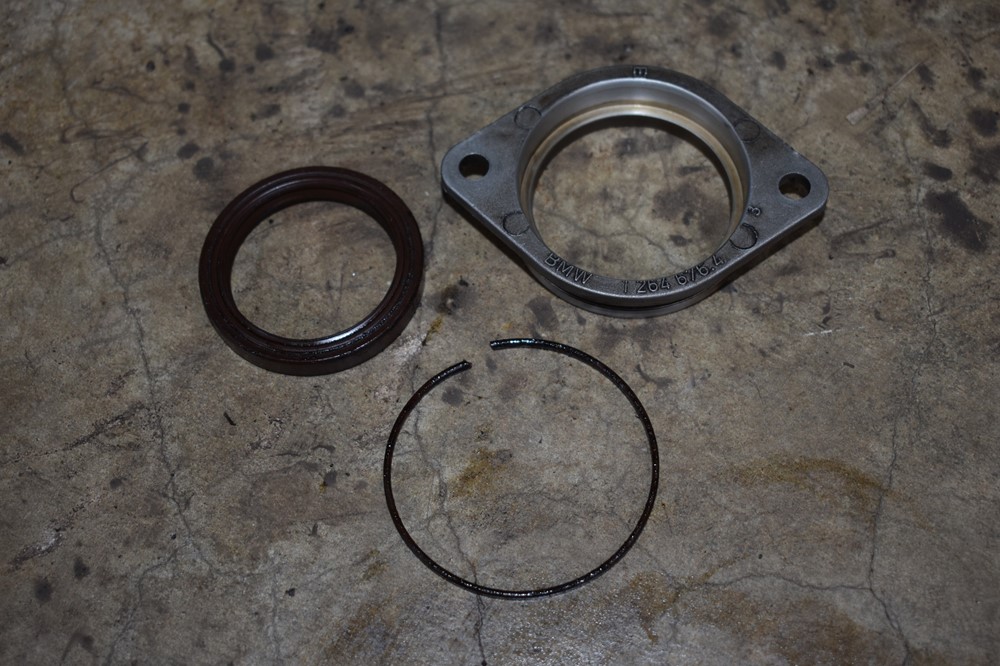
Parts
- Camshaft seal (11121284154)
- Camshaft retainer o-ring (11121265087)
(We make a commission for parts purchased through the Amazon links above, which helps keep this site hosted and free. We only link to OEM or OE parts, the same quality parts that we use on our cars.)
Tools
- 13mm socket
- E12 socket
- Torque wrench
- Rubber mallet
- Socket extension
- Putty knife
- Seal removal pick
- Mold scotchbrite
- Razor blade
- Seal or bearing race install set (or socket with diameter just under 50mm, typically a 36mm or 37mm socket)
Torque Specs (ft-lbs):
- Seal retainer bolts: 7.4 ft-lbs (10 N-m)
- Camshaft pulley bolt: 48 ft-lbs (65 N-m)
Prodedure
- Leaking camshaft seals can be a little difficult to identify, since a leaking camshaft cover gasket is more common, and looks similar. You often won’t be able to fully confirm the camshaft seal is leaking until you’ve pulled the upper timing belt cover off. More often than not, replacing the camshaft seal just happens when you replace the timing belt. If you’ve got any question about whether your camshaft seal is leaking, or if you suspect it’s original, it’s best to just replace it with your next timing belt change, since you’ll have done 80% of the work already. This write-up covers camshaft replacement for M20 engines across E30 models.
- Follow Timing Belt Replacement up through step 25. Make sure to follow step 20 to break the camshaft pulley bolt loose.
-
Use the E12 socket to remove the camshaft pulley belt and dust cover.
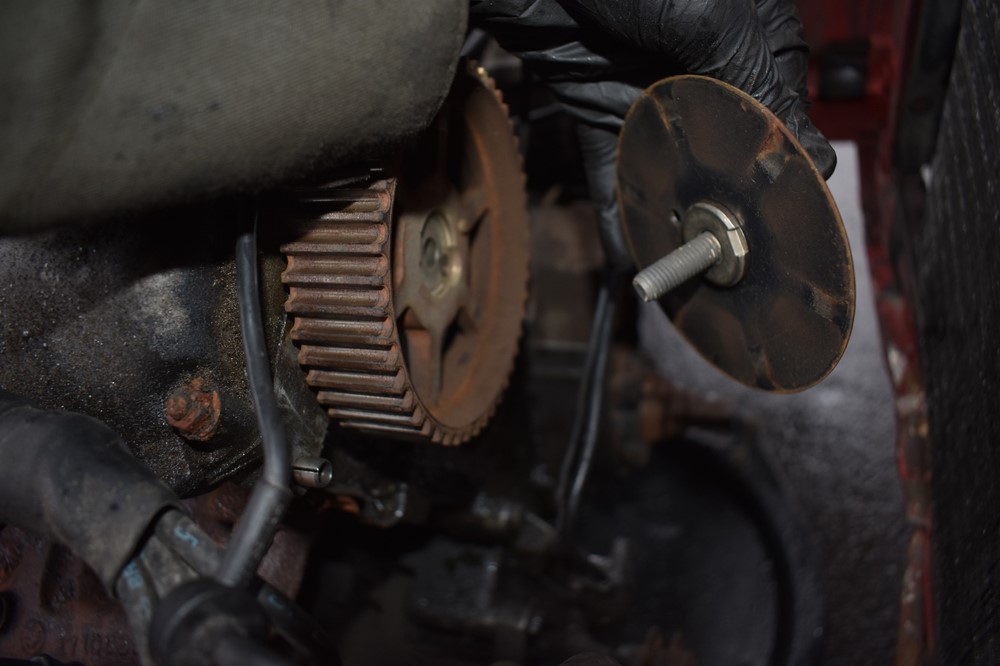
-
Pull the camshaft pulley off of the shaft. It may require a little wiggling, or a couple very light taps with a rubber mallet.
-
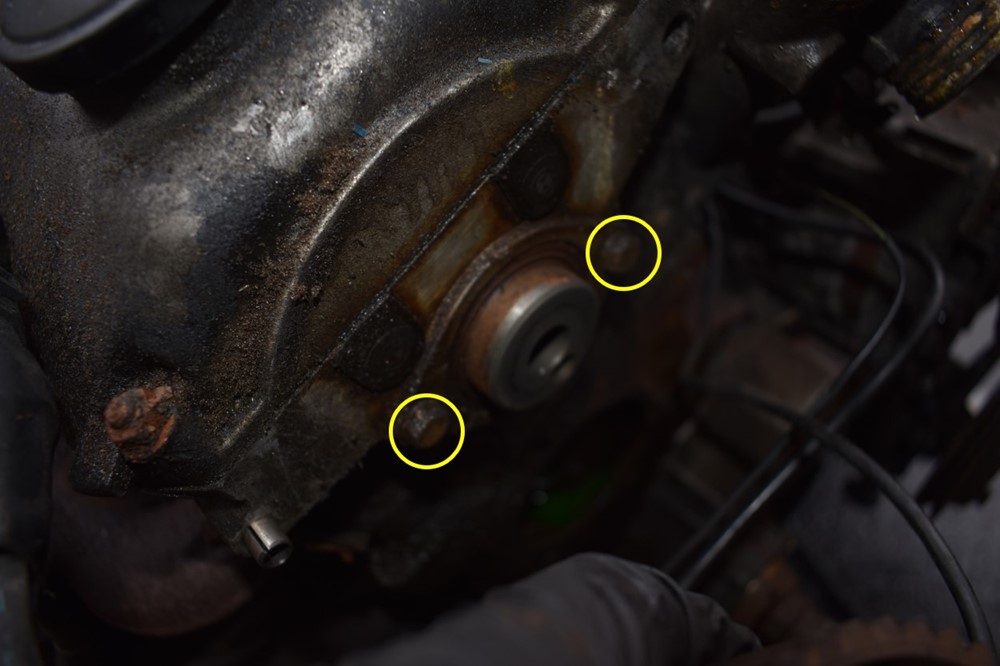
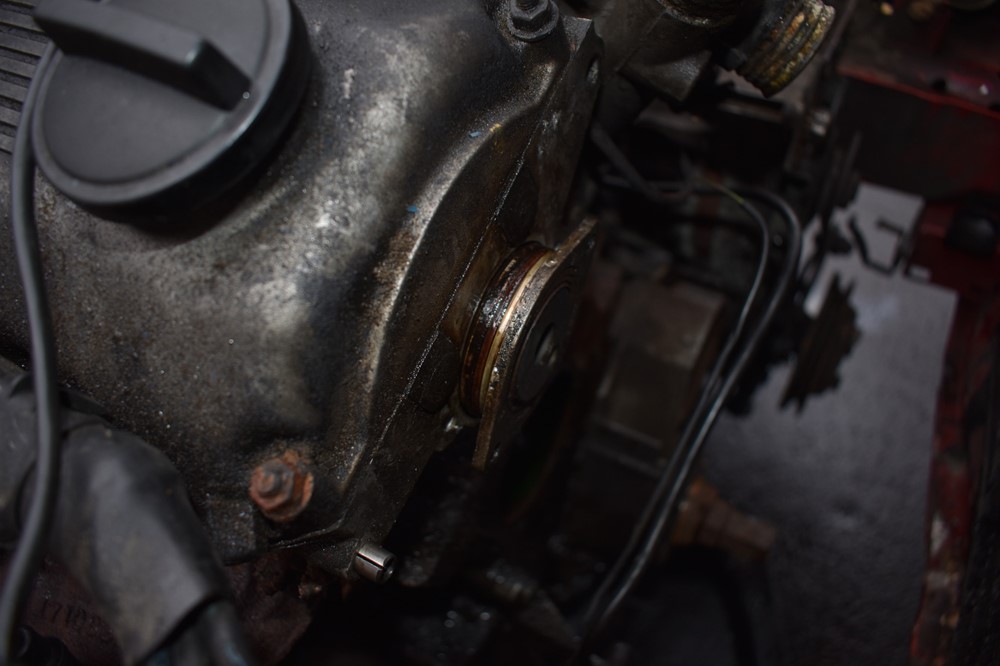
Use a 13mm socket to remove the two bolts from the seal retainer.
-
This step can be a real pain. You need to pull the seal retainer out of the cylinder head, against the resistance of the o-ring on the outside, and the shaft seal on the inside. There are a couple of ways to go about it. The best way we’ve found is to carefully tap a putty knife between the retainer and head, then wiggle the knife to work the retainer out. However, if the retainer is tight against the head, you may not be able to get the knife started. In this case, you can set the end of a socket extension against one side of the retainer and use a rubber mallet to carefully rotate it downward as shown. Once you get the edge of the retainer rotated past the edge of the head, you can get a finger behind the retainer to pull and wiggle it outward.
-
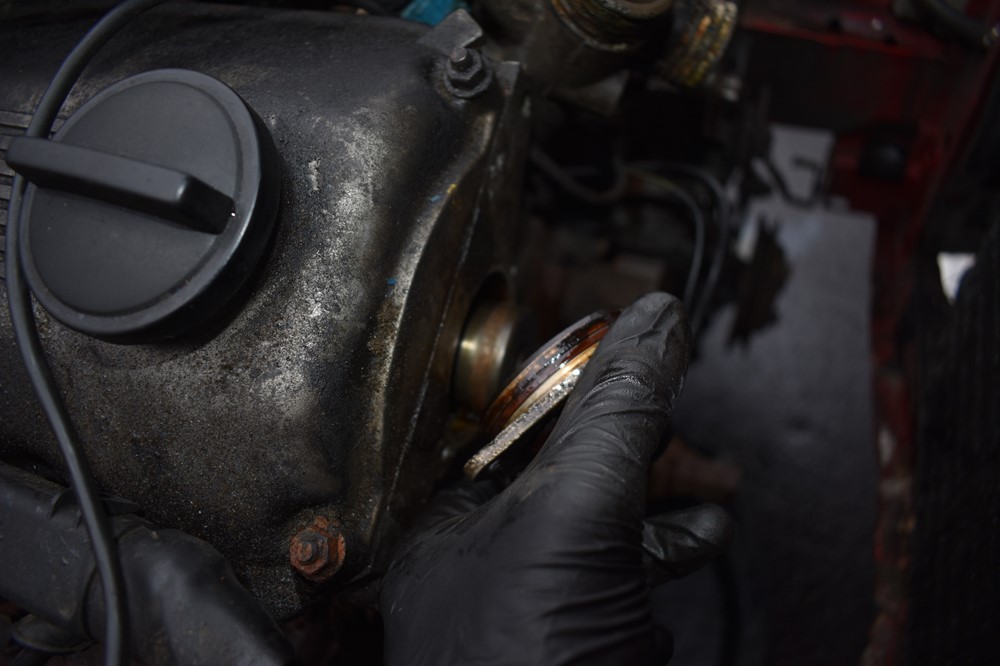
Getting the retainer started moving is the hardest part. Once you get a gap between it and the head, you can get a flathead screwdriver in between. Be very careful as you pry the retainer outward, the last thing you want to do is ding the head or tweak the retainer. Take your time to work it out evenly on both sides.
-
Next, you need to remove the old o-ring and shaft seal from the retainer. We’ll start with the shaft seal, which is retained on the inside of the retainer.
-
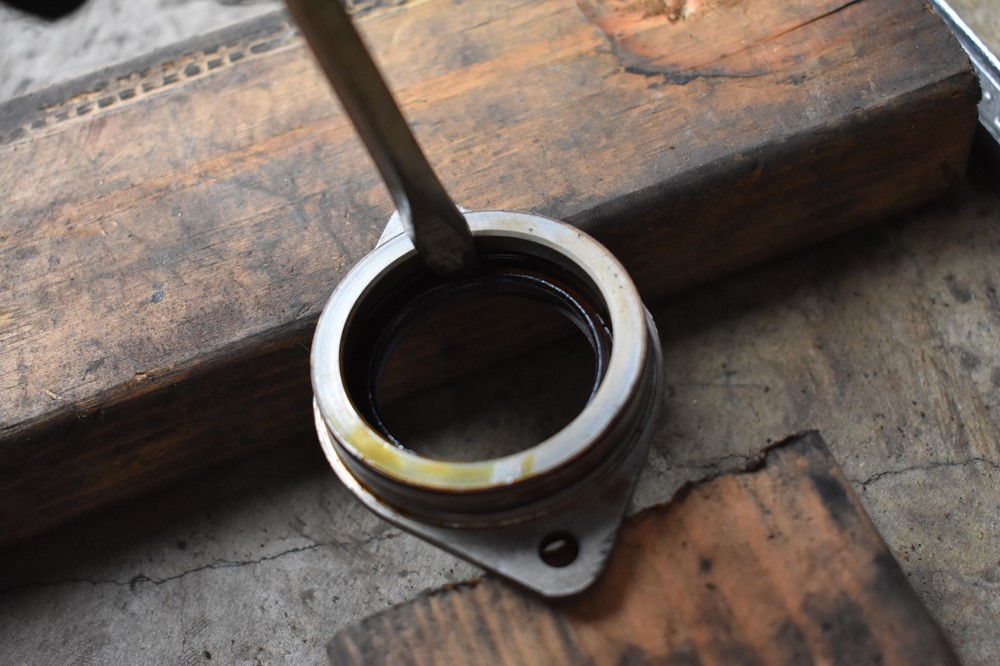
The easiest way to remove the seal is to knock it out from behind. Flip the retainer over and set it on an open vice, or a set of blocks or boards, set just far enough apart to clear the seal. Set the tip of flathead screwdriver in the rim of the seal, and use a mallet to drive the seal out of the retainer.

-
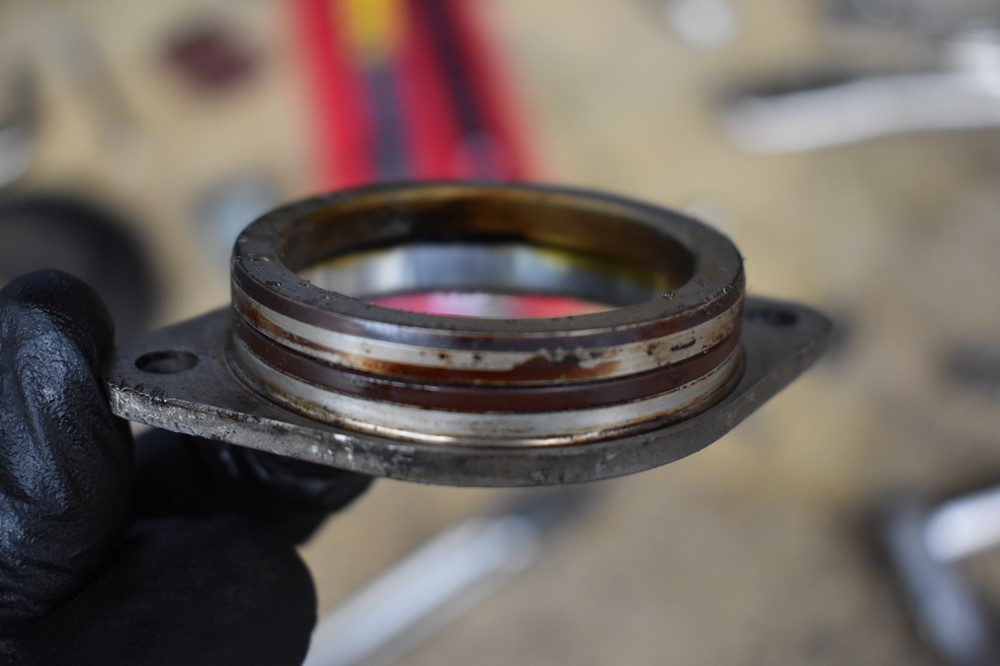
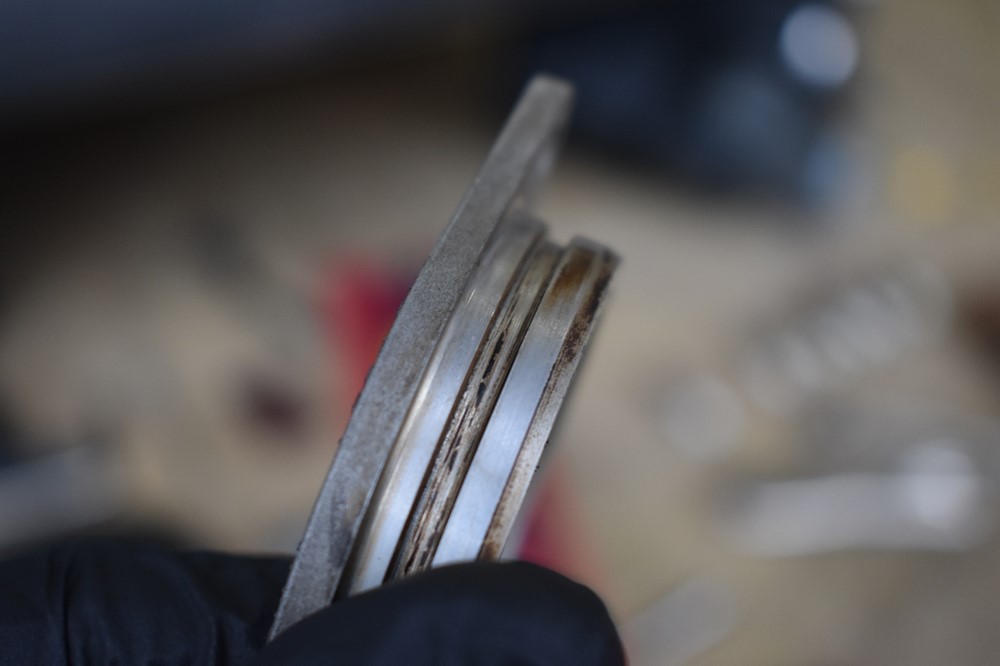
Next, use a pick to remove the o-ring from the groove around the outside of the retainer. Notice how the seal has an almost square cross section after 30 years of compression set!
-
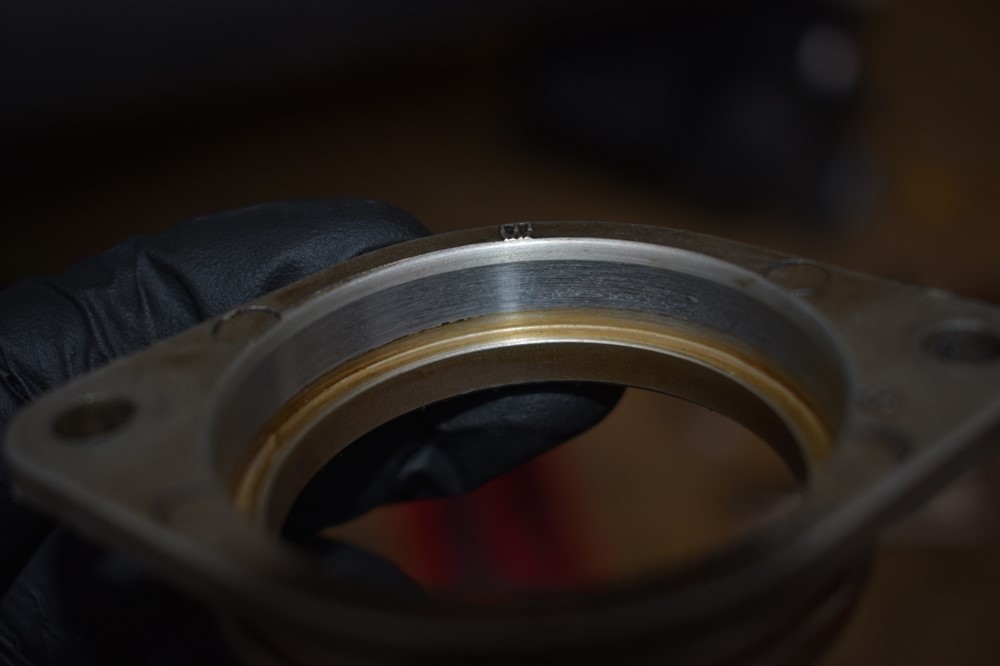
It’s no good installing nice clean seals into a dirty retainer, you’re begging for leaks if you do. Use your pick and some mild scotchbrite to clean all of the crud out of the o-ring groove on the outside, and the seal pocket on the inside. Here are some before and after shots of where you want to get. It doesn’t need to look perfect, but you don’t want any raised or rough surfaces.
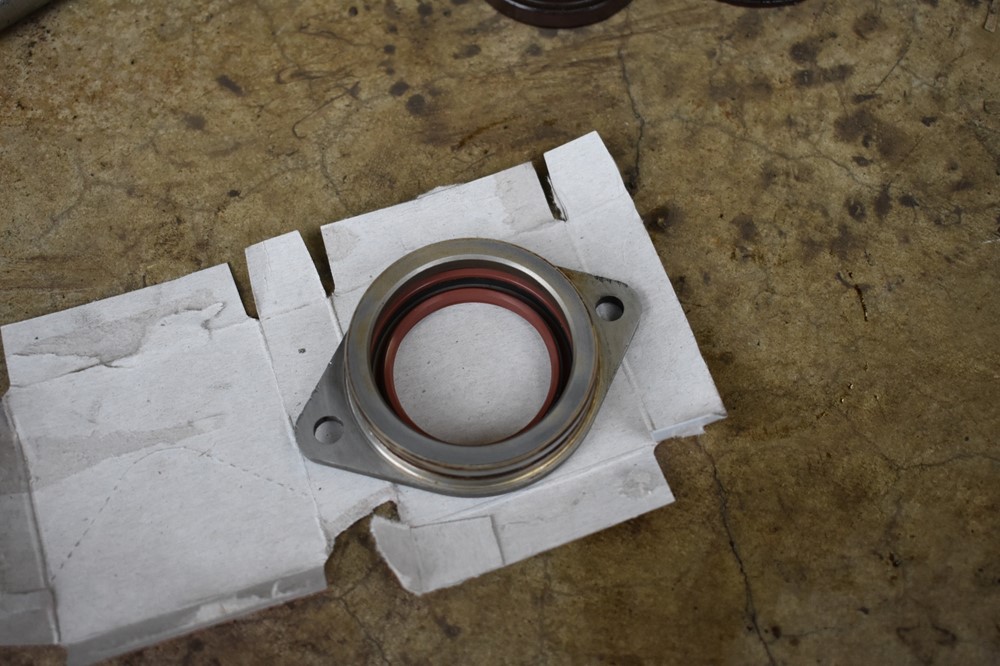
- You can now install the new o-ring and shaft seal into the retainer. The o-ring is easy, carefully pull it over the edge of retainer and let it slip into the groove. Just be careful not to stretch it any more than necessary, and check after it’s in the groove to make sure it’s not spiraled around. You should be able to see the seam on the o-ring running straight around the outside diameter.
-
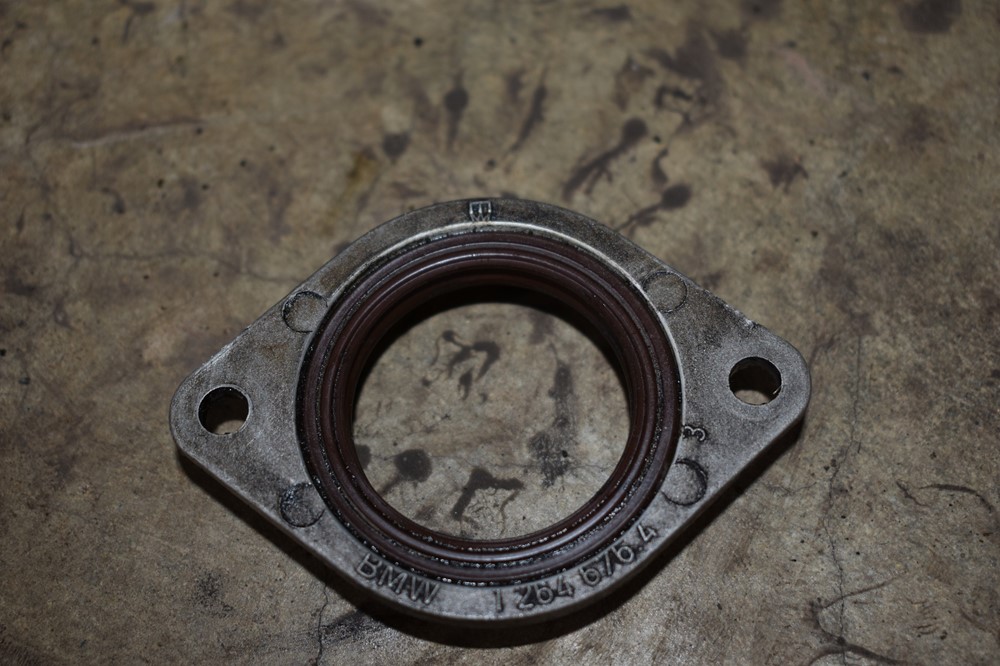
The seal can be a little bit trickier. You need to be careful to keep it straight, and seat it fully in its pocket. Set the seal in the pocket, then flip it seal-side down. It can be handy to unfold the seal’s box and use it to protect the seal. Use a rubber mallet to smack the back of the retainer until the seal and retainer sit flush, as shown. Then, you’ll need to use a seal install tool to set the seal fully in the pocket. The seal itself is 50mm in diameter, you want a head on the seal install tool that’s smaller, but as close to 50mm as possible. If you don’t own a seal install tool, a 36 or 37mm socket is very close; set the flat, back face of the socket on the top face of the seal, and gently tap it down until the seal is fully seated in the pocket. (sorry for the post-installed pic of the seal!)

-
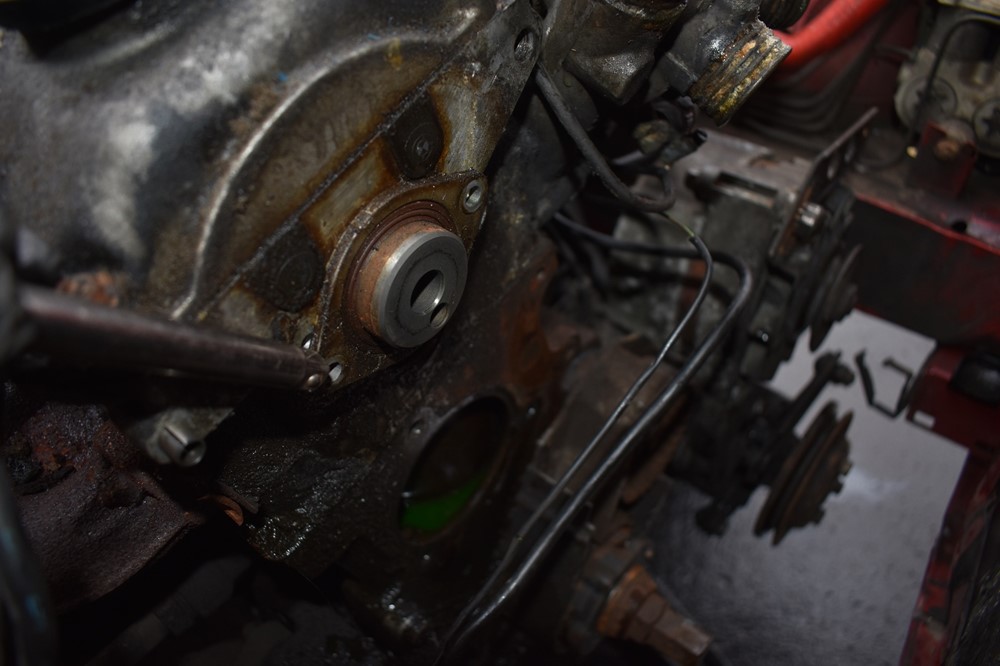
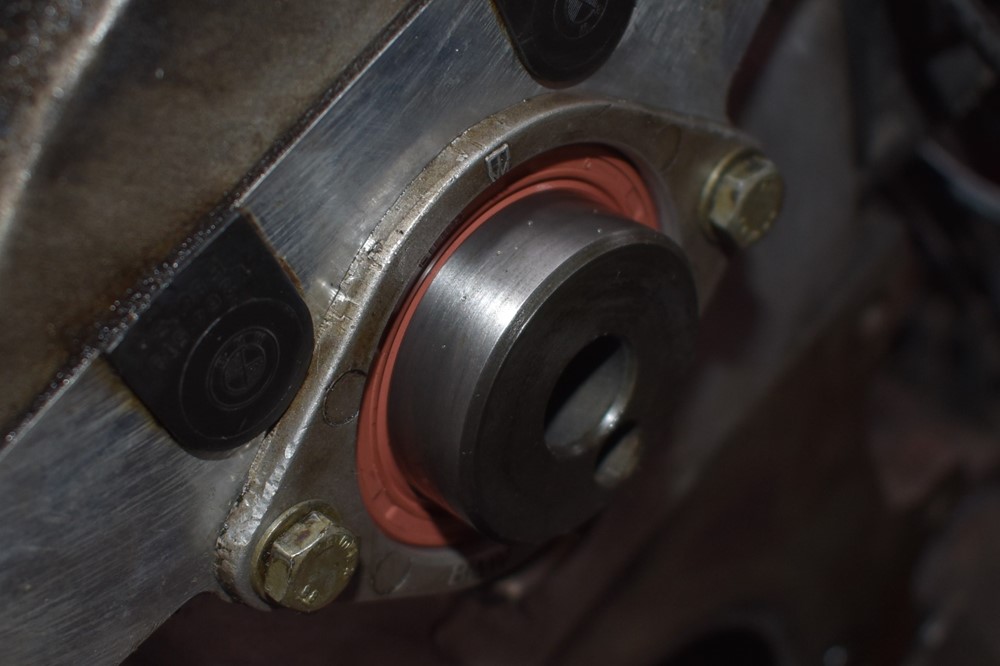
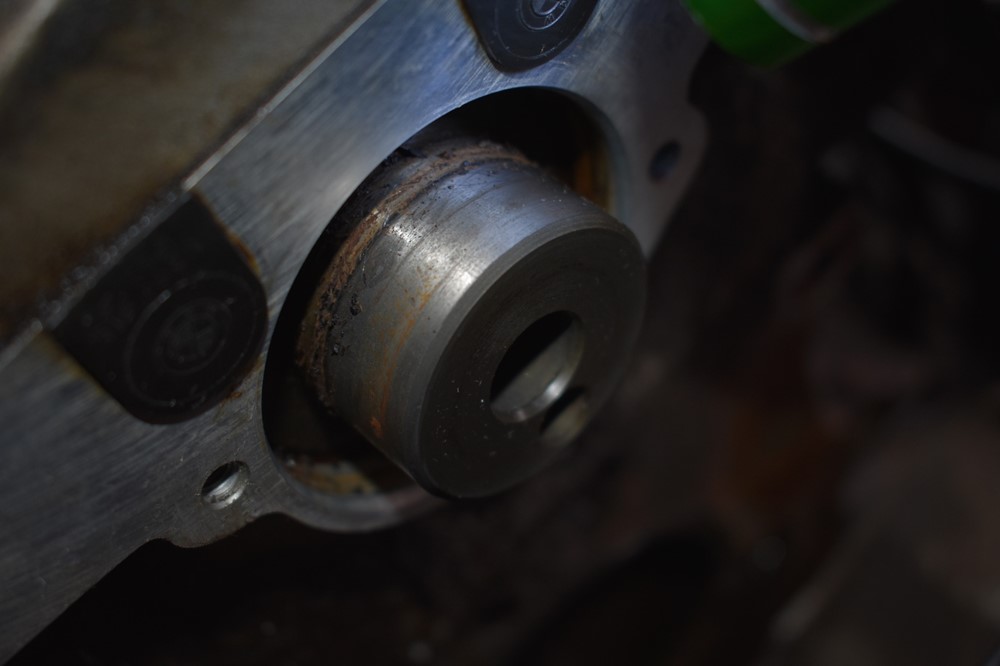
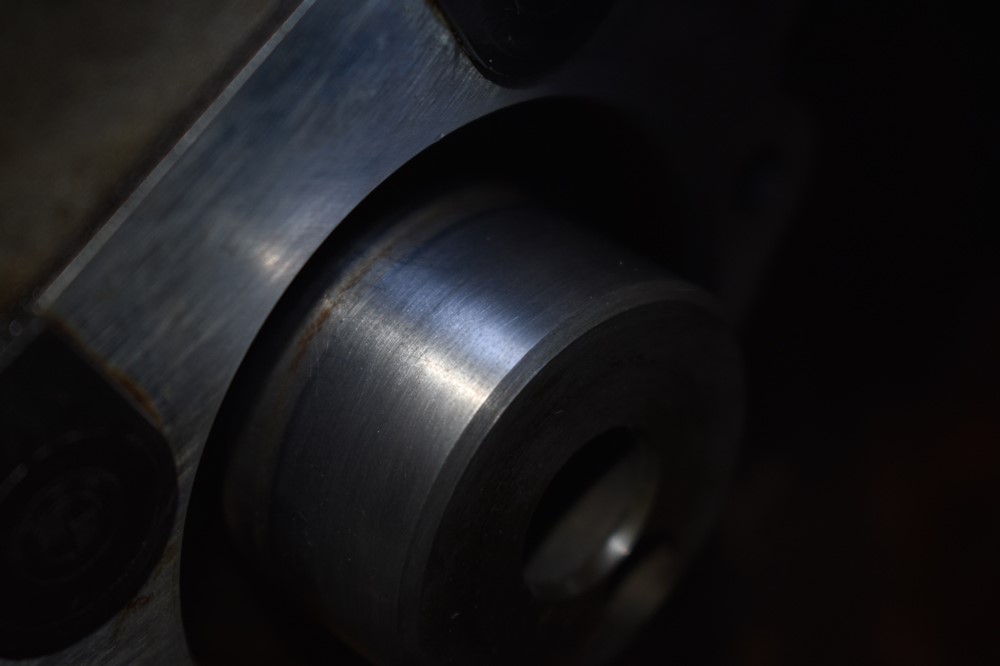
Before you reinstall the retainer, you need to clean the end of the camshaft. The shaft tends to get build-up of crud and rubber that will prevent the new seal from sealing properly unless you clean it. Use a razor blade and mild scotchbrite to get the shaft completely clean. Here are some before and afters.
-
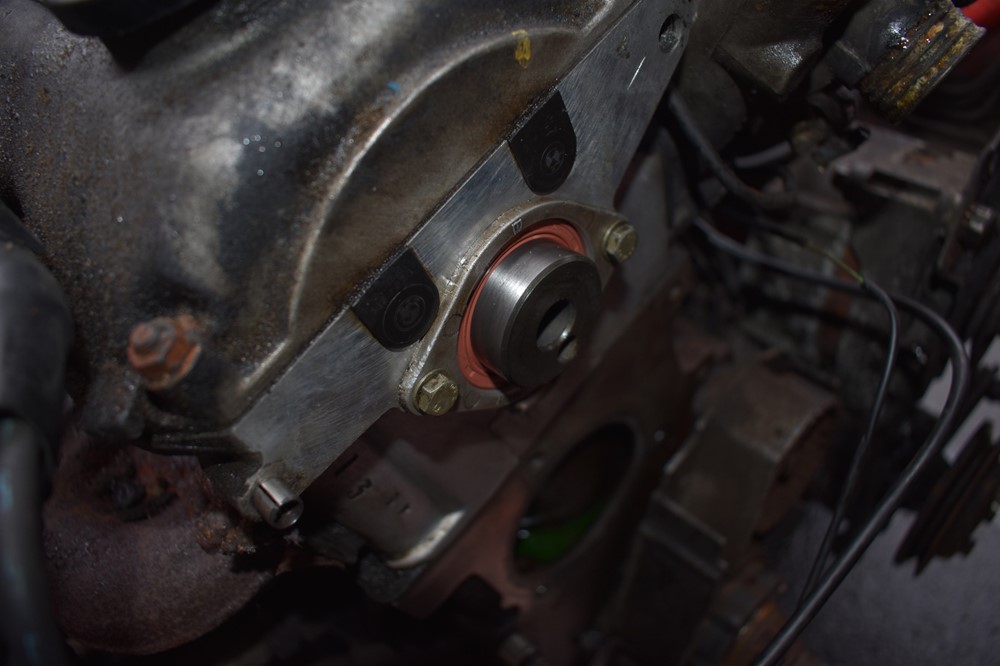
You can now reinstall the retainer. It’s a good idea to use a little engine oil to lube the inside of the shaft seal and o-ring so that they slide cleanly into place without rolling over. Reinstall the two bolts and torque to spec.
-
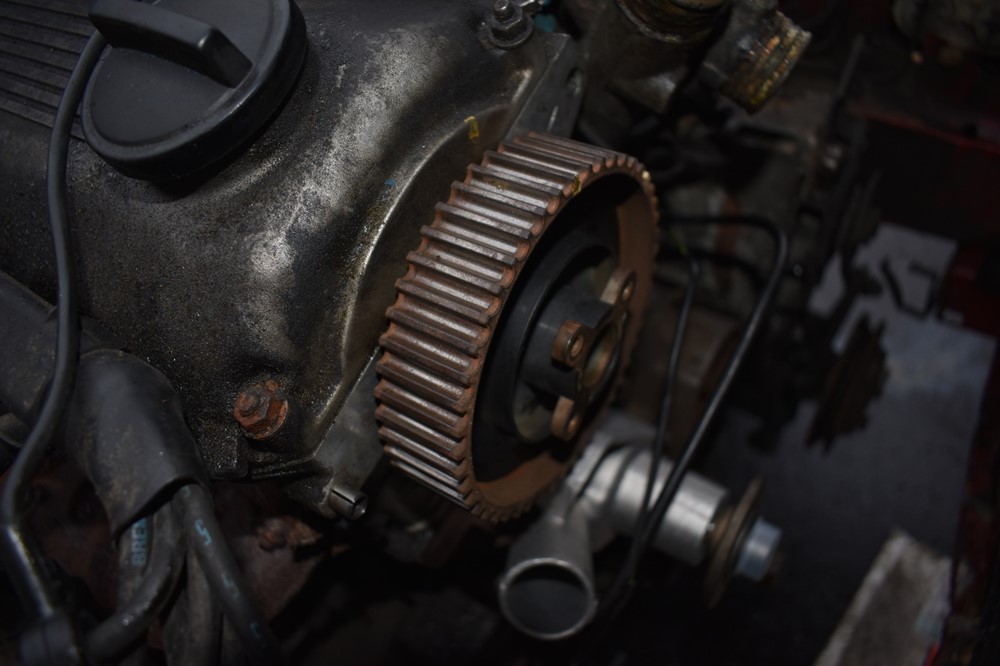
Reinstall the camshaft pulley, using the pin to orient it correctly. Hand tighten the pulley bolt, and do not forget to torque to spec in step 35 of timing belt replacement.
-
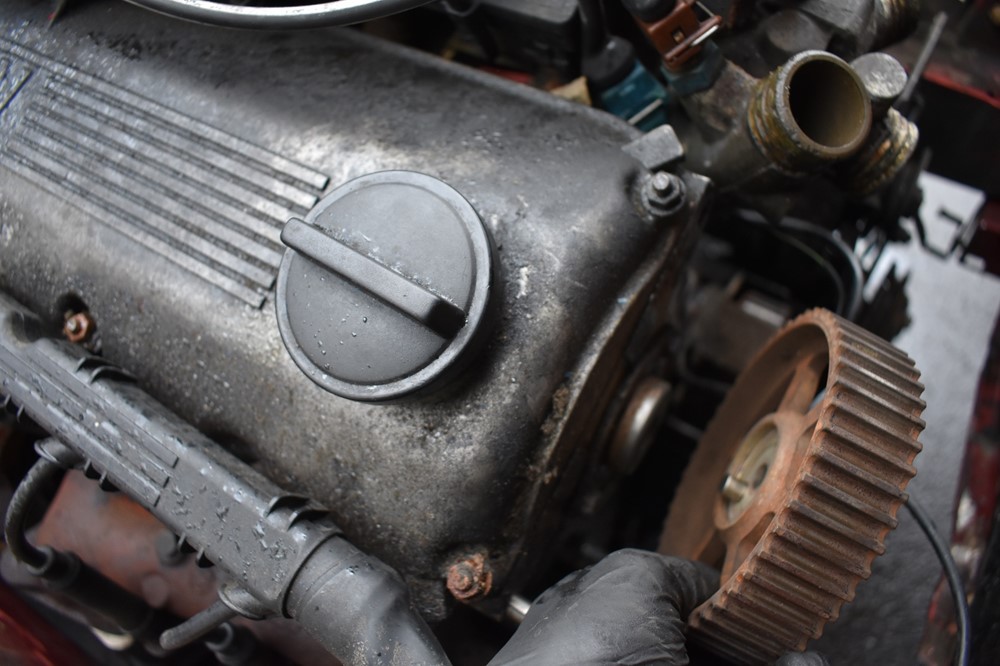
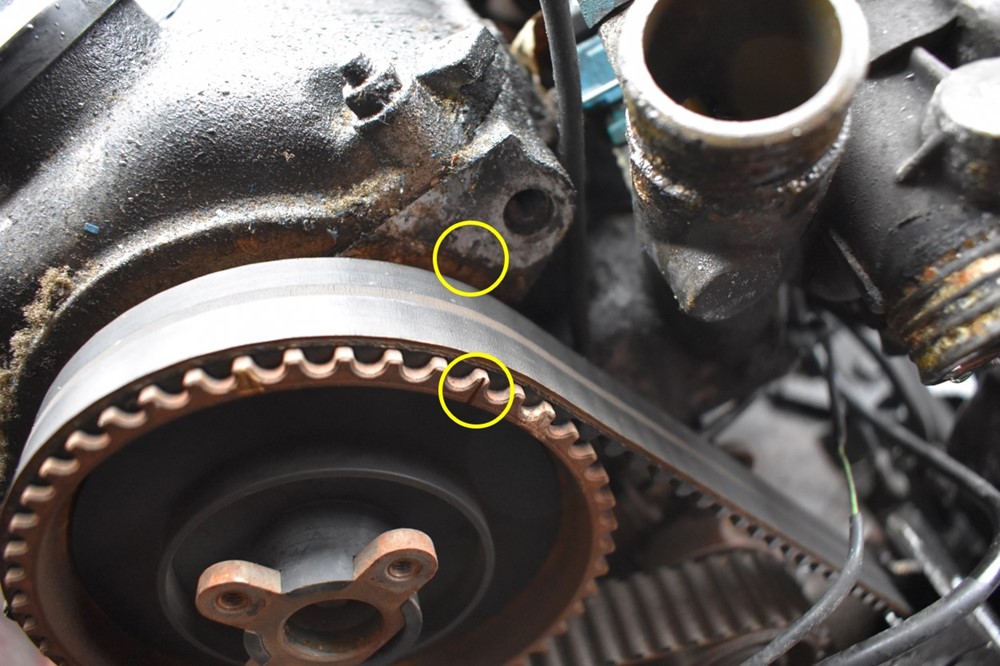
Check to make sure the pulley is still aligned to the tick mark in the head. (Note, your timing belt won’t be installed at this point, unlike the picture here).
- Go to step 28 of Timing Belt Replacement and follow to the end.
Sign up to never miss a new How-To from Classic Bimmer Bits!