
E30 Gauge Cluster Replacement
How-To Credit
This how-to is a Classic Bimmer Bits original, with much credit due to the many members of the community who have helped us learn along the way!
Parts
- Steering wheel nut
Tools
- Small flathead screwdriver
- 22mm socket and extension
- Stubby phillips head screwdriver
Torque Specs (ft-lbs):
- Steering wheel nut: 58
Prodedure
-
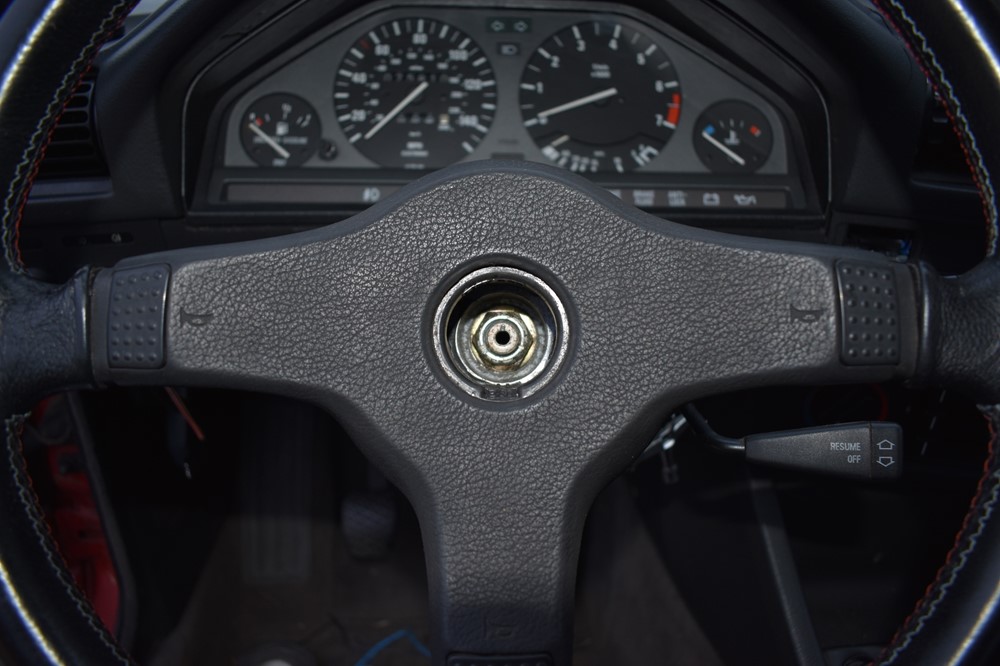
You need to start by removing the steering wheel (trust us!). Use a small flathead screwdriver to carefully pry the logo out from the top. There’s a small slot in the top of the logo that will fit the screwdriver.

- With the logo removed, the steering wheel nut is exposed. Before doing anything else, put the key in the ignition, turn it to the accessory position, and the get the wheel lined up as near dead center as you can. You’ll need to this make the sure the steering wheel goes back on straight later on.
-
Use a 22mm socket and extension to remove the nut. The steering wheel will be locked in place with the key out, so be a little bit careful how hard to you lean on the wrench, you don’t want to apply a ton of stress to the wheel lock.
-
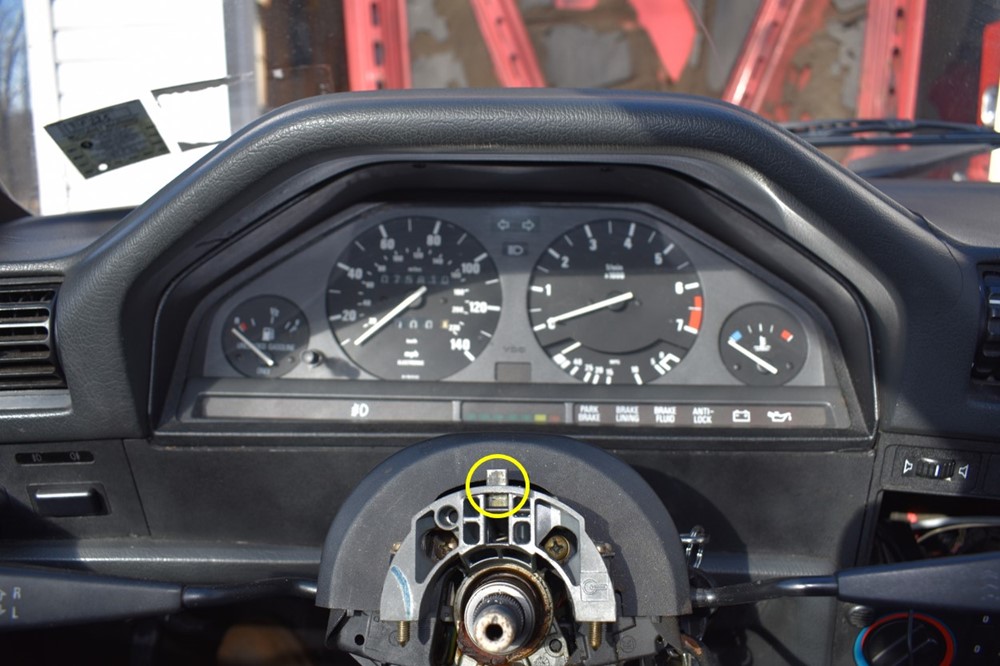
If you’ve tried to the pull the wheel off and been unsuccessful, you’ll realize that the wheel lock holds the wheel onto the steering column. Insert the key into the ignition and turn it the accessory position to release the wheel, and pull the wheel off the steering column. Notice the wheel lock in the up position with the wheel off and the key removed in the picture below.
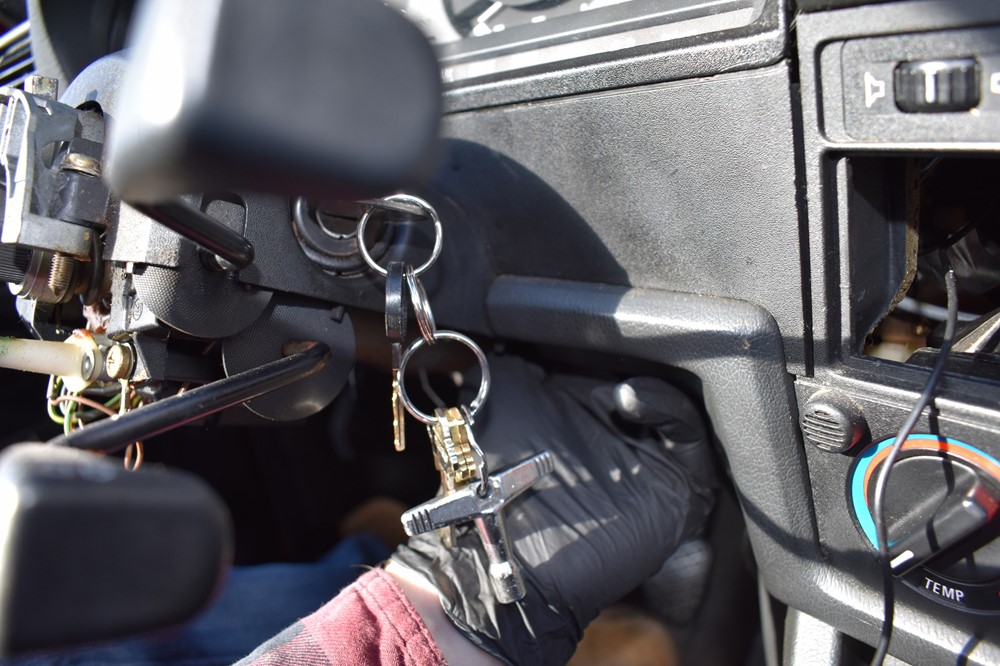
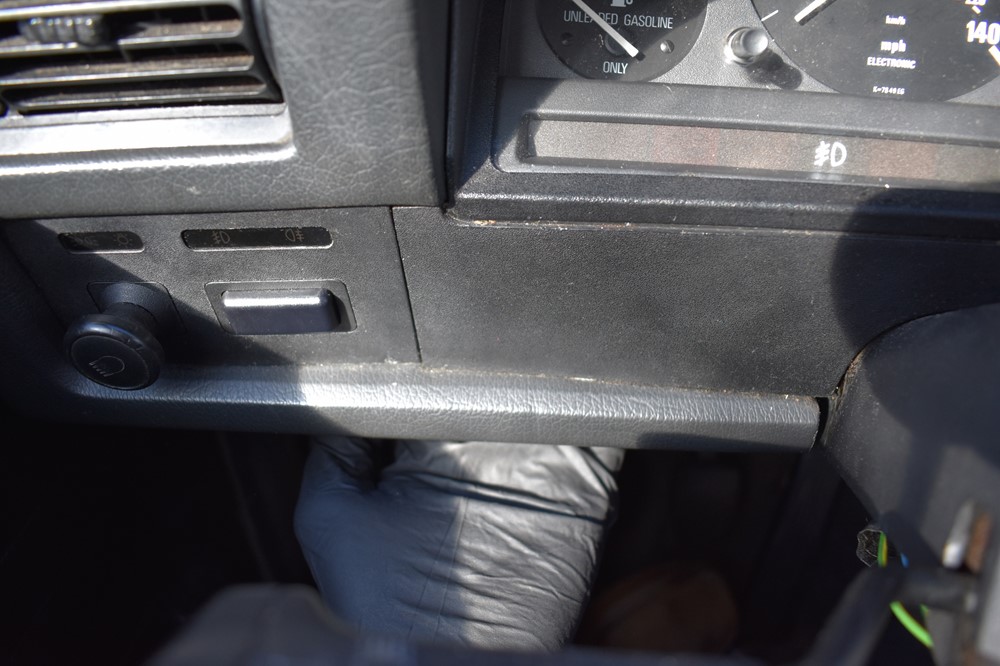
- Remove the kick panel.
-
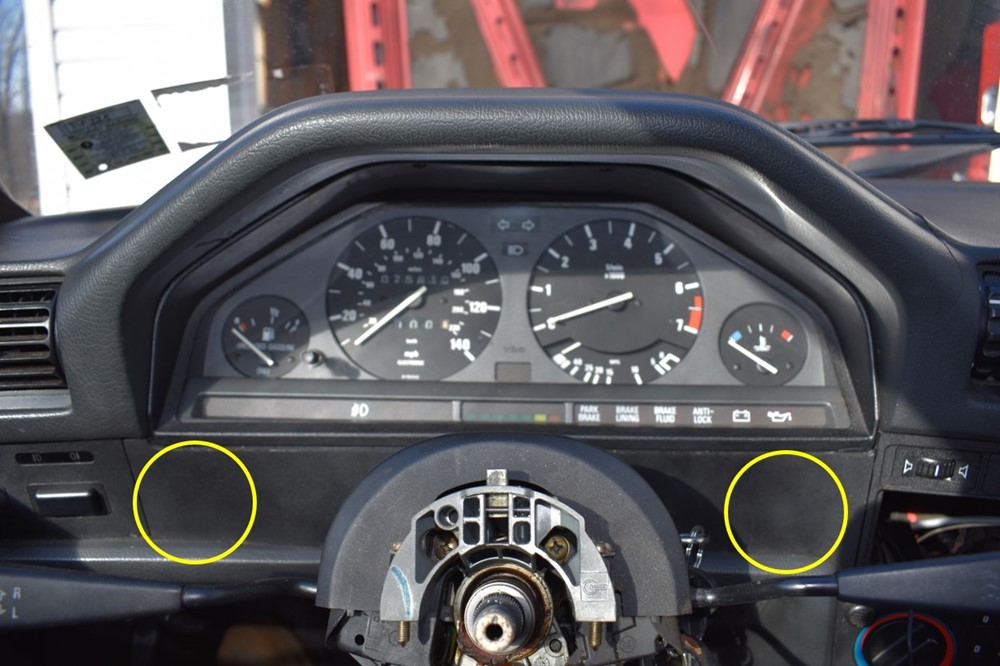
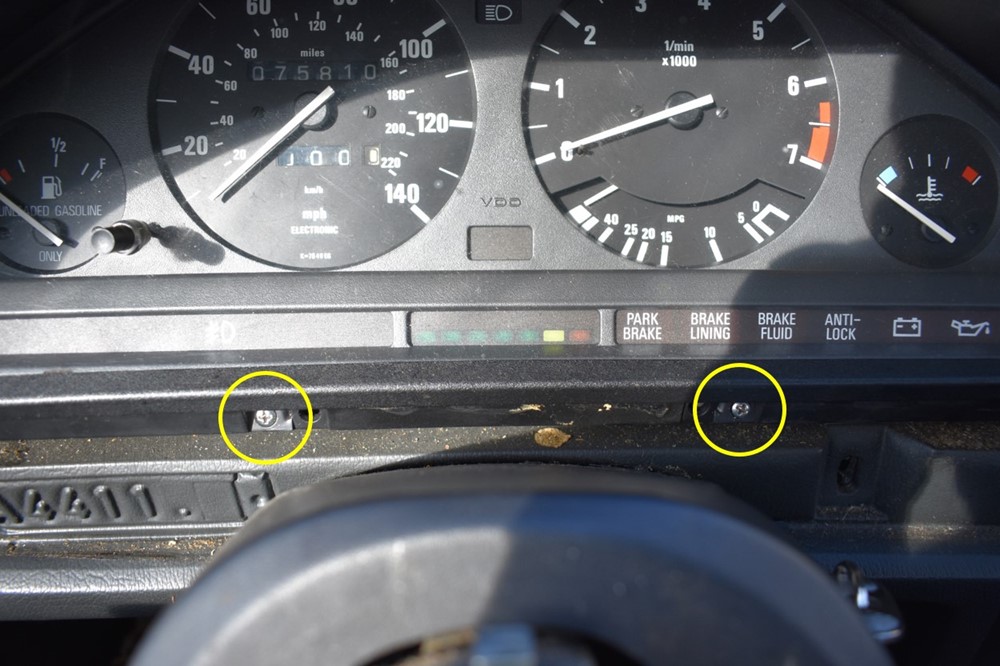
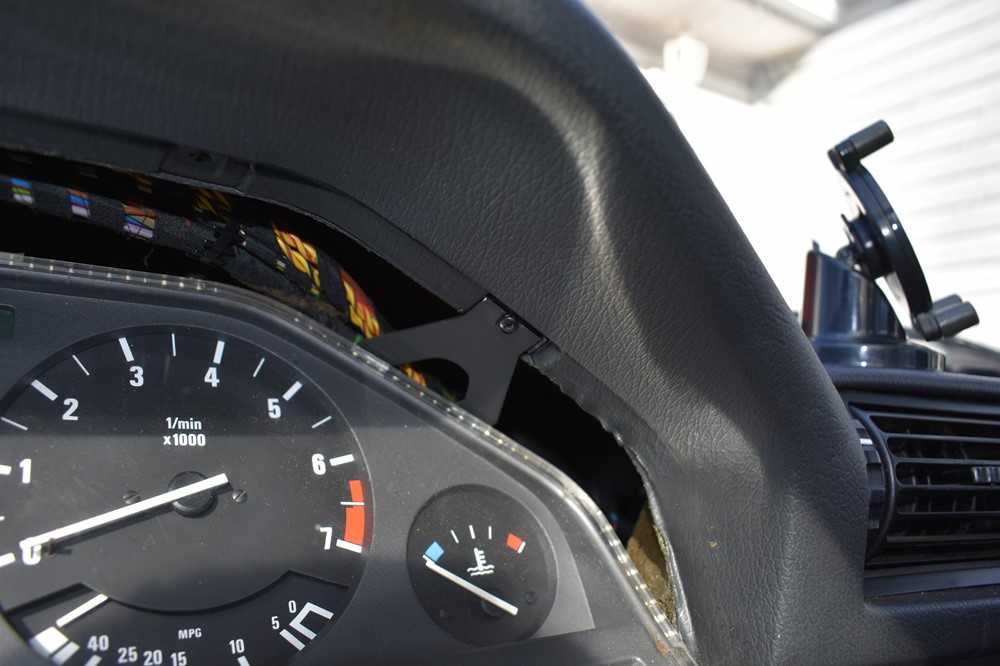
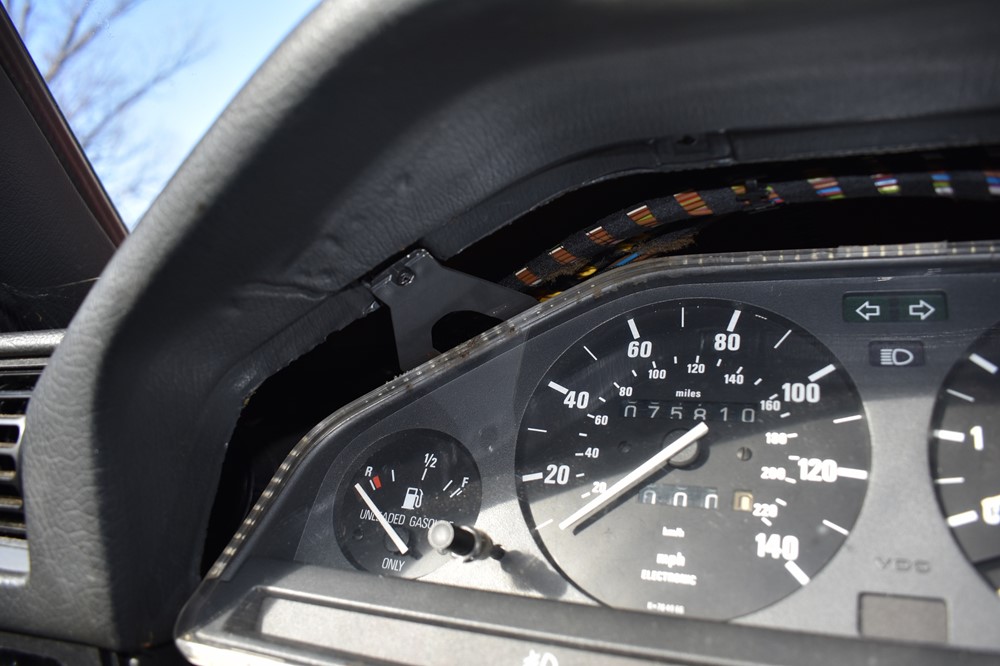
There are two nuts that hold the upper dash cover panel in place, located on the back of the panel in the locations shown. Reach up underneath the dash and remove them both. On the right side, be careful not to let the nut drop into the HVAC trim area, or you’ll spend the next half hour digging it out.
-
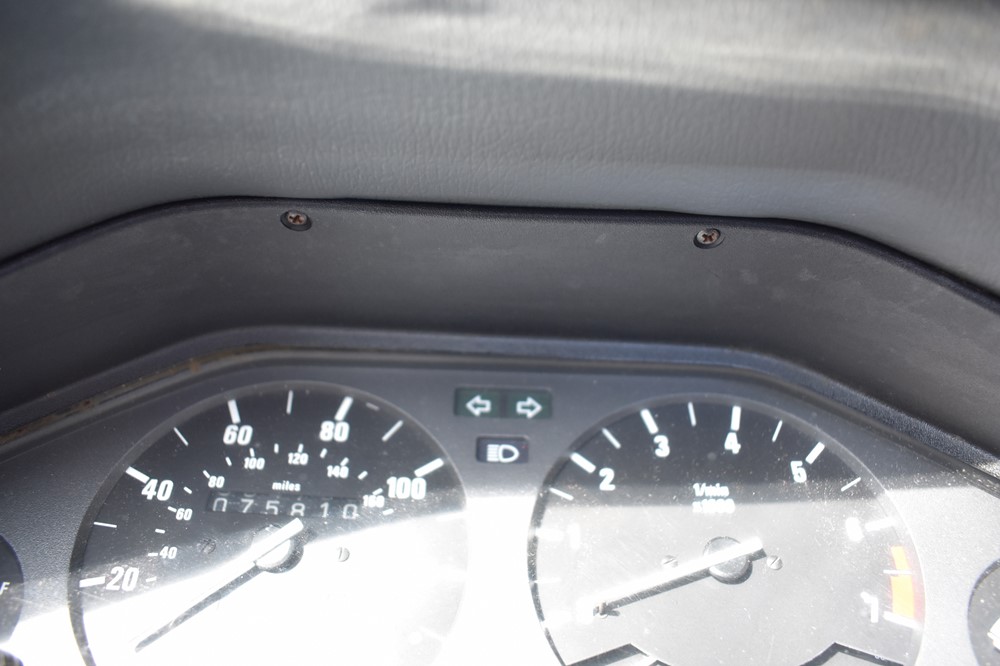
Tip the top of the dash panel forward and wiggle it up and out. Be careful, but it will take a little wiggling and flexing to free it.
-
Use a stubby phillips head screwdriver to remove the two screws under the gauge cluster.
-
Use the stubby phillips head screwdriver to remove the two screws at the top of the gauge cluster surround.
-
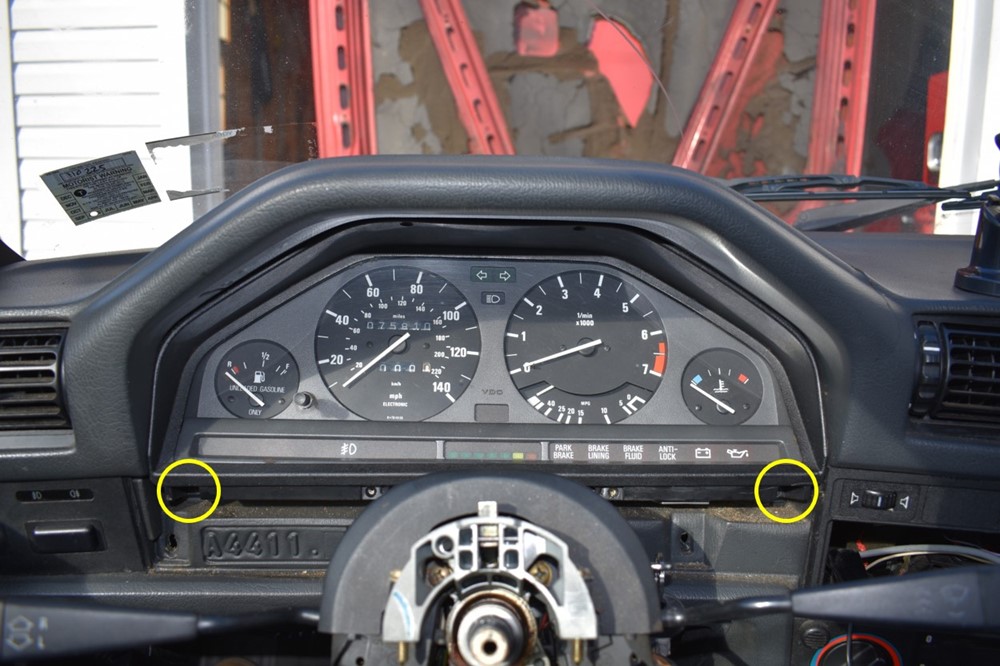
Use a phillips head screwdriver to remove the two screws at the bottom outside edges of the gauge cluster surround.
-
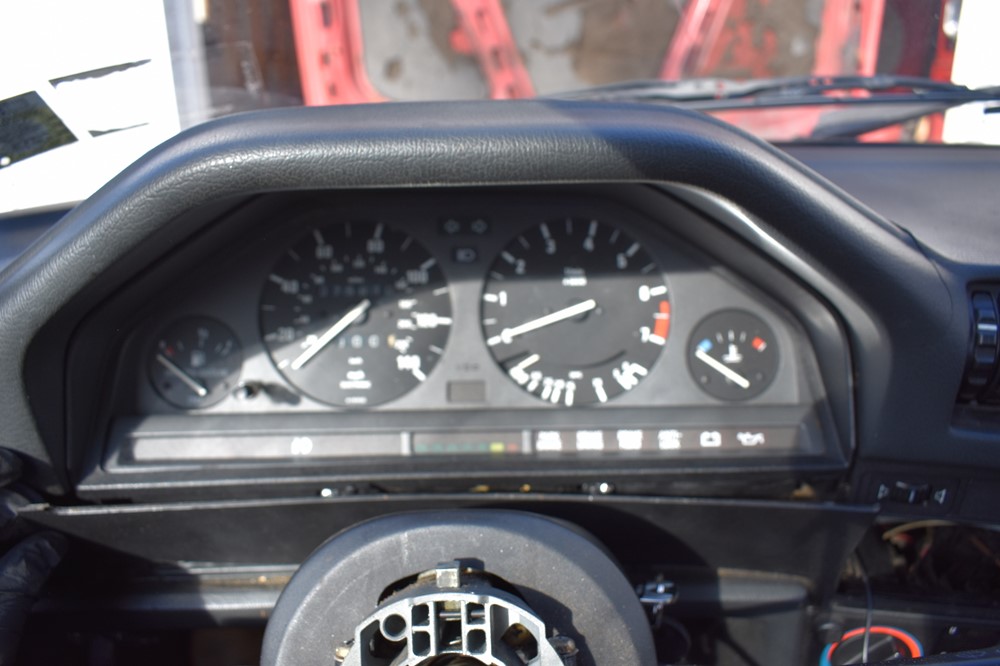
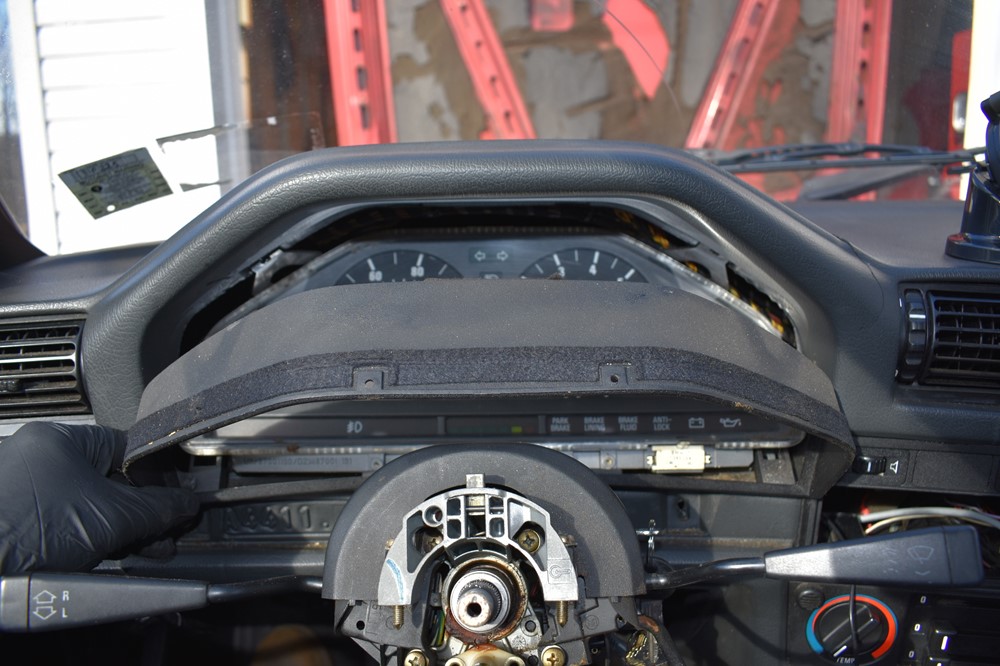
Pull the top of the cluster surround forward and pull it out.
-
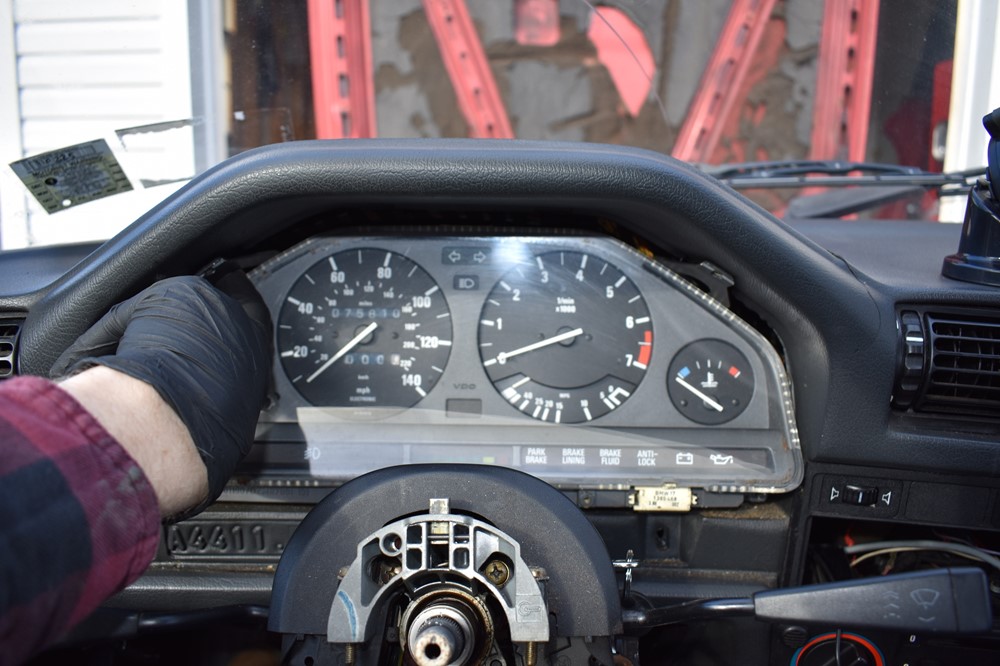
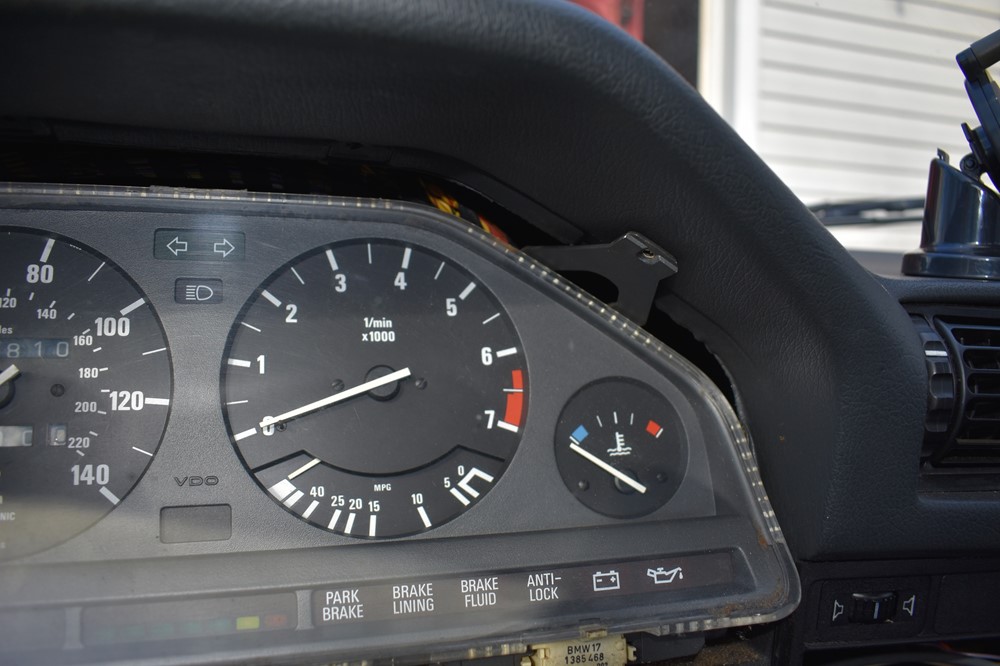
Use the stubby phillips head screwdriver to remove the two screws that hold the cluster to the dash.
-
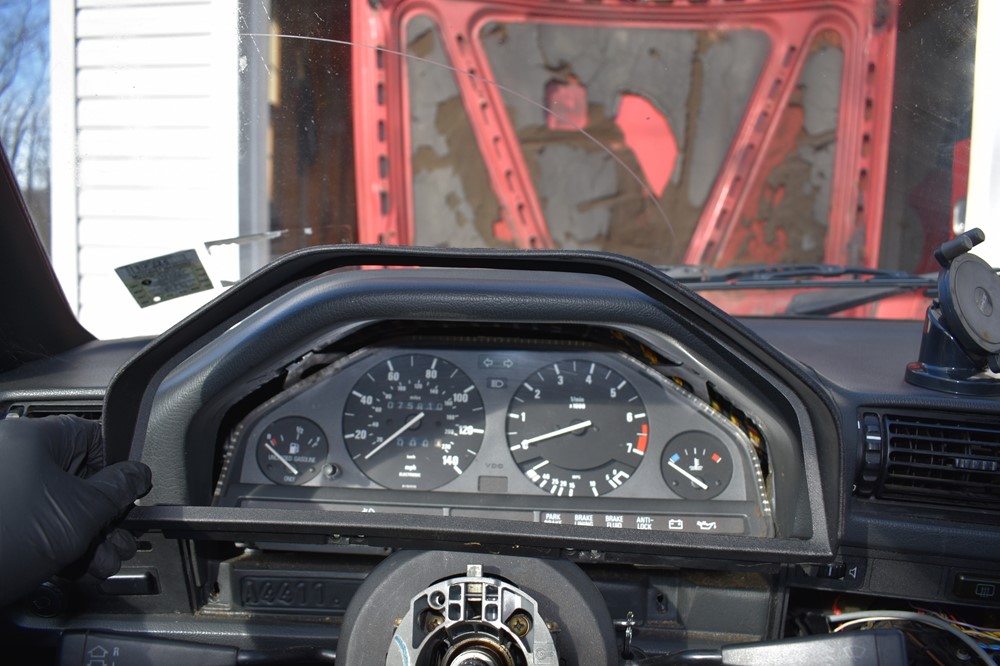
This next step is the hardest of the job. Removing the gauge cluster from the dash can be a real pain. Start by carefully pulling the mounting tabs (that you removed the screws from in the previous step) forward so that the cluster sits up more vertically and towards the steering column.
-
Now start wiggling the top of the cluster forward. You can use the mounting tabs to pull it forward, just be careful not to bend them, they will break if you lean on them too much. Sometimes the cluster comes out very easily, sometimes it really fights back. Just be patient and careful and keep working at it. When it starts to work its way out, you’ll feel it start to tilt forward more easily.
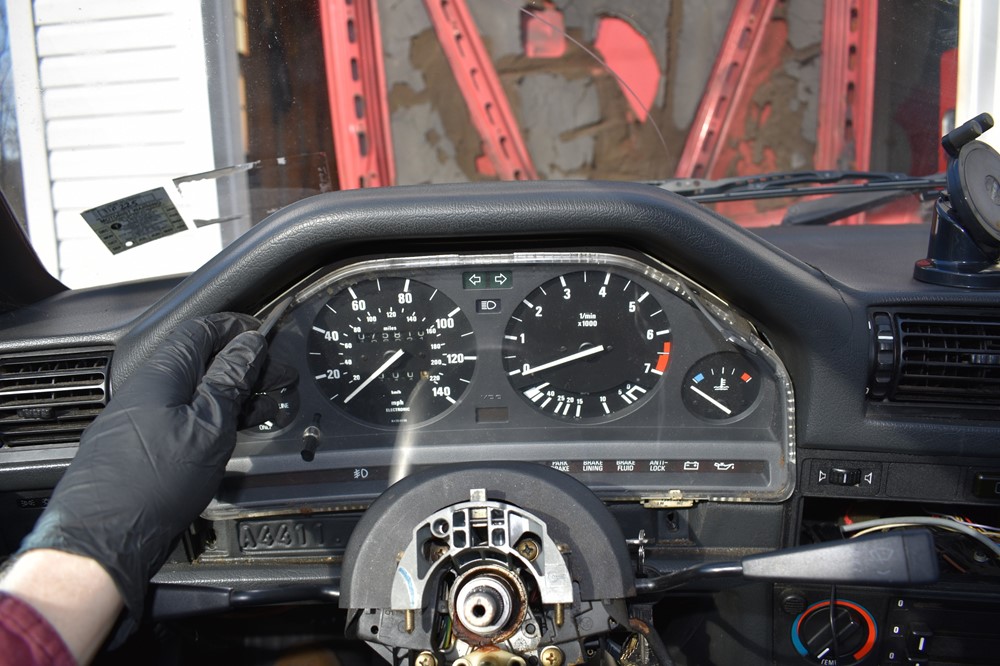
-
Lay the cluster face down on the steering column. It’s not a bad idea to play a towel on the column first to make sure you don’t scratch the face of the cluster.

-
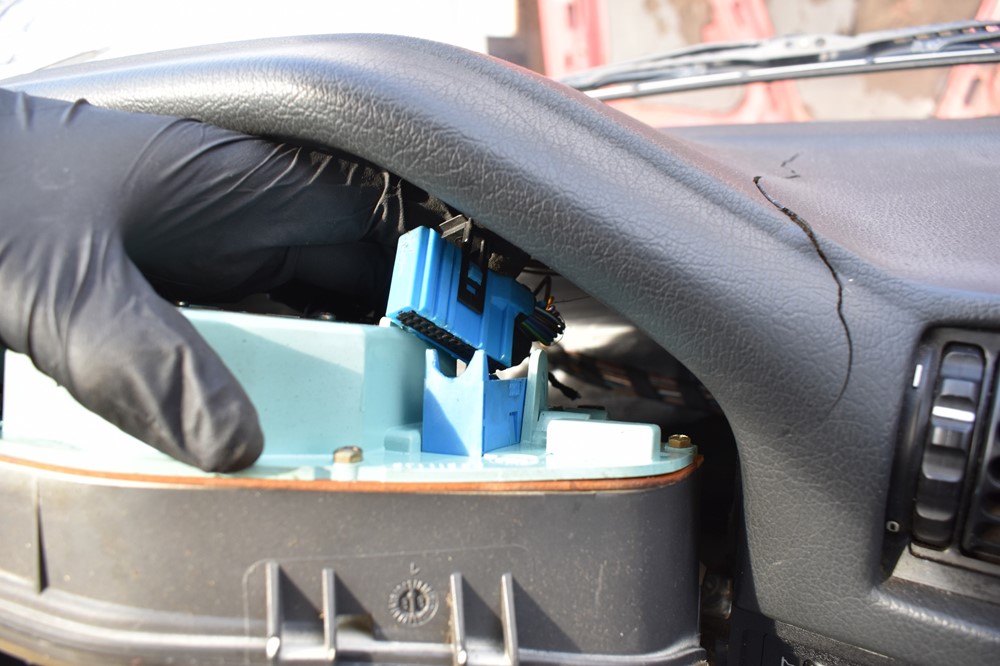
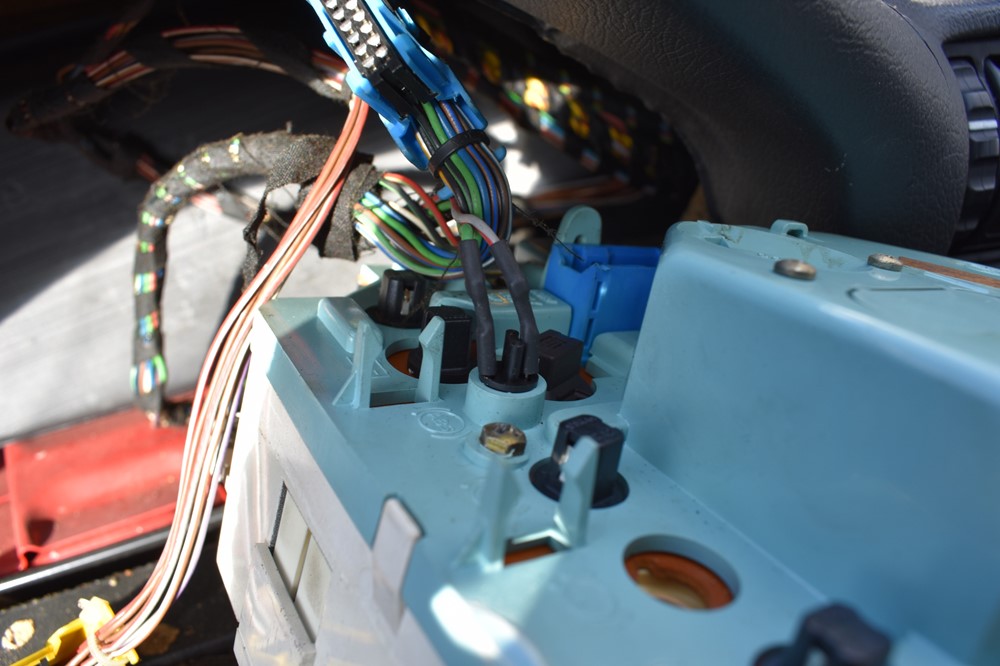
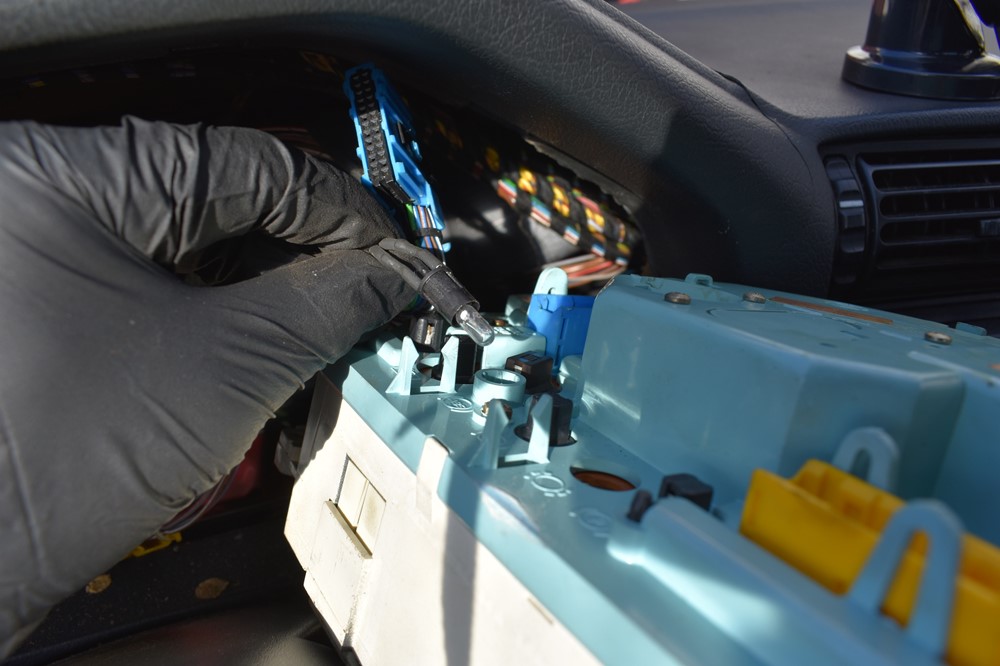
Now you need to disconnect the wires from the back of the cluster. First, remove the blue plug on the right side of the cluster. Use a flathead screwdriver to carefully pry up the retaining clip, then pull the plug out of the back of the cluster.
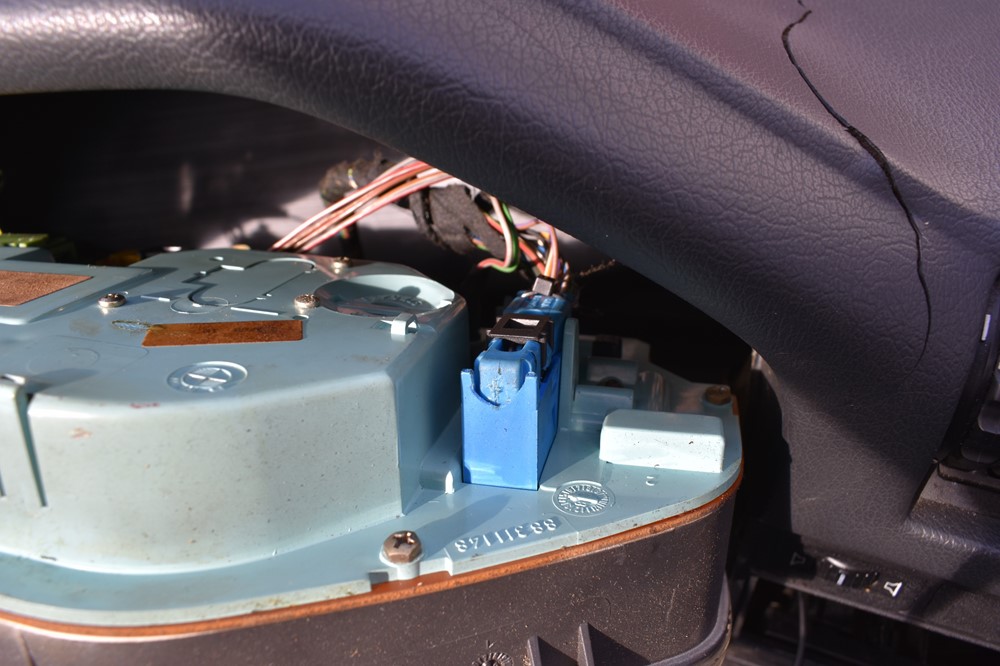
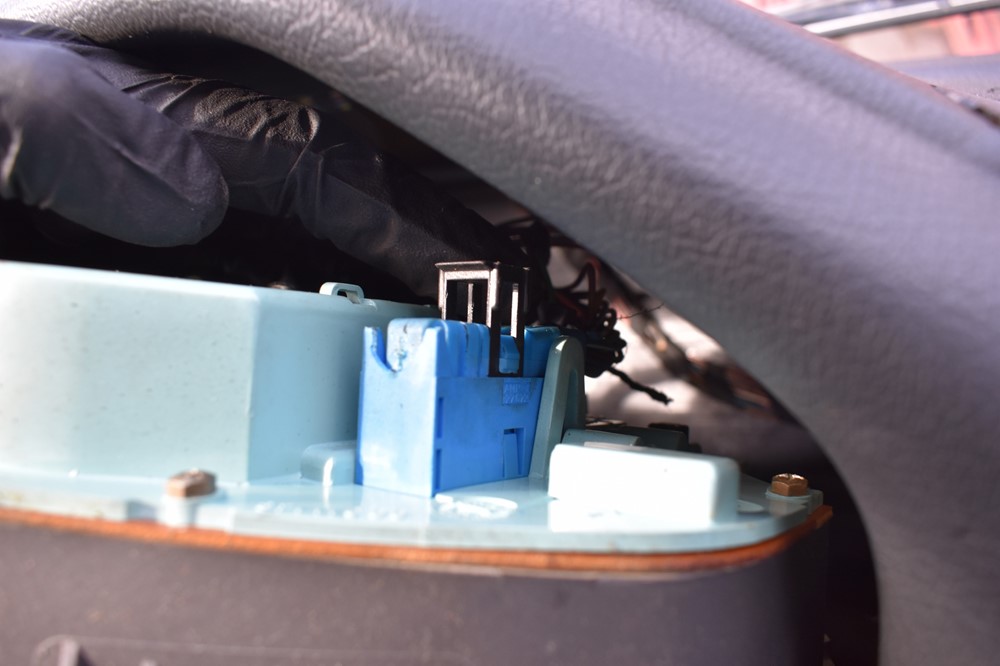
-
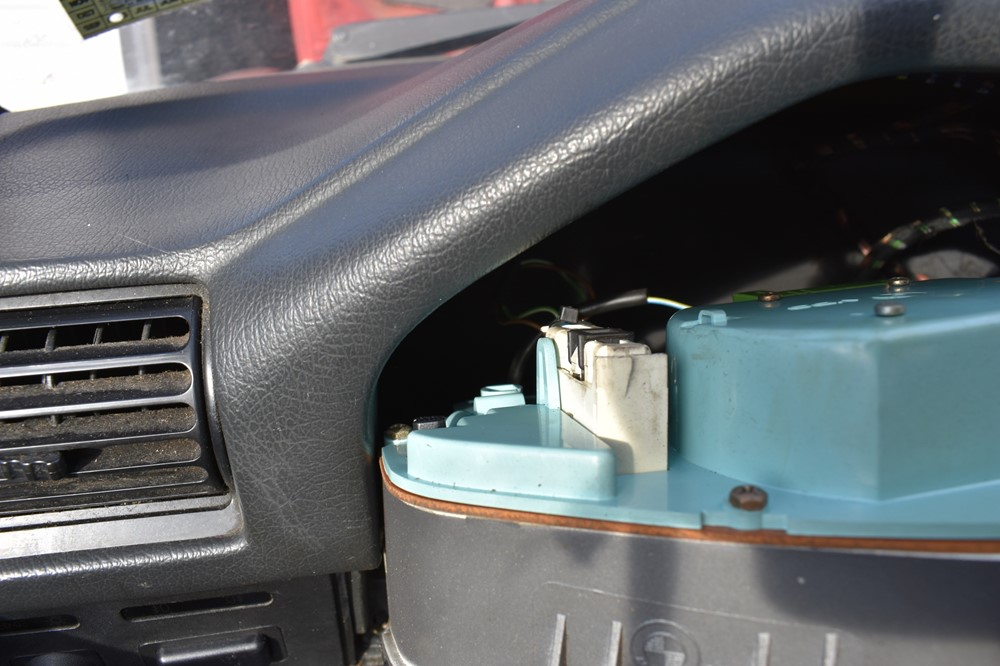
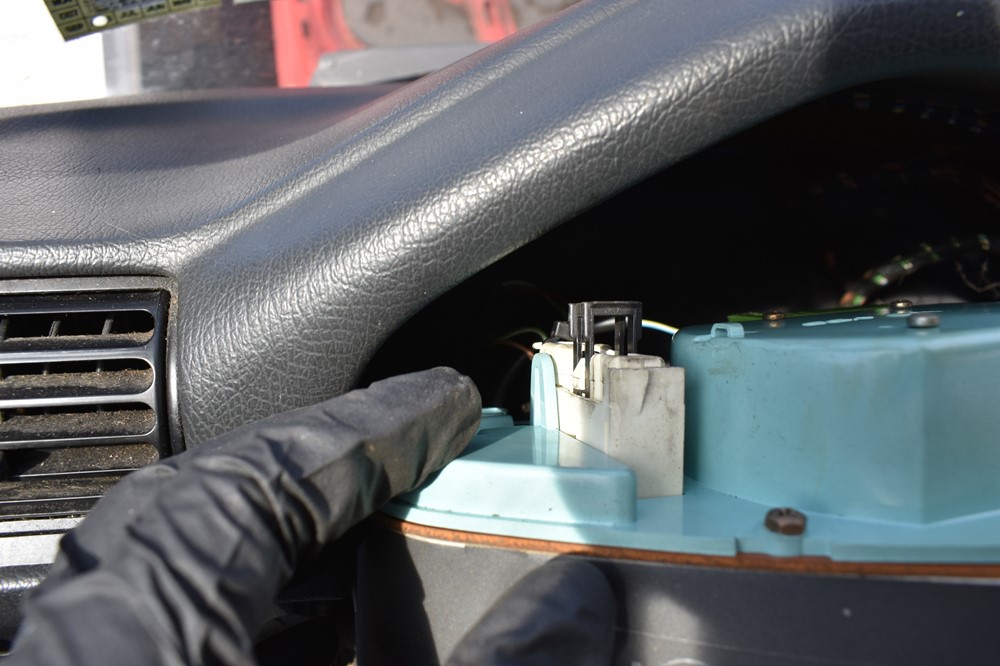
Next, move to the white plug on the left side of the cluster. Again, use the flathead screwdriver to pry up the retaining clip and pull the plug out of the cluster.
-
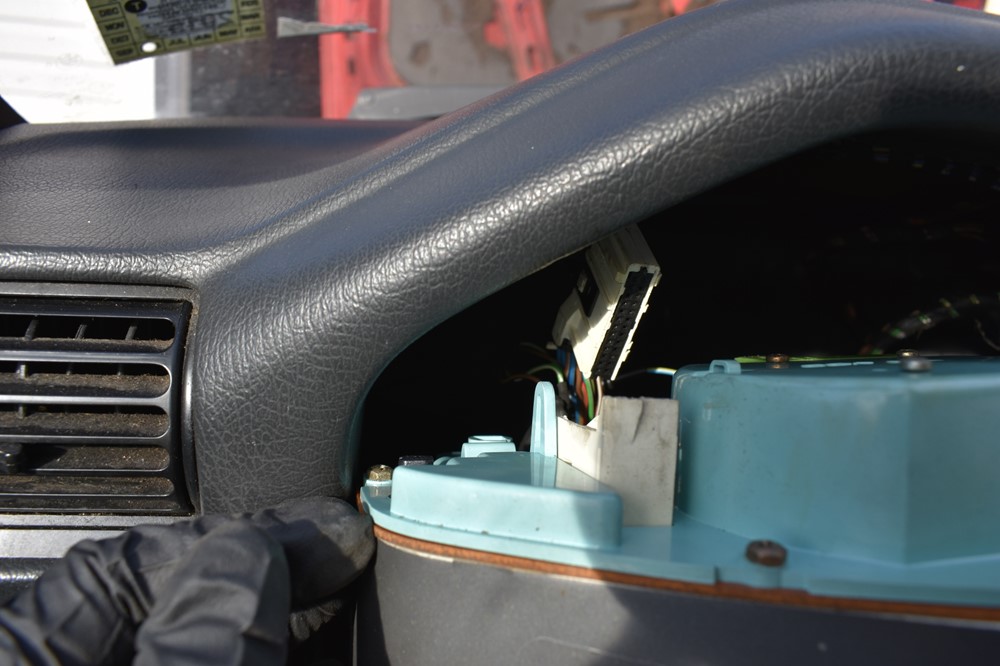
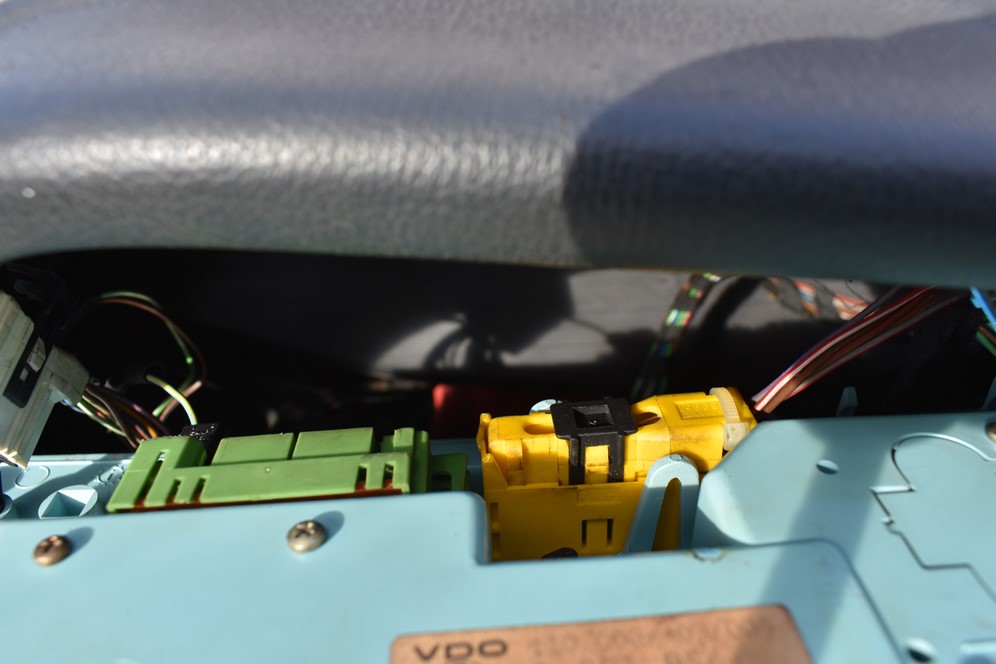
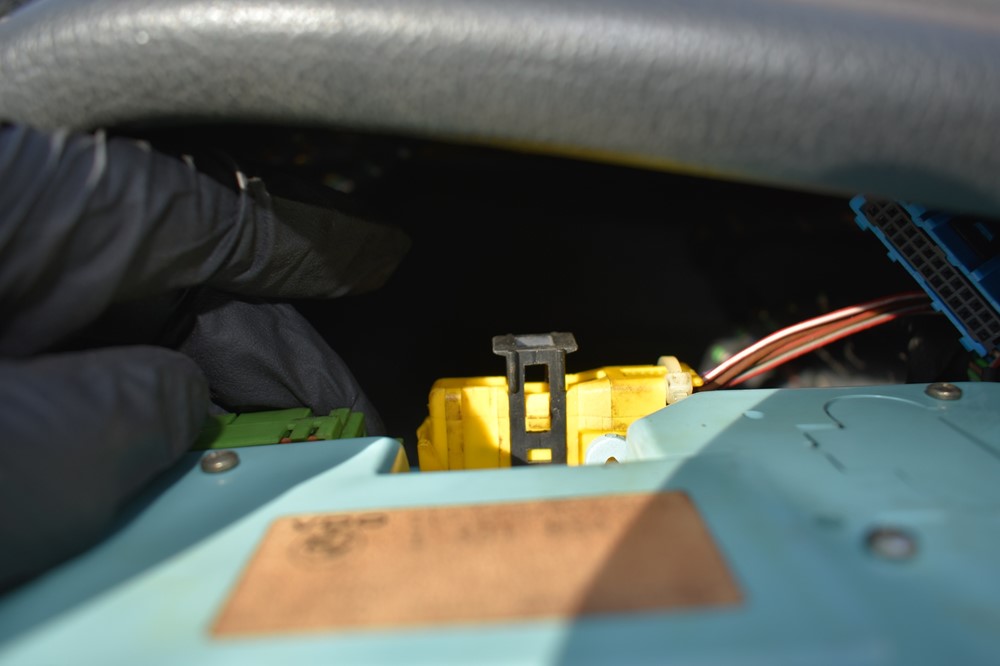
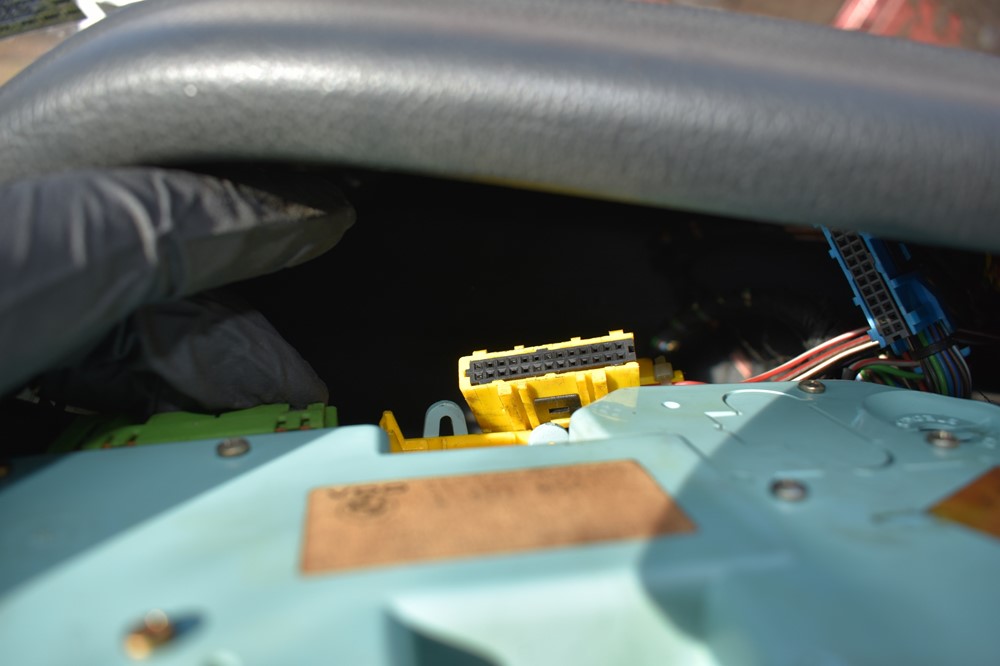
The third large plug is the yellow in the very back of the cluster. Like the others, use a flathead screwdriver to pry up the retaining clip, then pull the plug out of the cluster.
-
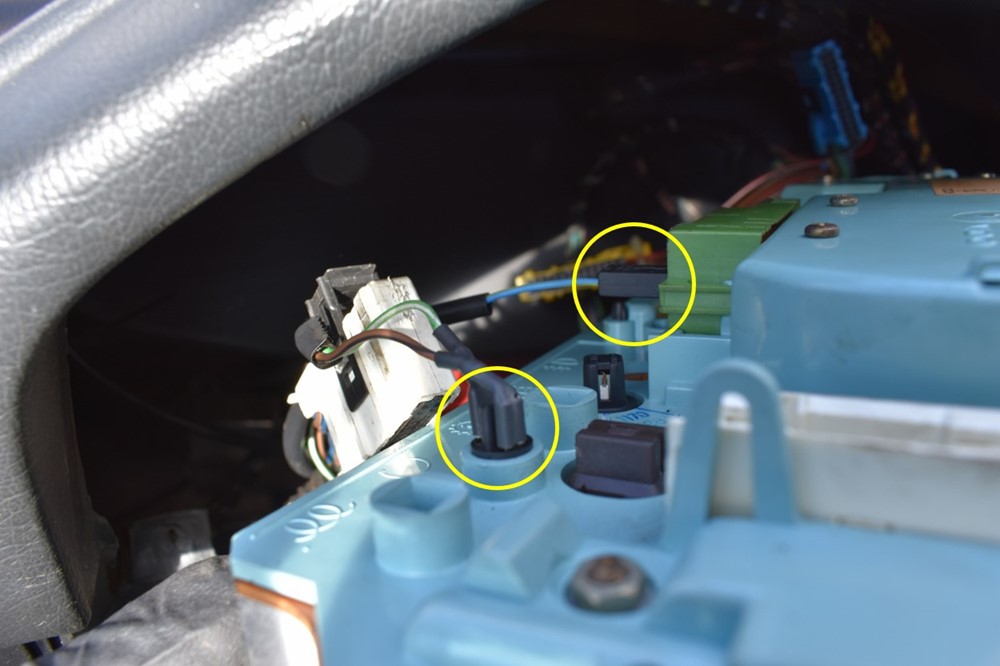
On the left side of the cluster, there’s a warning light and one or more plugs in the green socket (depending on your model and options). Unplug all of these. Sometimes the whole light pulls out of the cluster more easily than removing the two spade connectors. Either way is fine.
-
Finally, there’s other warning light on the right side of the cluster. Unplug it, or pull the entire light out of the back of the cluster.
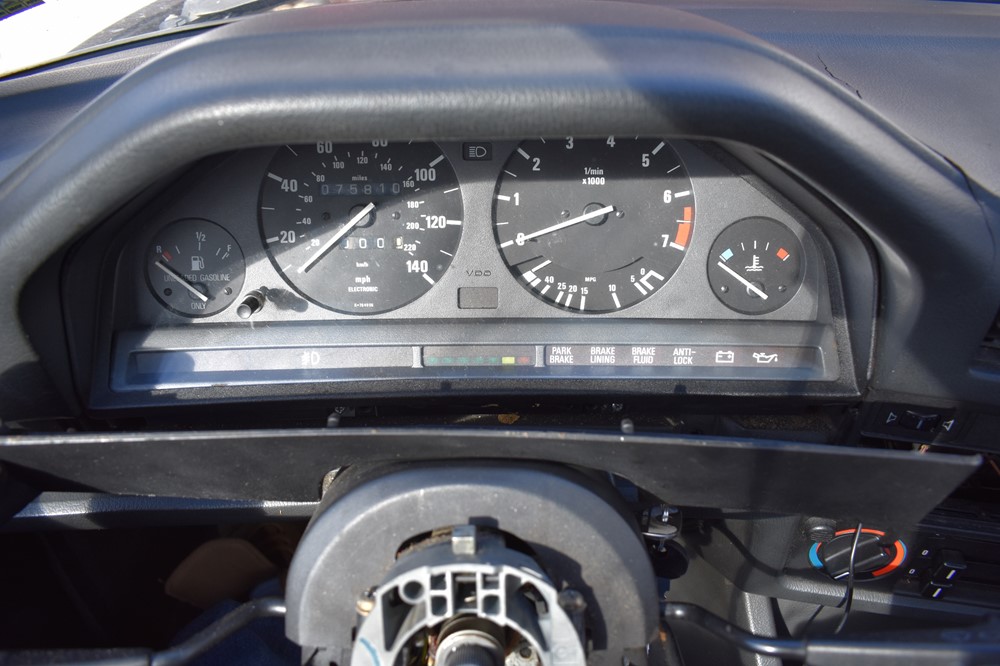
- At this point, the cluster should be free, pull it completely out of the dash.
- Installation is the exact reverse of removal. Make sure to replug all of the connectors firmly into place. When pushing the cluster back into the dash, it will take some finagling, just like it did coming out. Eventually it will slip back into place.
- When you reinstall the cluster surround, don’t tighten any of the screws before all are installed. It sometimes take some loosening and retightening to get everything to sit cleanly. Our best method has been to start with the top surround bolts, then work from the center out to the edges on the bottom.
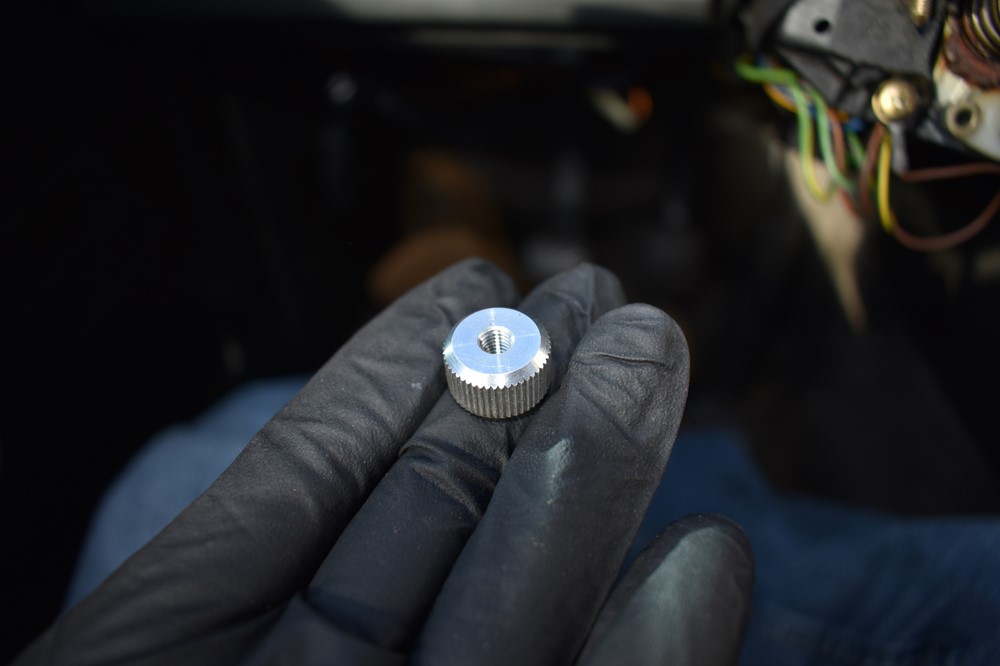
- It’s a good practice to replace the steering wheel nut anytime you remove it. Torque the new nut to spec (see the top of this page).
Sign up to never miss a new How-To from Classic Bimmer Bits!