
E30 Hood Release Replacement
How-To Credit
This how-to was written and provided by user “///M42 sport” on the R3VLimited forums, with minor edits for this site. Thanks for the great write-up!
Parts
- Hood Release Cable (51231884281)
- Hood Latch (51231911393)
(We make a commission for parts purchased through the Amazon links above, which helps keep this site hosted and free. We only link to OEM or OE parts, the same quality parts that we use on our cars. However, you should always look around to see which site has the best prices.)
Tools
- Phillips Head Screwdriver
- Flat Head Screwdriver
- 10mm socket and wrench
Prodedure
-
Use the phillips head screwdriver to remove the two screws from the driver side grill, and the flat head screwdriver to remove the clips at the top, then remove the grill. Open the hood and remove the cover behind the driver side headlight (if your car still has it).
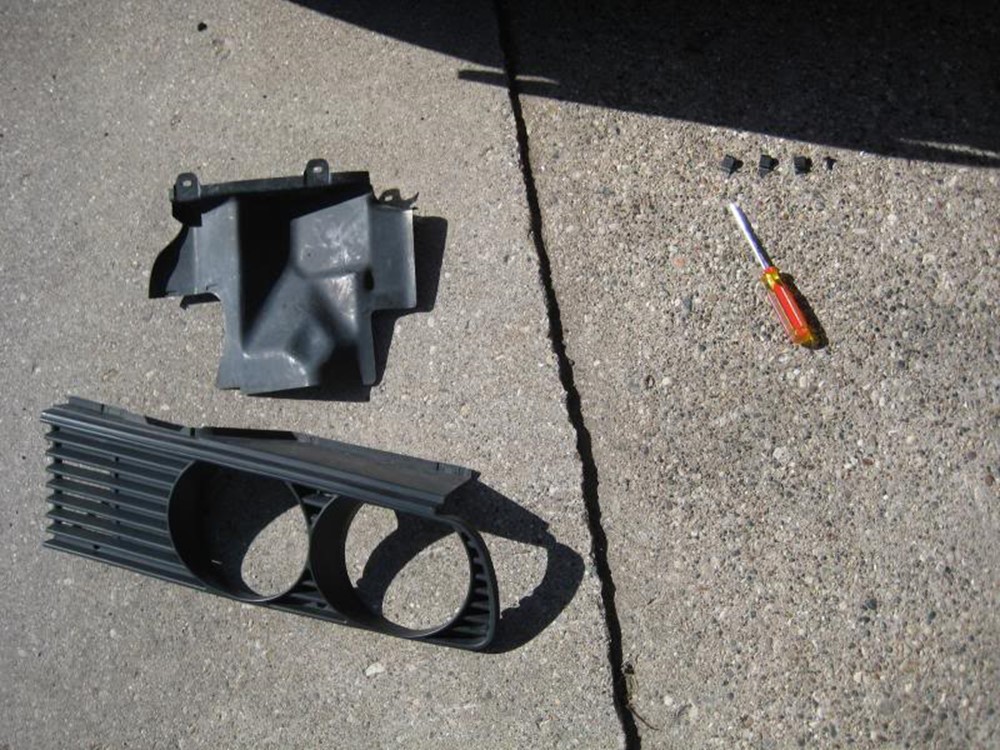
- Unplug the connections on the back of the headlight, then remove the three large phillips head screws behind the grill. Pull out the driver side headlight assembly and set aside.
-
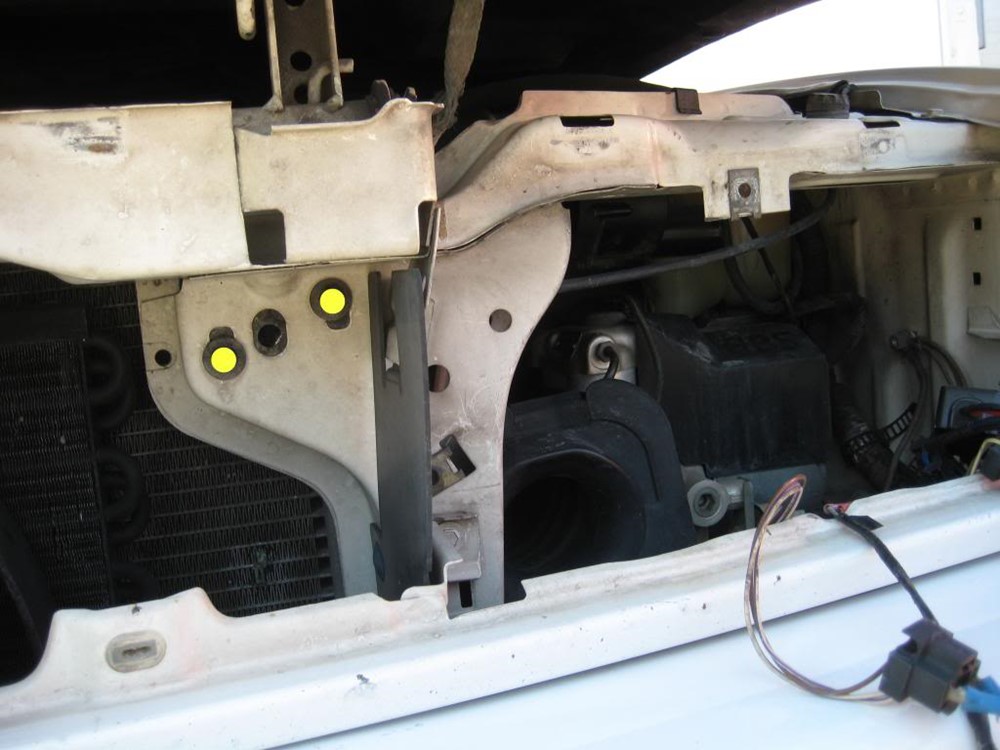
Use a 10mm wrench to remove the two bolts holding hood latch, highlighted in yellow below (make sure you’ve opened the hood before loosening these bolts!).
-
The cable runs along the fender and passes through the firewall underneath the driver side hood bracket. Use a fine tip sharpie to trace the edges of the bracket on the mounting tabs (to help alignment when reinstalled), then use a 10mm wrench to remove the two bolts and remove the hood bracket.
-
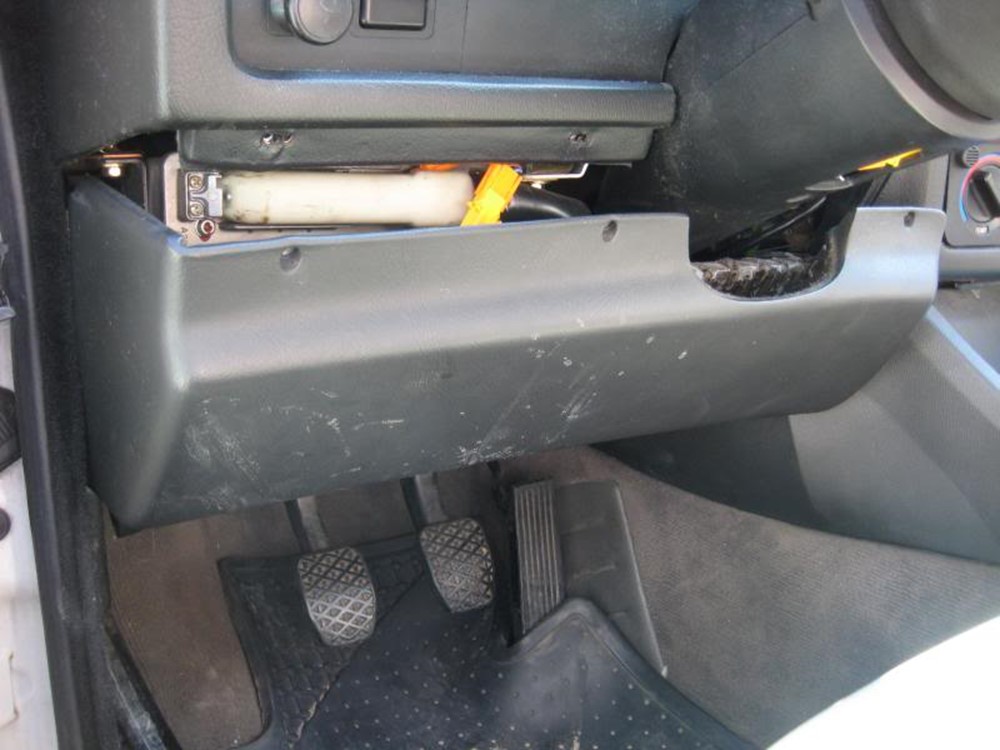
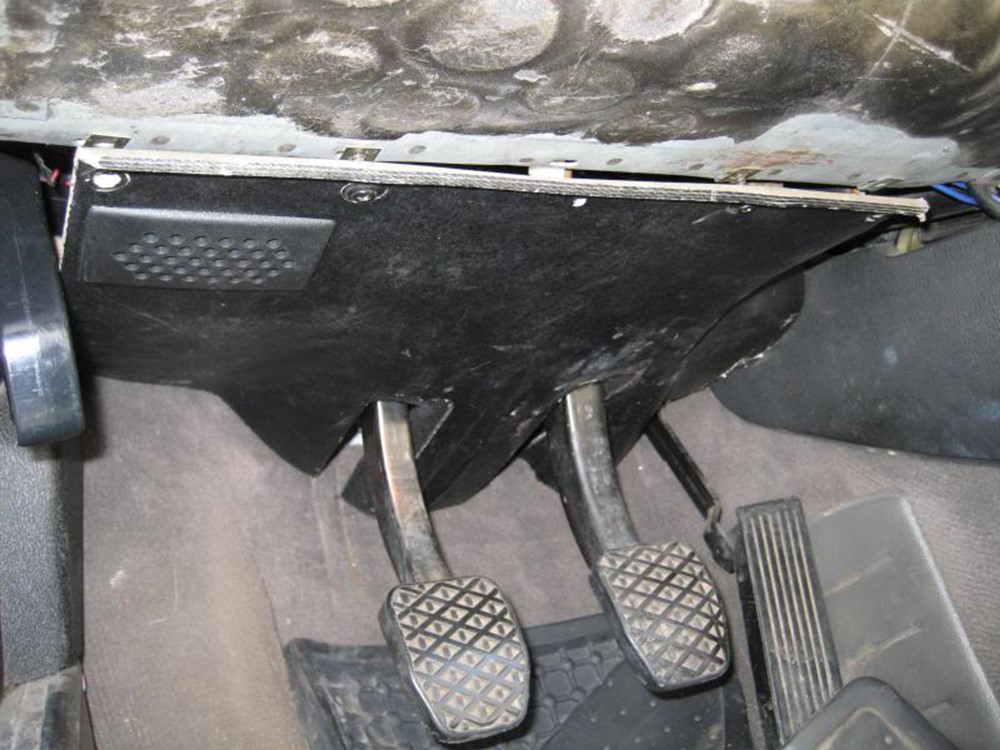
Remove the 3 screws holding the knee bolster panel in place and remove the panel.
-
Remove the phillips head screws in the lower kick panel and remove.
-
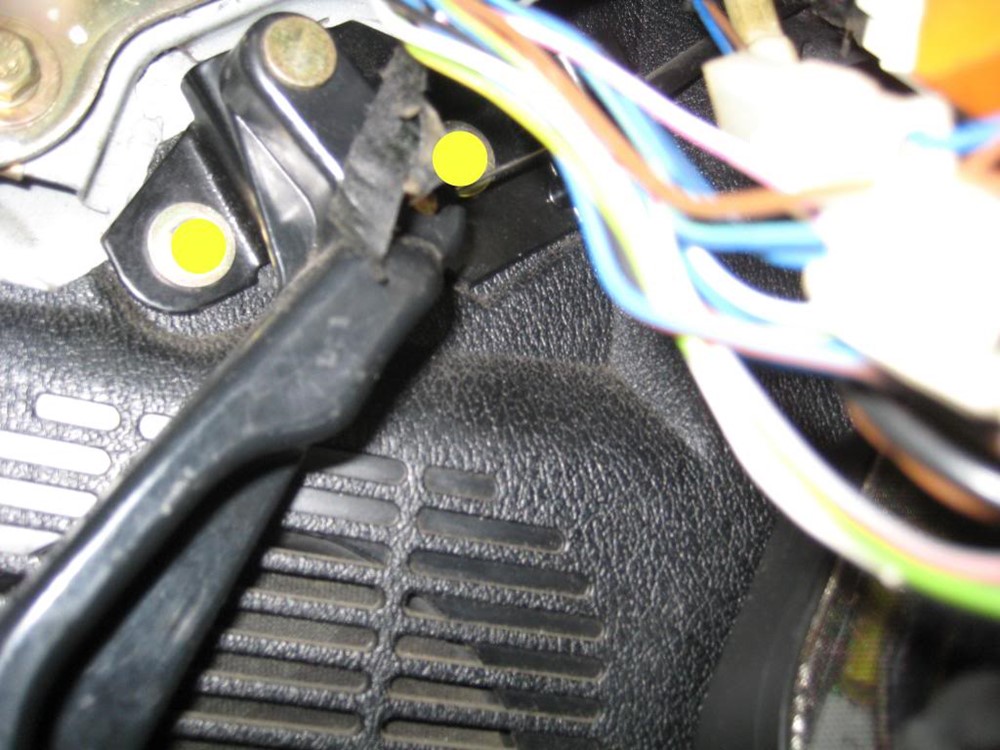
Use a 10mm wrench to remove the two screws holding the hood release handle in place (highlighted in yellow below).
-
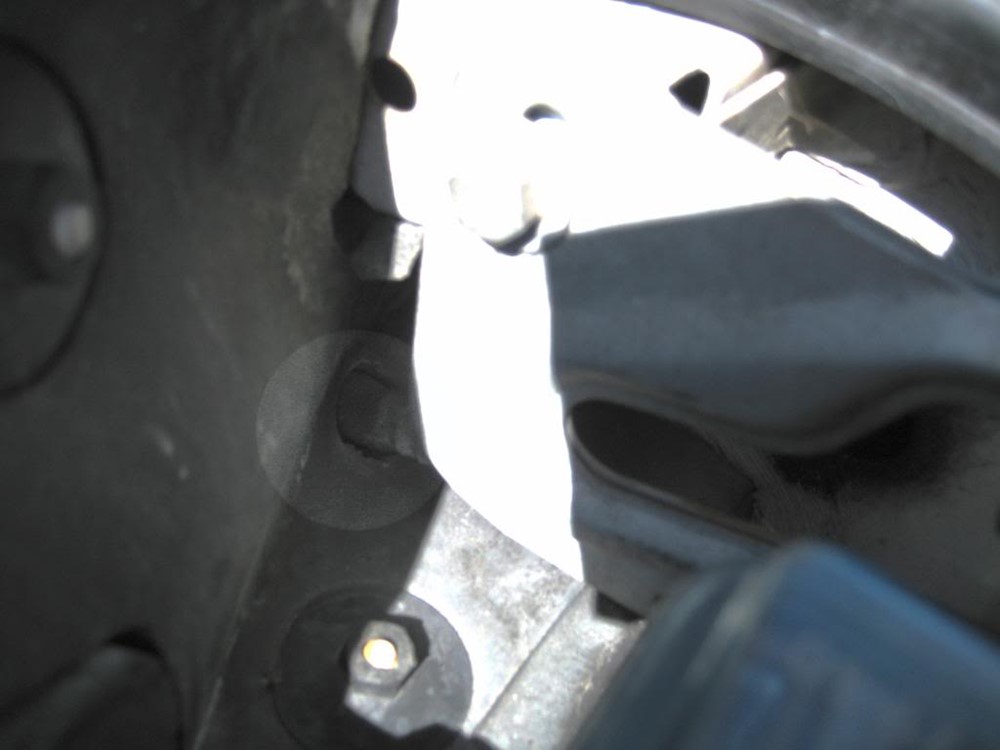
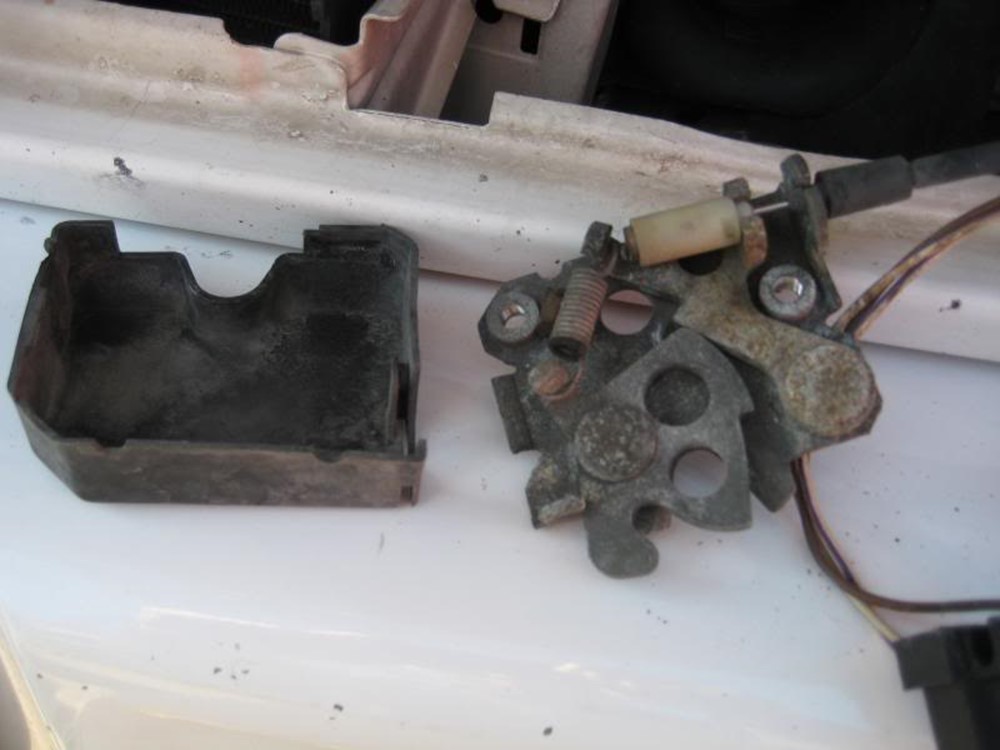
Remove the plastic cover from the hood latch, and carefully remove the cable from the latch mechanism.
-
From inside the car, pull the cable back through the grommet in the firewall to remove. Make sure to observe the precise routing of the cable in the engine bay before removing.
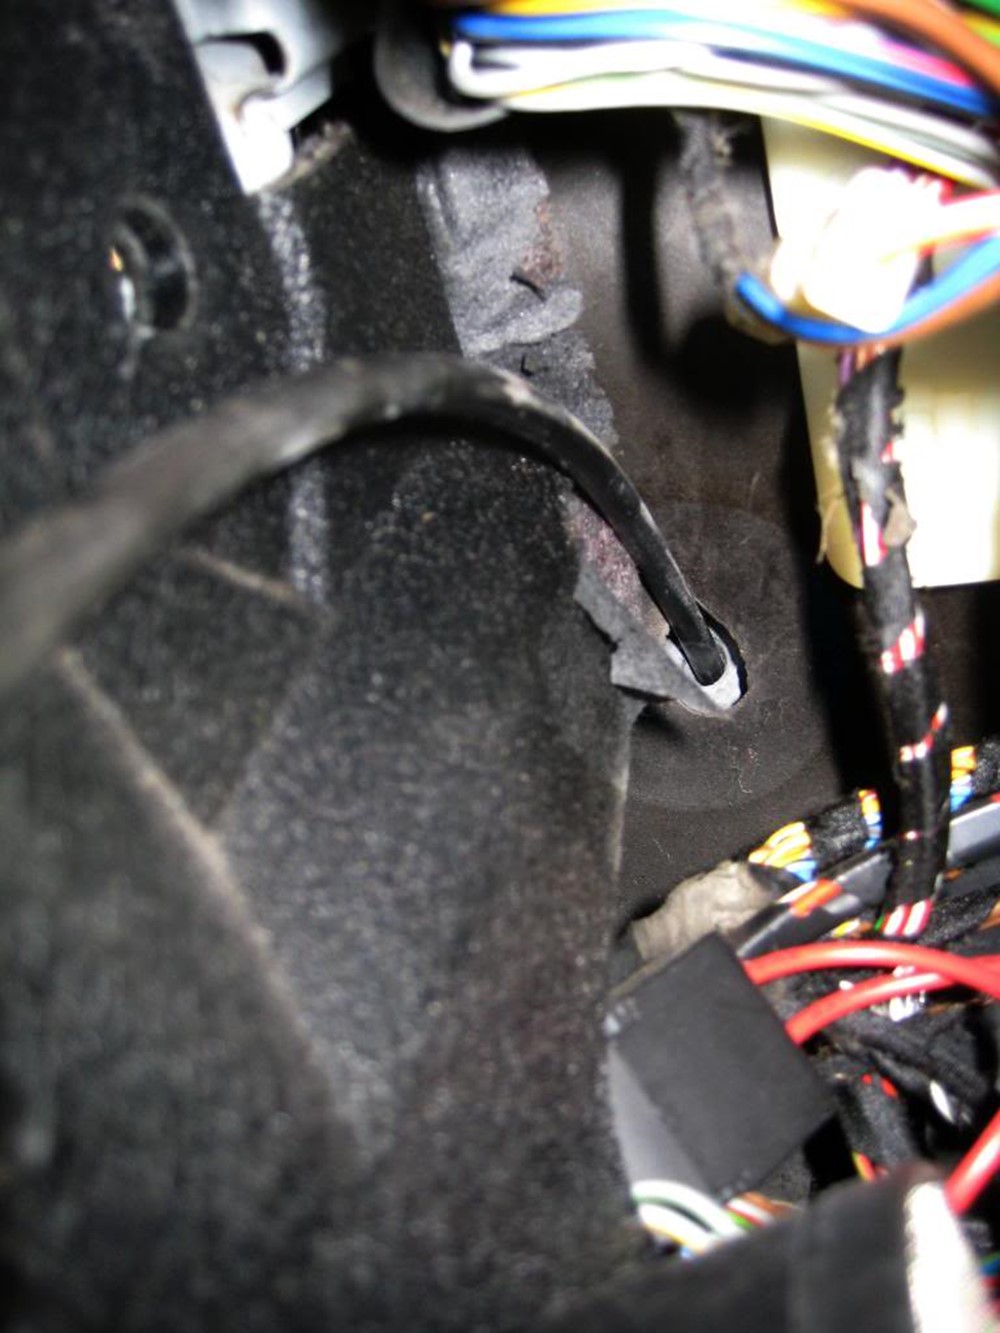
- Route the new cable from inside the car, through the grommet in the firewall (this may take some convincing) and through the engine bay to the latch mechanism
- Reinstall the end of the cable in the latch mechanism, and replace the cover
- Rebolt the latch mechanism in place.
- Rebolt the handle into place inside the car, and reinstall the kick panel and knee bolster.
- Reinstall the driver side headlight and connections.
- Replace the driver side grill and headlight cover
- Reinstall the driver side hood bracket. Align it with your sharpie marks. If you didn’t mark the mounts, start by matching the passenger side. Close the hood, feeling if the hood slides into the bracket smoothly. Look at the alignment of the hood to the fender, you want both surfaces to match, without a large step up or down from one to the other. If there is a step, note which way the bracket needs to go, then open the hood, adjust the bracket, and try again. It usually only takes a couple of iterations to get a satisfactory fit.
Sign up to never miss a new How-To from Classic Bimmer Bits!
Wow that was strange. I just wrote an incredibly long comment but after I clicked submit my comment didn’t appear. Grrrr… well I’m not writing all that over again. Anyways, just wanted to say great blog!