
E30 Odometer Gear Replacement
How-To Credit
This how-to is a Classic Bimmer Bits original, with much credit due to the many members of the community who have helped us learn along the way!
Parts
-
Odometer gears:
- Motometer Gears (Miles-per-hour)
- Motometer Gears (Kilometers-per-hour) (Check which of the two versions your car has before ordering)
- VDO Gears (Miles-per-hour)
- VDO Gears (Kilometers-per-hour)
(No commission for us on this one, Garagistic’s gears are just the best option out there, get them!)
Tools
- Phillips head screwdriver
- Needle nose pliers
- Small flathead screwdriver
Torque Specs (ft-lbs):
- N/A
Prodedure
- E30 odometer gears are famous for breaking; if your odometer doesn’t work, it’s almost guaranteed to be the gears. After 25-30 years, the plastic used for the gears is always brittle and crumbly, and more often than not, the drive gear is completely gone when you open the casing. Fortunately, there are high-quality aftermarket gears available, and the job really isn’t that hard to do. Whether your odometer is already broken, or you’re wisely taking preventative steps, we’ll show you how to safely replace your old gears.
-
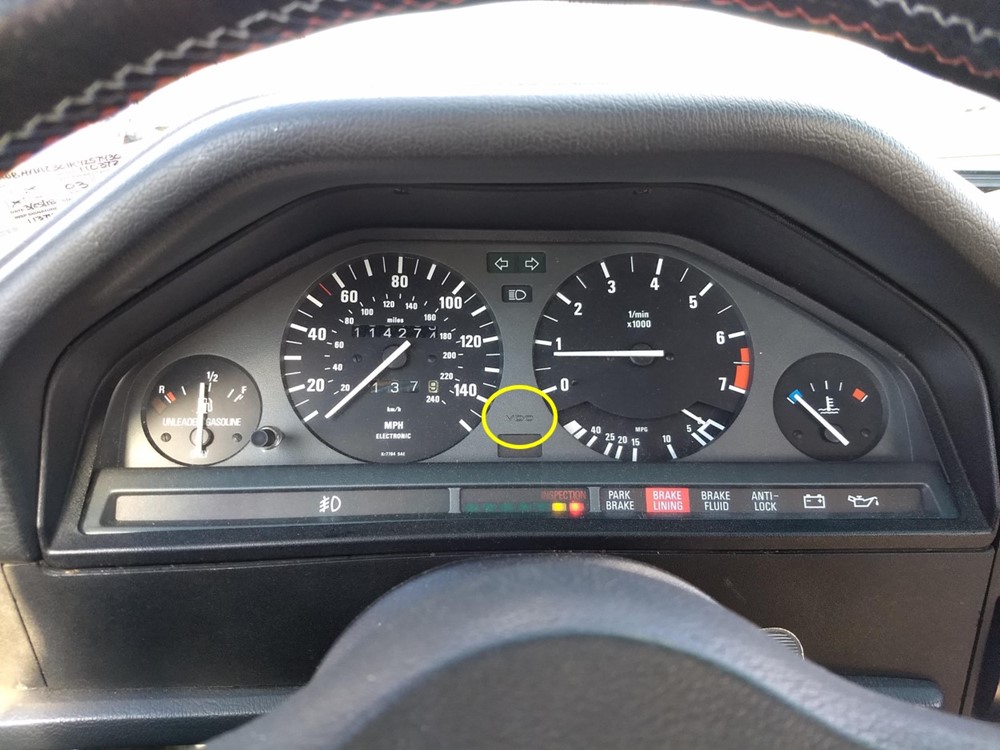
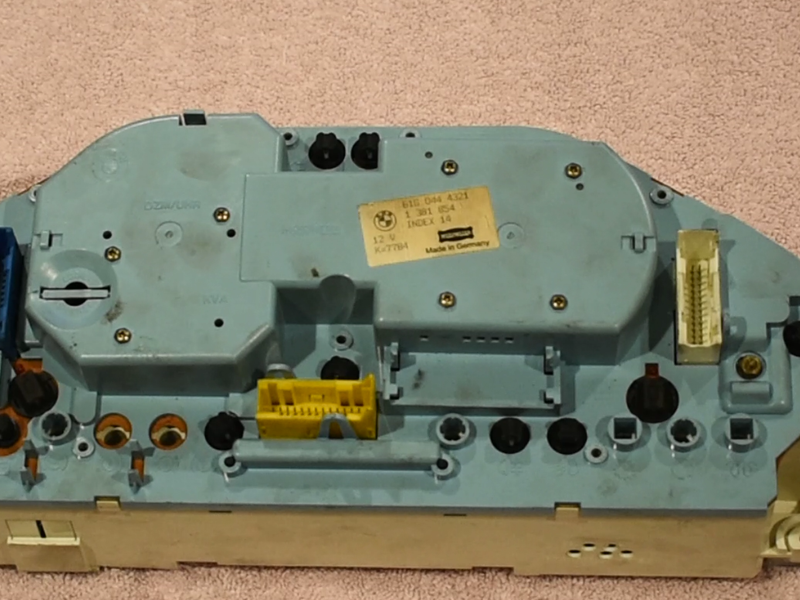
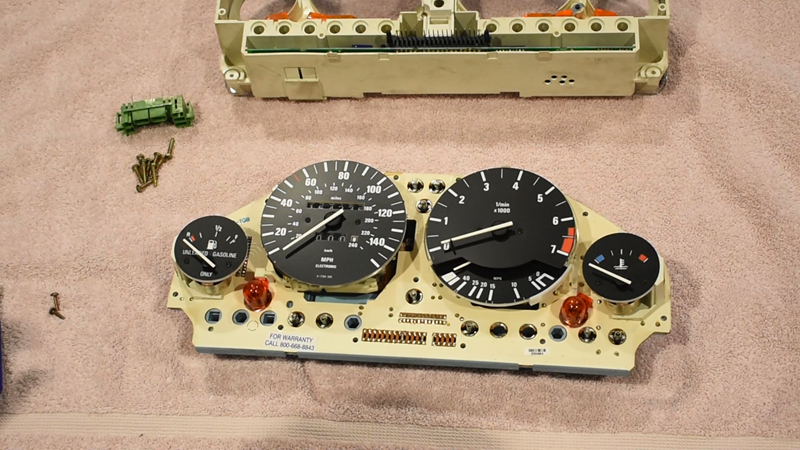
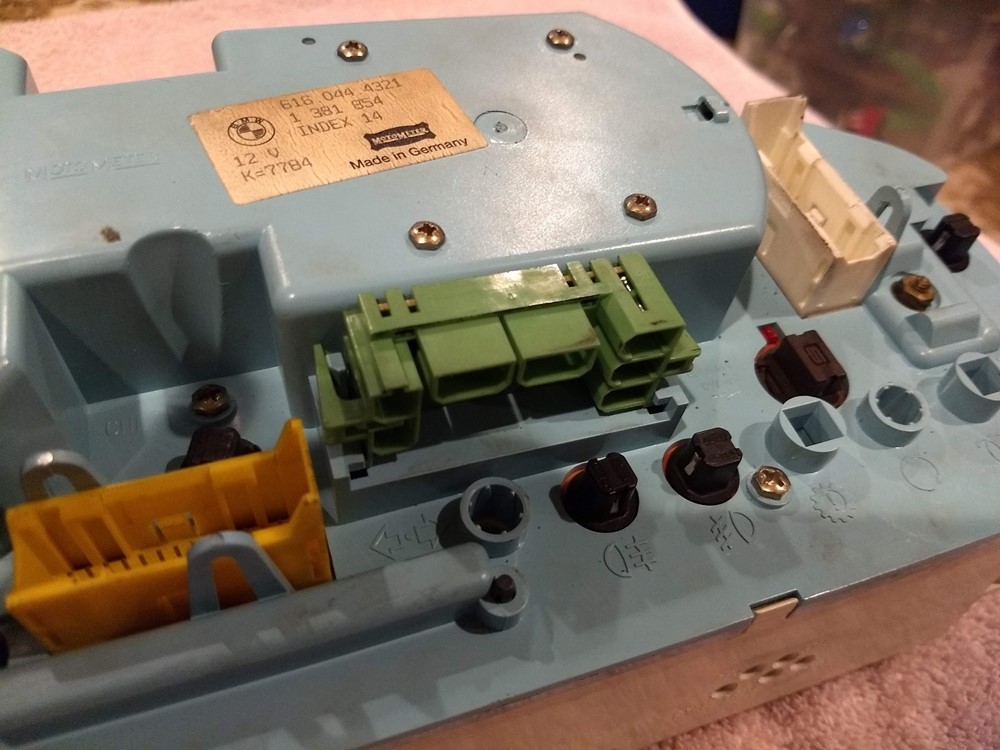
There are two brands of E30 gauge clusters: VDO and Motometer. The clusters are identical in function, and most components of the clusters are interchangeable. However, the gears in the odometer are different between the two; so when you order replacement gears, you need to know what you have. The brand of the cluster is molded into the housing, right between the speedometer and tachometer.
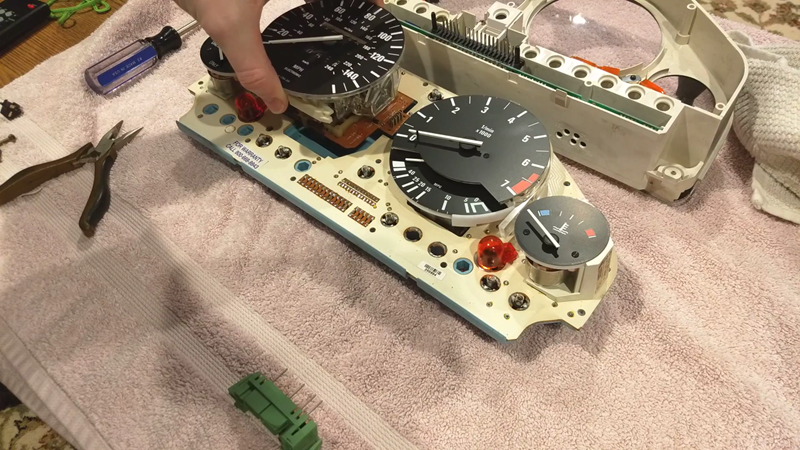
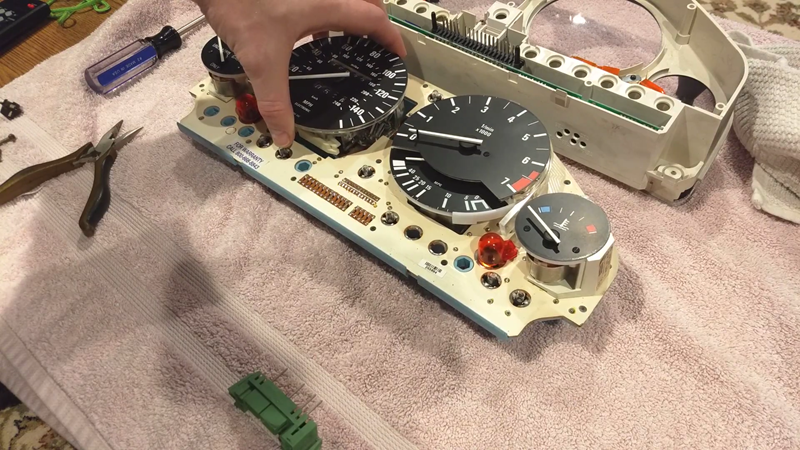
- Start by removing the gauge cluster.
-
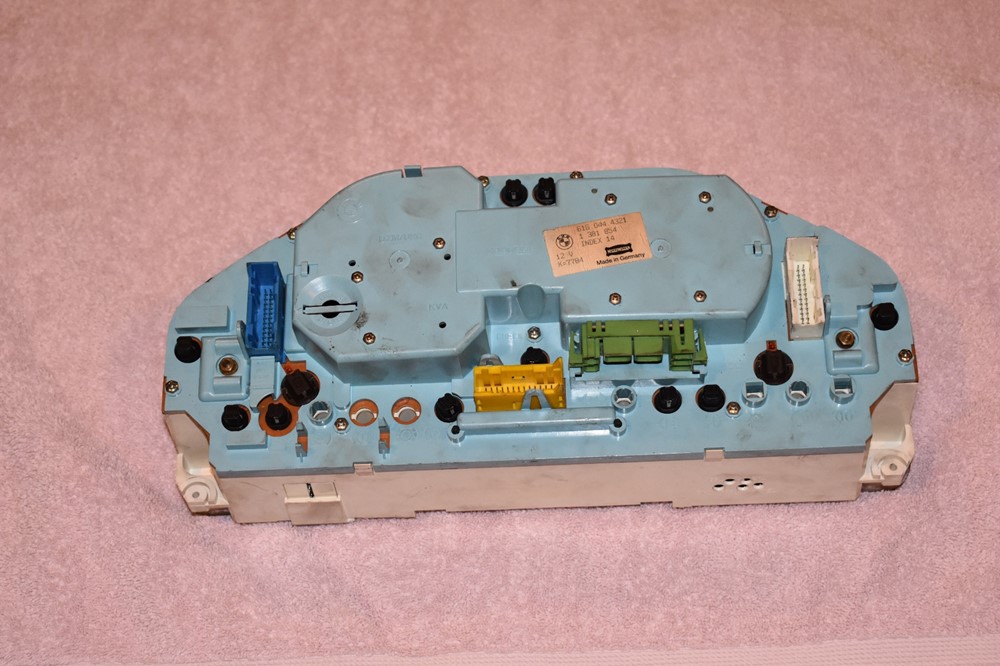
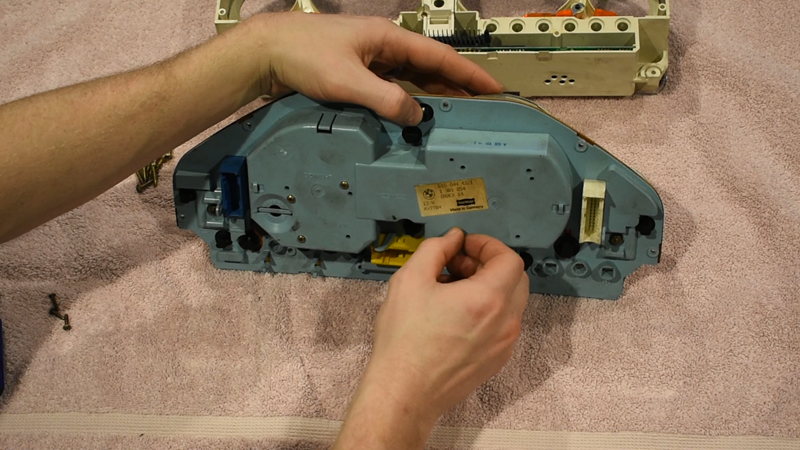
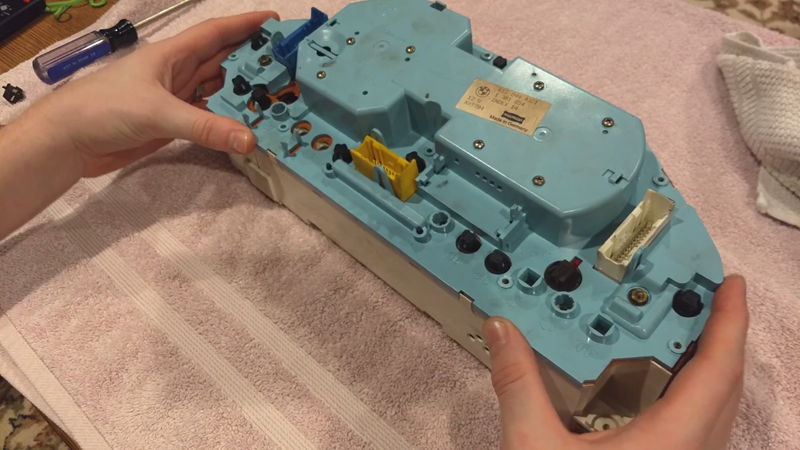
Place the gauge cluster face down on a towel or other soft, padded surface. The mounting tabs on the cluster are not intended to take much load, so you need to avoid pushing on the cluster at all while it’s in this position.
-
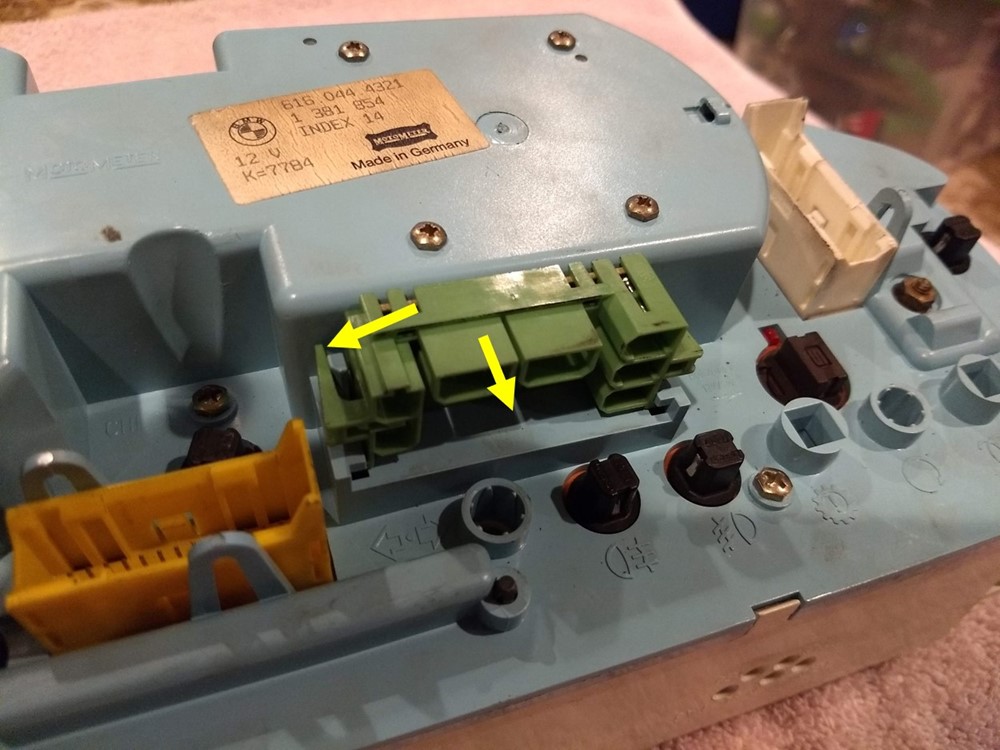
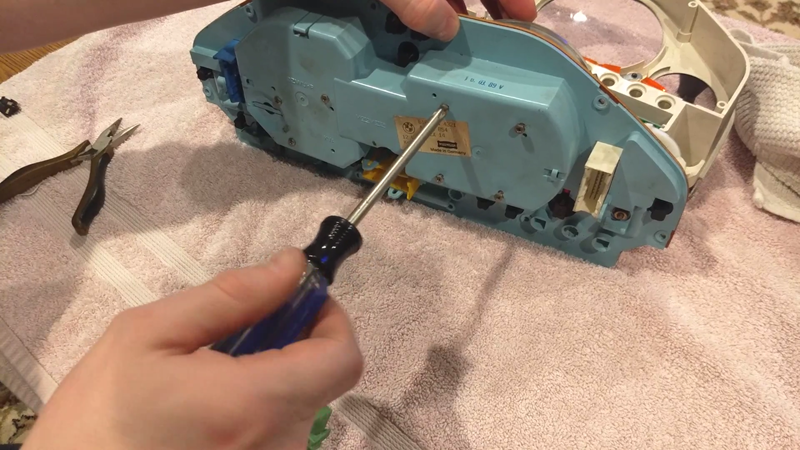
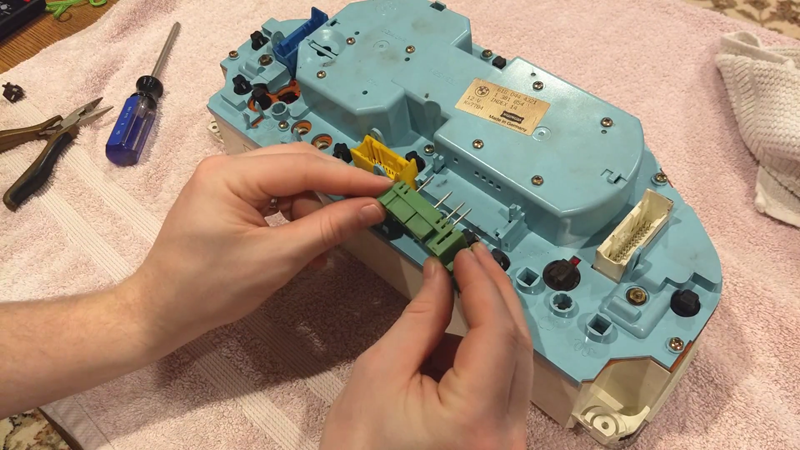
You need to remove the green plug terminal from the bottom of the speedometer. There are two retaining tabs on the sides of the terminal that hold it in place. Use a small flathead screwdriver to carefully flex one of the tabs outwards, and pull the terminal back from the speedometer. It may take a little wiggling to loosen, just be careful.
-
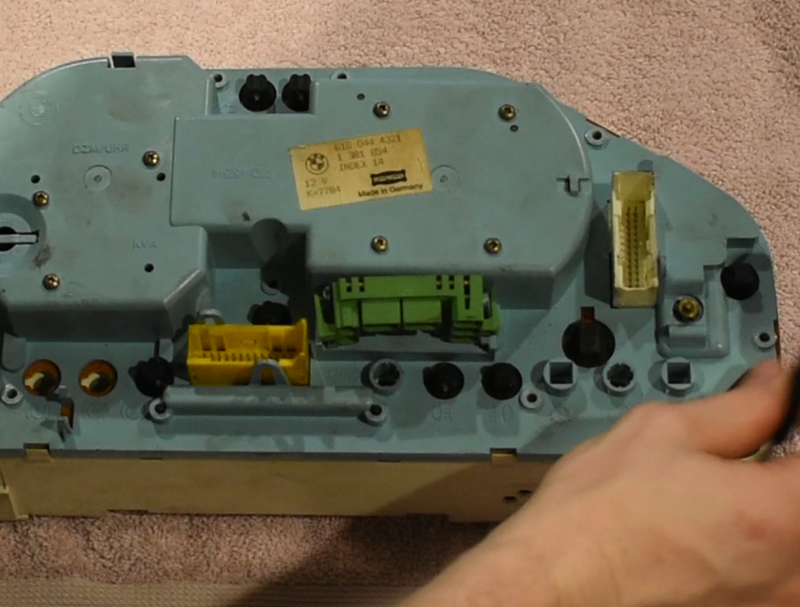
With one side free, use the screwdriver to gently flex the other tab, and pull that side back from the speedometer. Once both sides are freed of the retaining tabs, you can slide the terminal back and out. It slides in slots on either end. Set it aside.
-
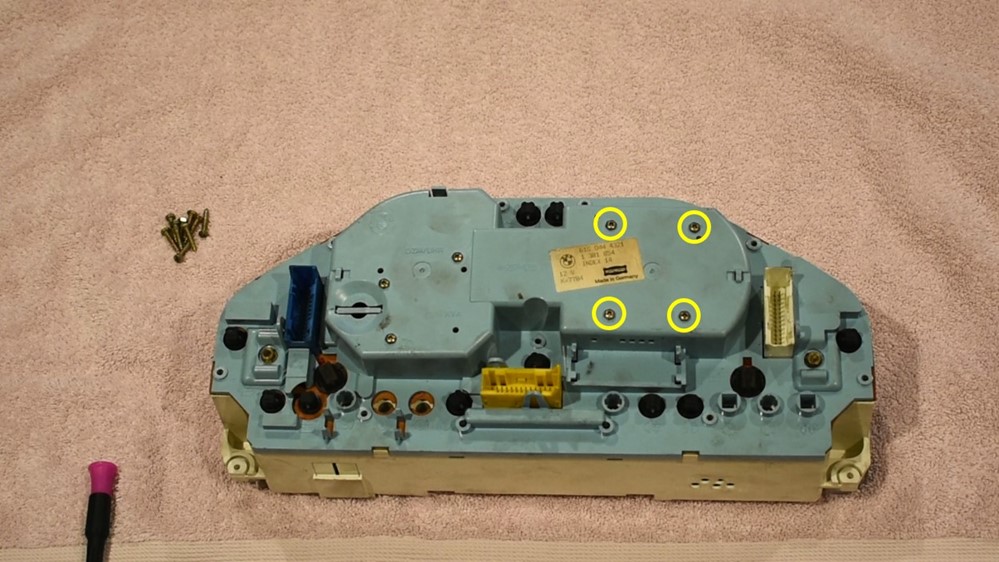
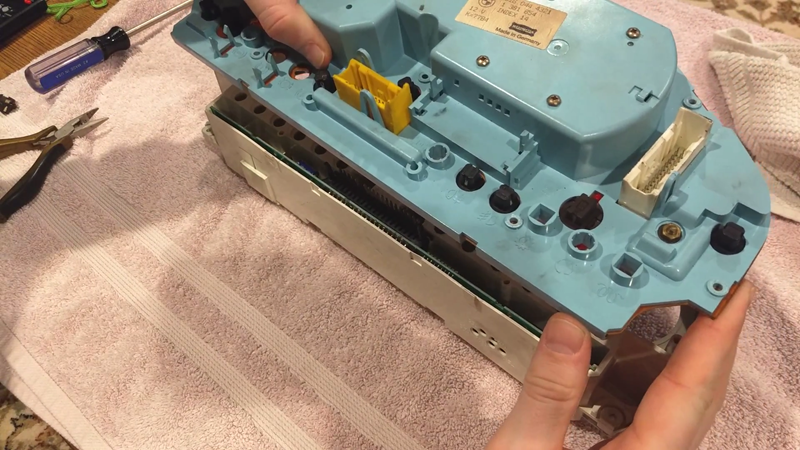
Using a phillips head screwdriver, loosen but do not remove the 4 screws from the back of the speedometer/odometer side of the housing.
-
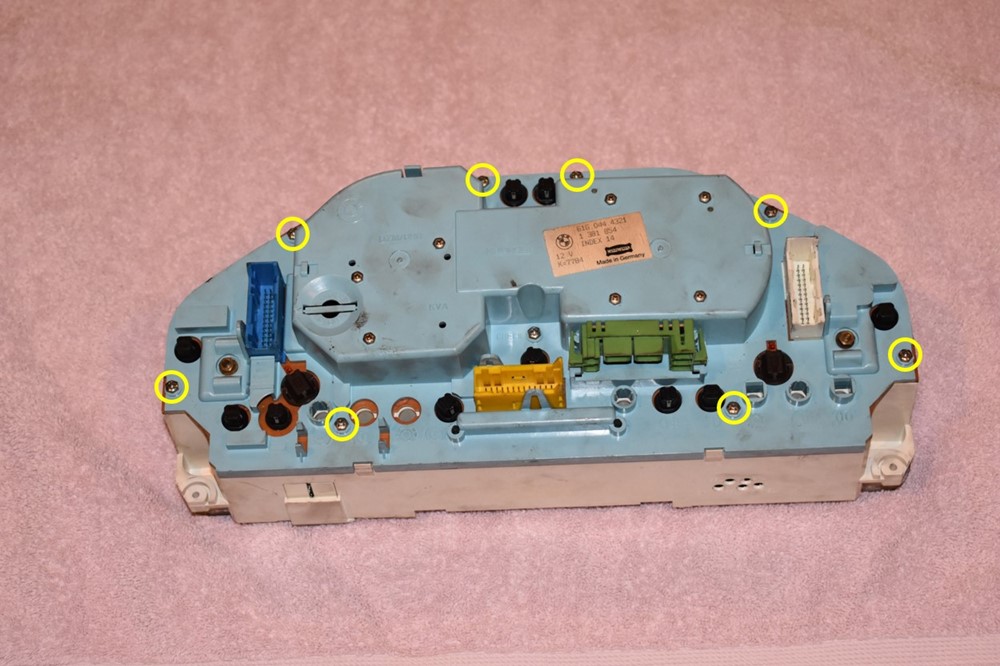
Use the phillips head screwdriver to remove the 9 screws from around the perimeter of the cluster housing.

-
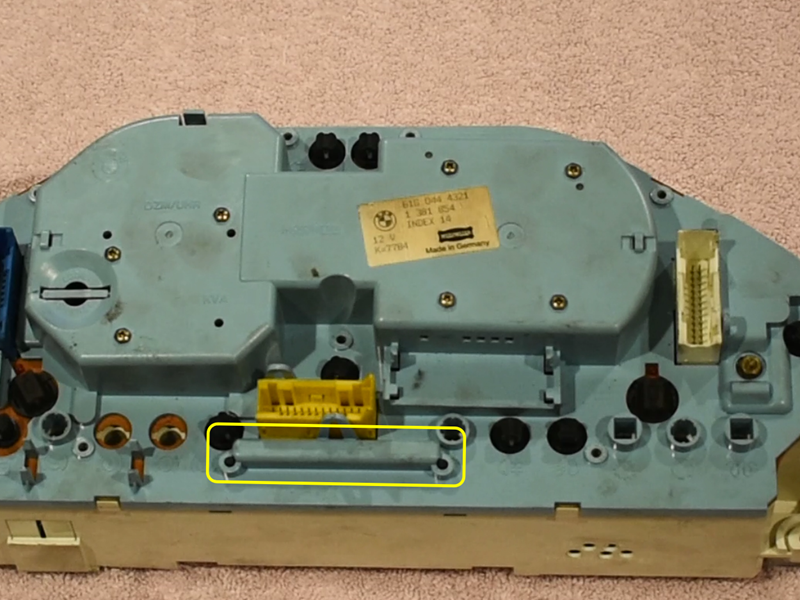
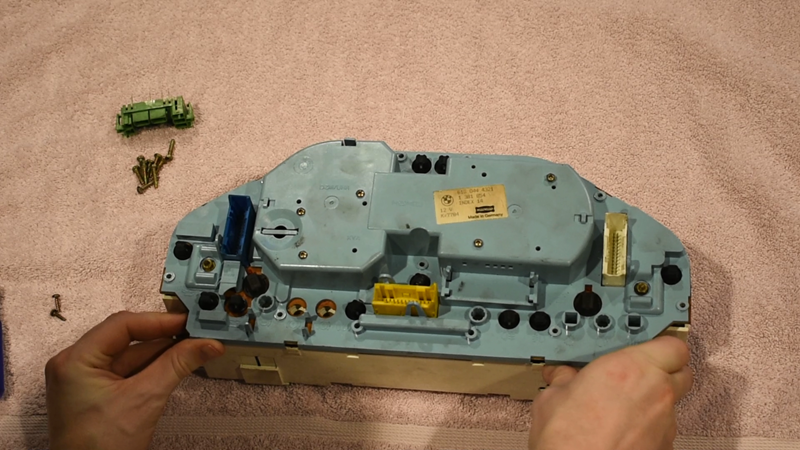
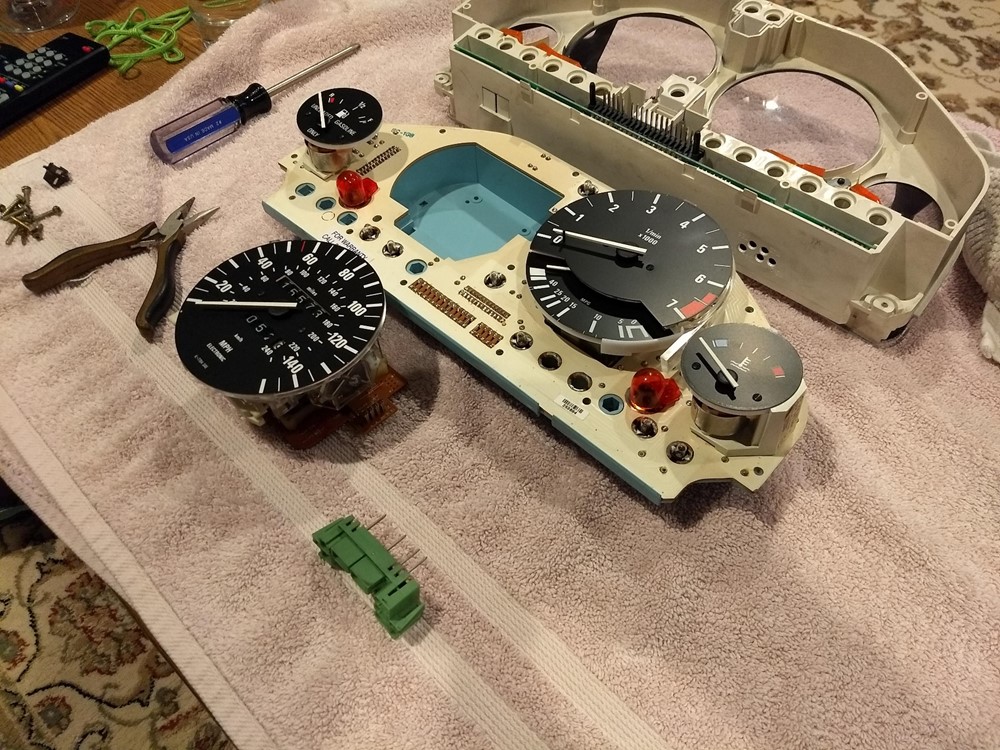
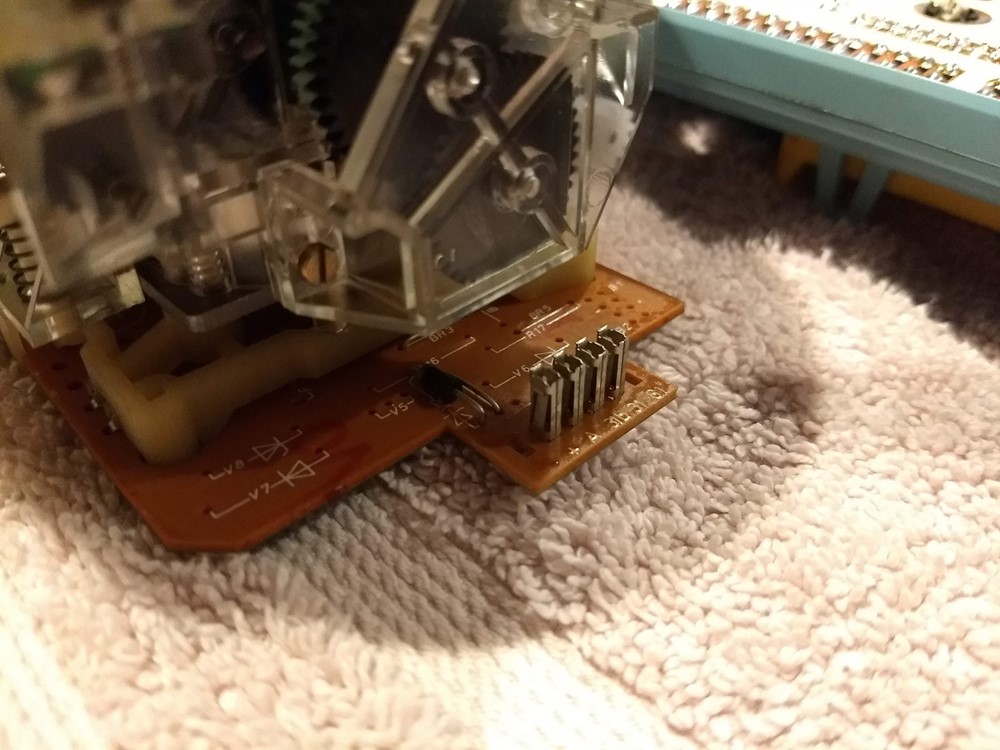
Carefully pull the cluster housing up from the frame. There’s a multi-pin connector near the bottom of the cluster (circled below), it’s the only thing holding the housing and frame together at this point. You can gently push the bottom of the housing up from the frame to start moving this connector. Pull the cluster up out of the frame, and set it face up on your padded surface. As you pull it upwards, be careful not to catch any of the needles on the sides of the frame.
-
The speedometer/odometer is held in place by the 4 screws you loosened in step 7, and a 4 pin connector on one side. Remove the 4 screws from the back of the cluster, and pull the speedometer straight out of the cluster housing. Place the speedometer on your padded surface facing upwards.
-
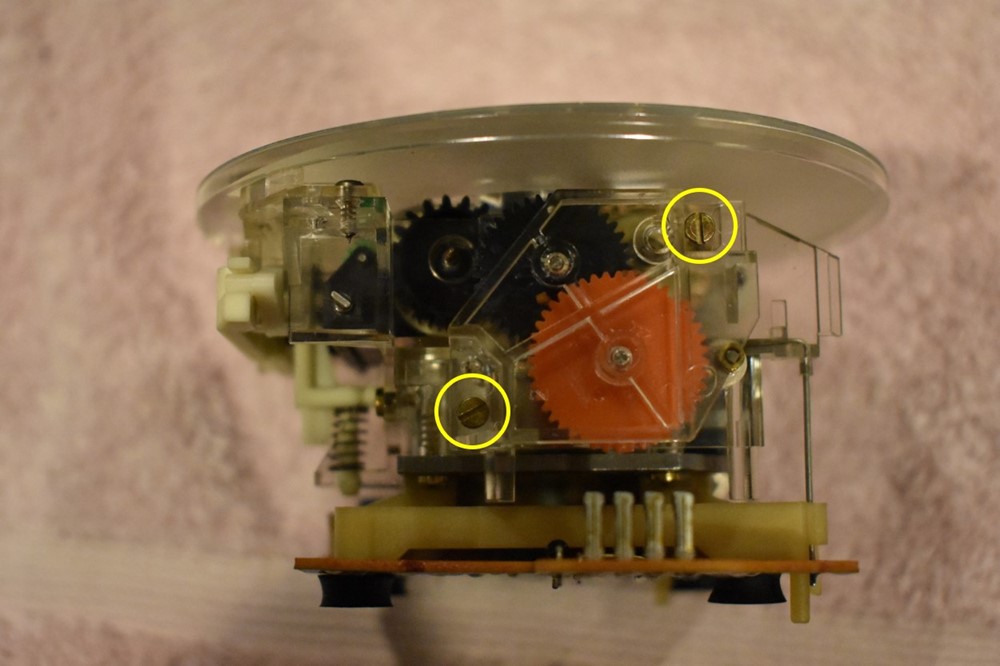
Now for the fun part. Use the small flathead screwdriver to remove the 2 screws holding the gear cover to the side of the gauge. Pull the cover off and set it aside.
-
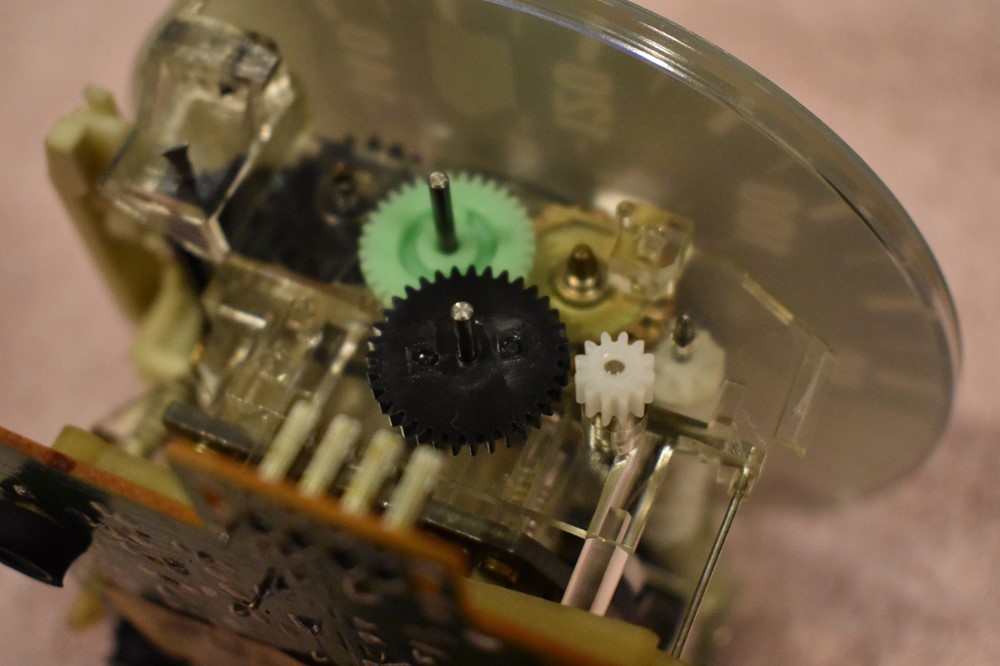
You should now be able to see the extent of degradation of your gears. You can see in the pictures below that the drive gear is missing entirely; all that’s left is the knurled metal sleeve at its center. One big note here: The following several pictures are unique to the Motometer speedos. If your gauge cluster is VDO, all of the steps will be the same; however, the gears will look a little bit different than the pictures below. In that case, it will be a little more important for you to keep track of which size gear goes where, since these pictures won’t be a completely accurate guide.
-
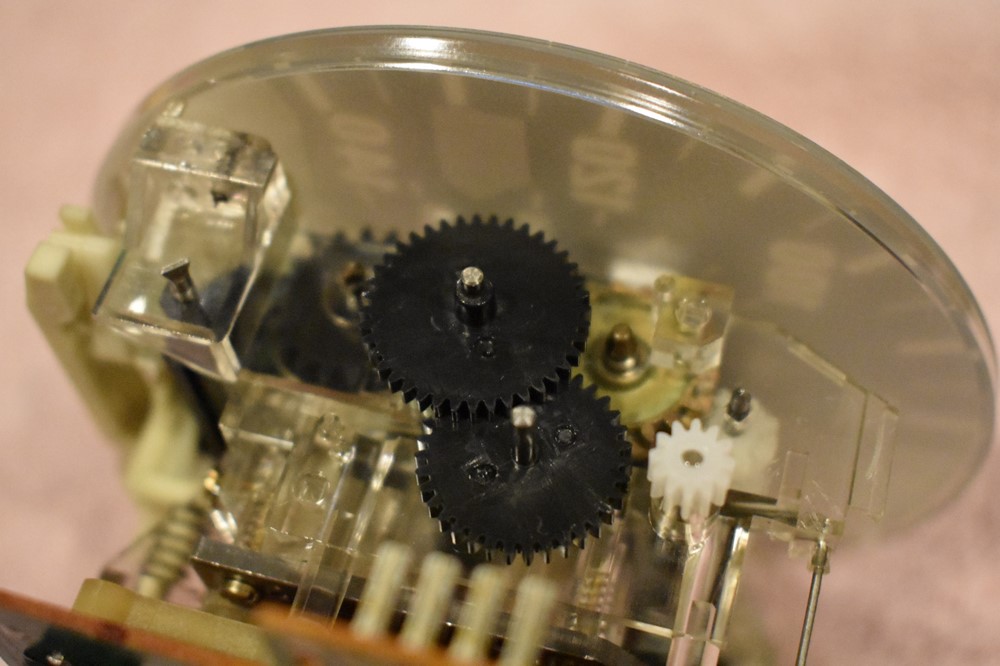
With the exception of the drive gear, the odometer gears are free on their shafts. Pull the top, large gear off of its shaft.
-
Pull the next gear off its shaft as shown.

-
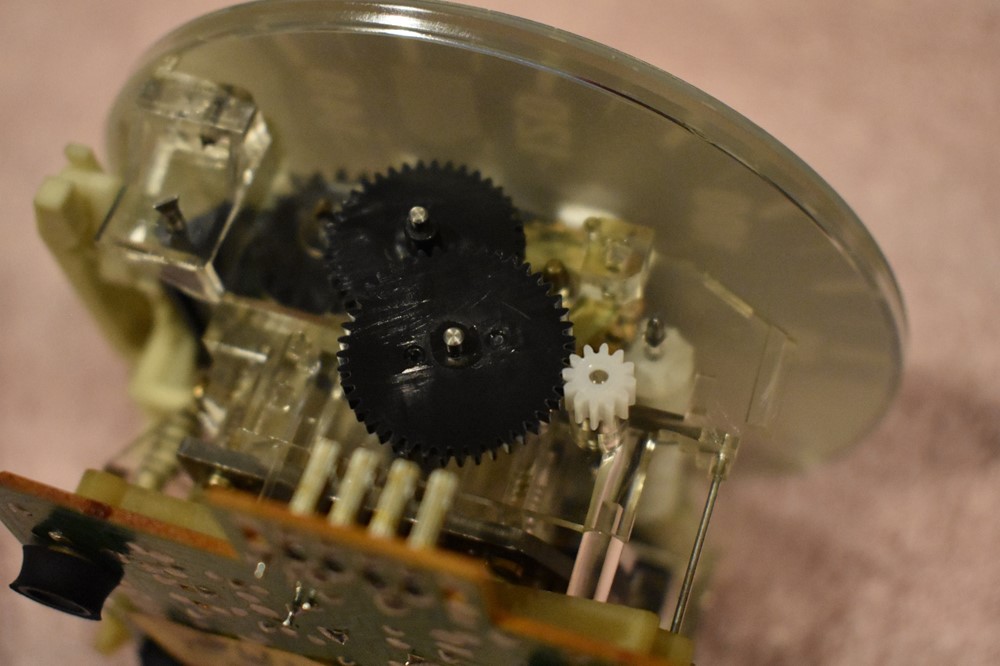
Pull the next gear off its shaft as shown.
-
The final gear typically doesn’t need to be replaced, it’s a different, longer lasting material than the rest. Pull it off the shaft, make sure it’s clean and doesn’t have any bits of other gears on it, then set it back into place.
-
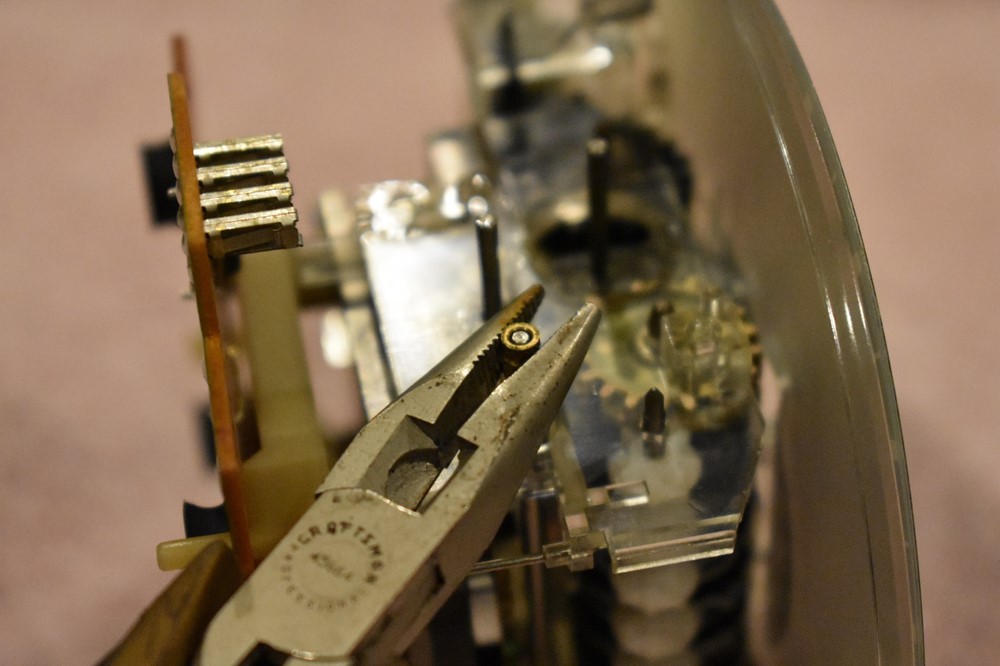
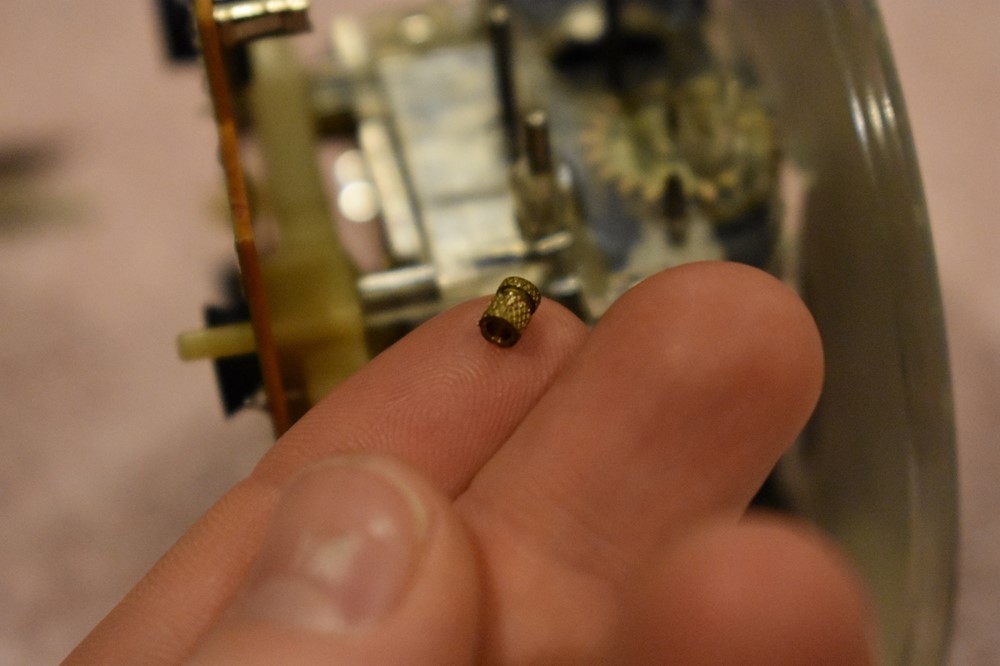
The original drive gear is held onto its shaft with a knurled insert that’s pinched onto the shaft. With a pair of needle nose pliers, carefully squeeze the knurled insert. Turn the shaft about 90 degrees, and squeeze it again. At this point, you ought to be able to easily pull the insert off the shaft. If not, turn and squeeze it a couple more times until it loosens up. Pull it off the shaft.
-
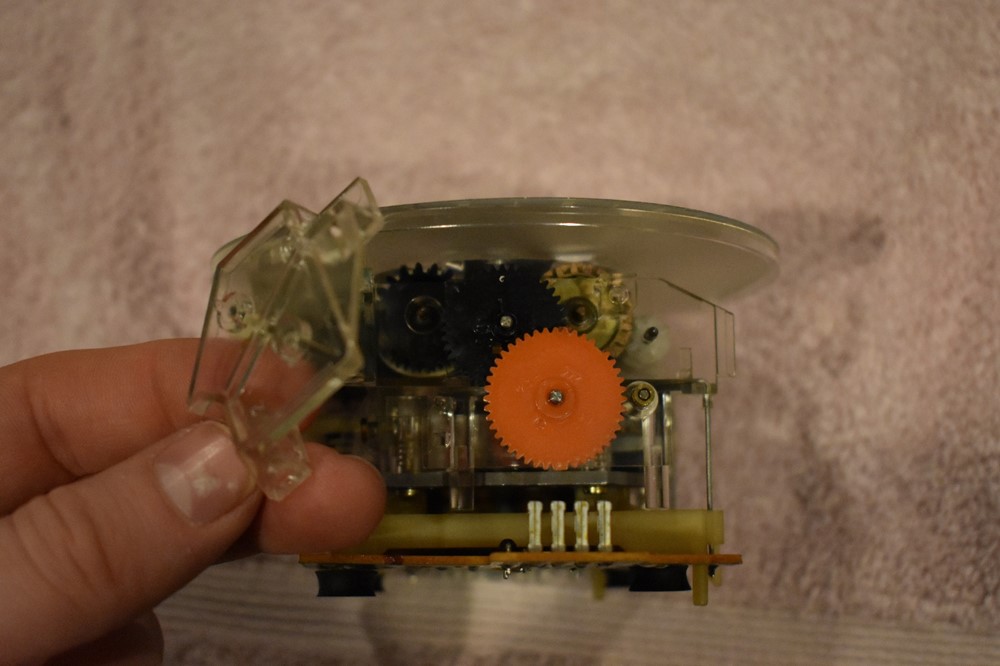
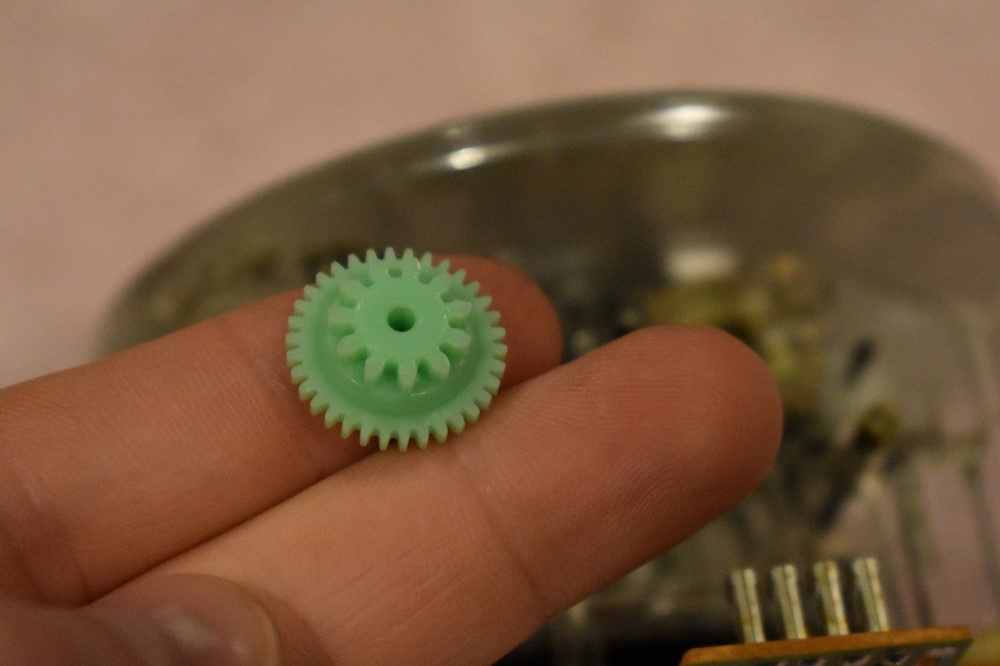
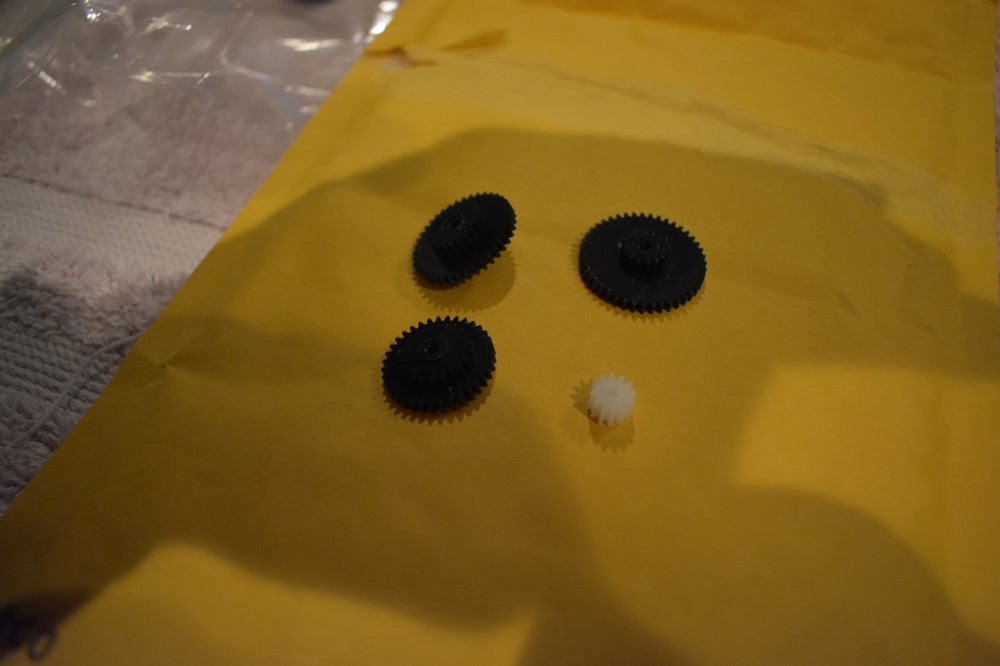
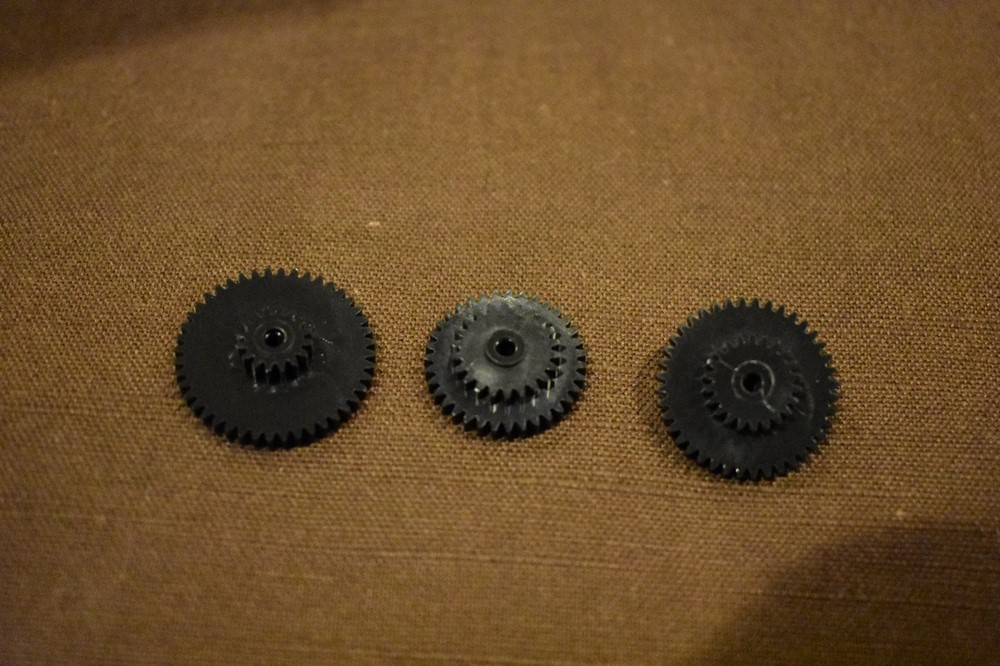
Here are the new gears that come with a replacement set (for Motometer units; the VDO gears look a little different).
-
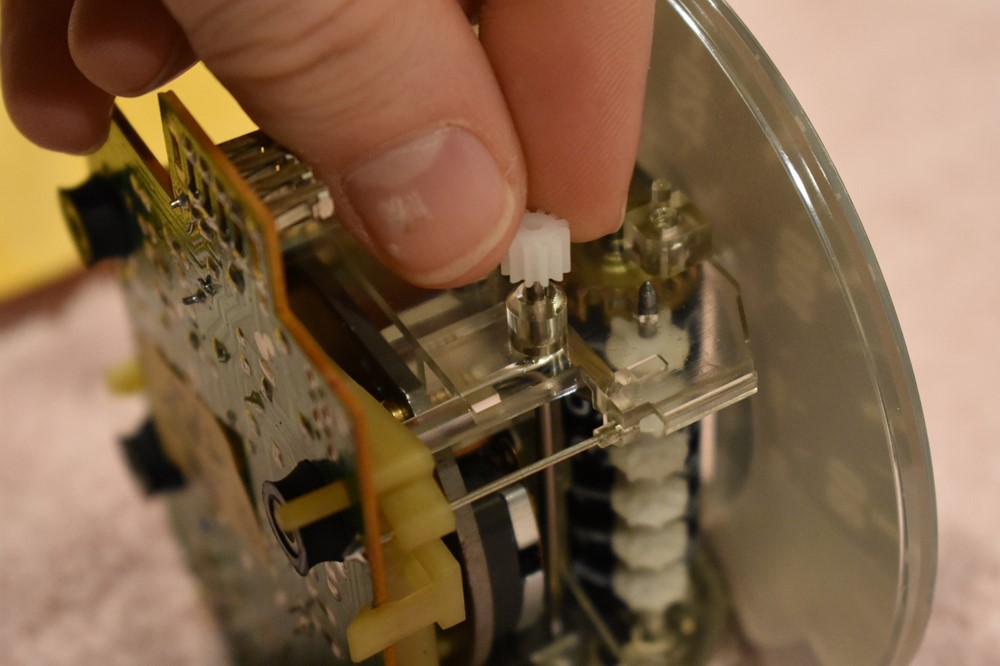
Start with the drive gear. It’s a press fit onto the shaft. Be careful with this step; you need to support the shaft from the back so as not to stress the body of the gauge. The easiest way to do this is to hold the gauge in both hands, with the front of the axle towards you. Support the back of the motor housing with your fingers, and press the gear on with your thumb. Press the gear on until it bottoms out on the housing.

-
At this point, the gear will be partly pressed on to the shaft. Since the motor shaft can move in and out, when you stop pressing, it will move back towards you. This next step is delicate. You need to gently but firmly grab the motor shaft with the needle nose pliers, and press the gear further onto the shaft, until the shaft is nearly flush with the end of the gear.
-
Make sure there’s still clearance between the gear and the motor housing. If not, use the small flathead screwdriver to gently pry the gear away from the housing.
-
The rest of the gears go on in order from left to right in this picture. They all go on with the smaller side of the gear downwards.
-
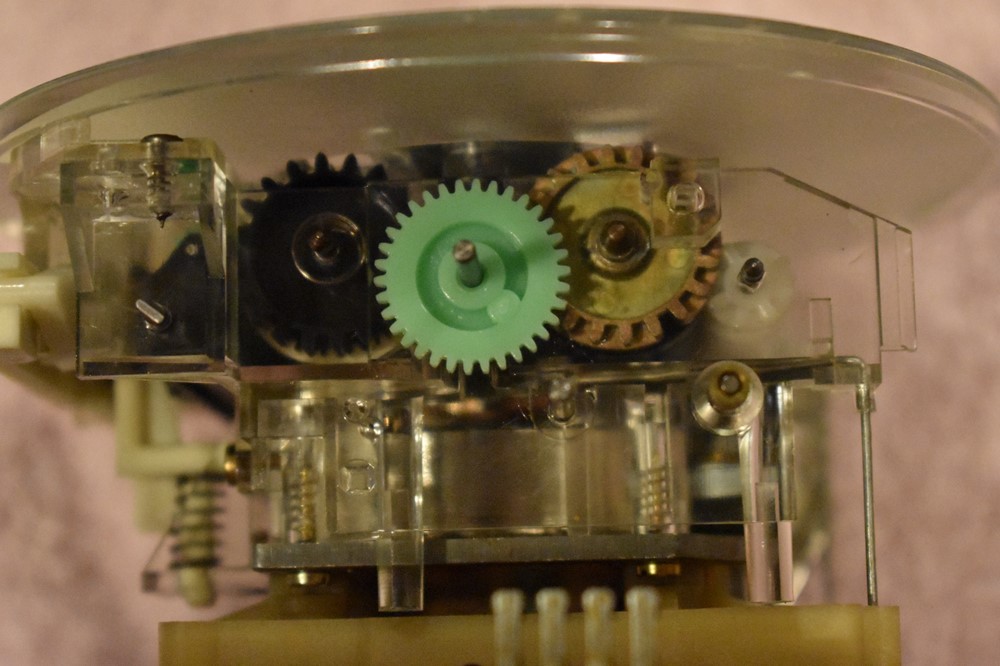
Place the first gear onto the middle shaft as shown. You may need to wiggle it a little to get it to sit into place with the green gear.
-
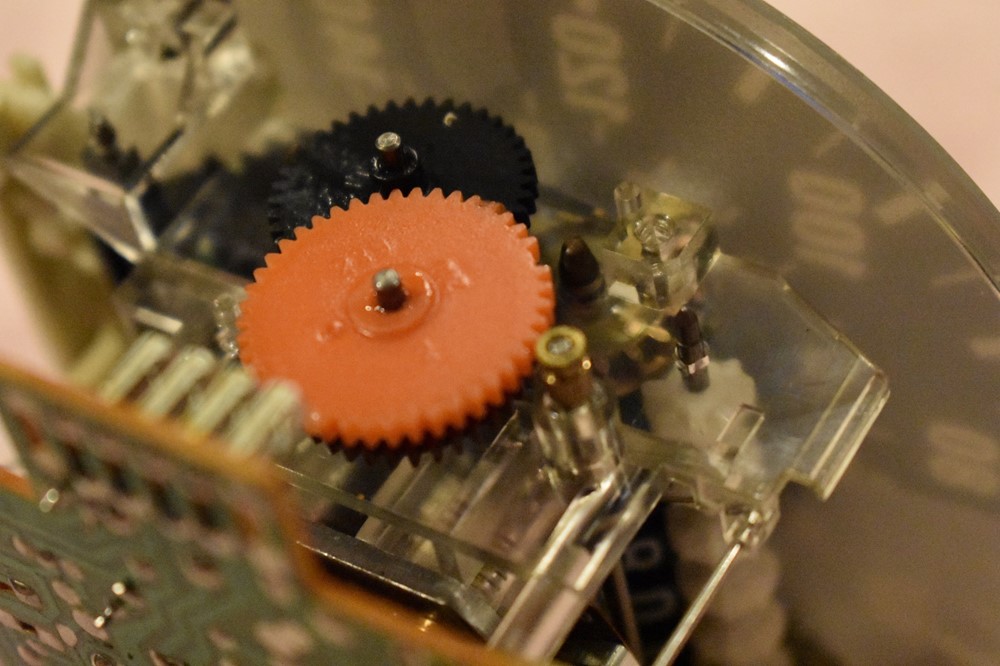
Place the next gear into the same shaft as the green gear. As with the first one, it might take a little wiggling to get it correctly mesh with the first gear.
-
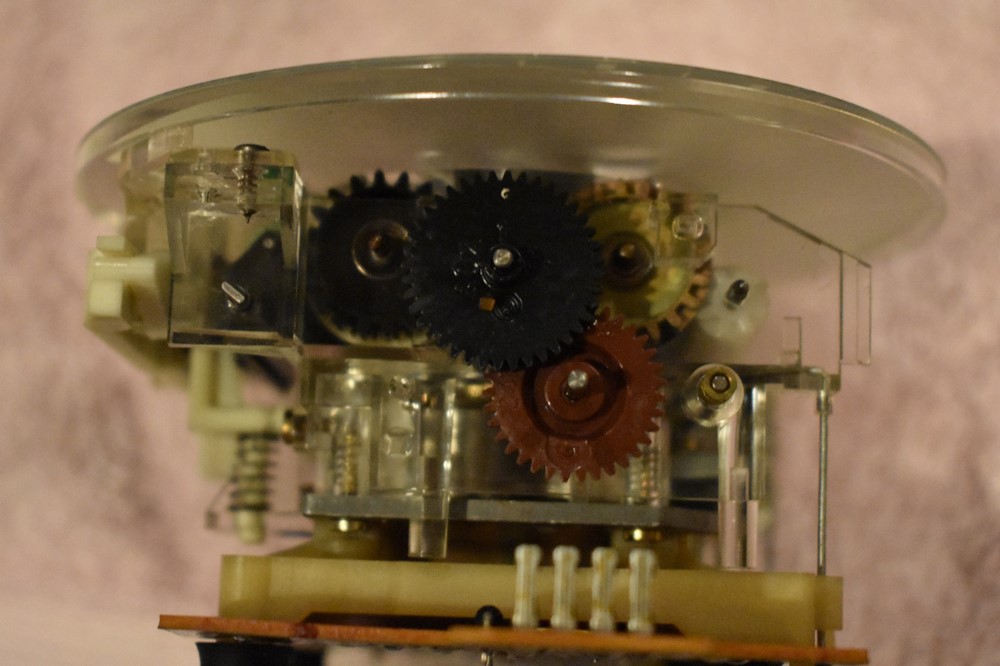
Place the last gear onto the middle shaft. This gear needs to mesh with both the 2nd gear and the drive gear, so it’ll take a little turning and wiggling.
-
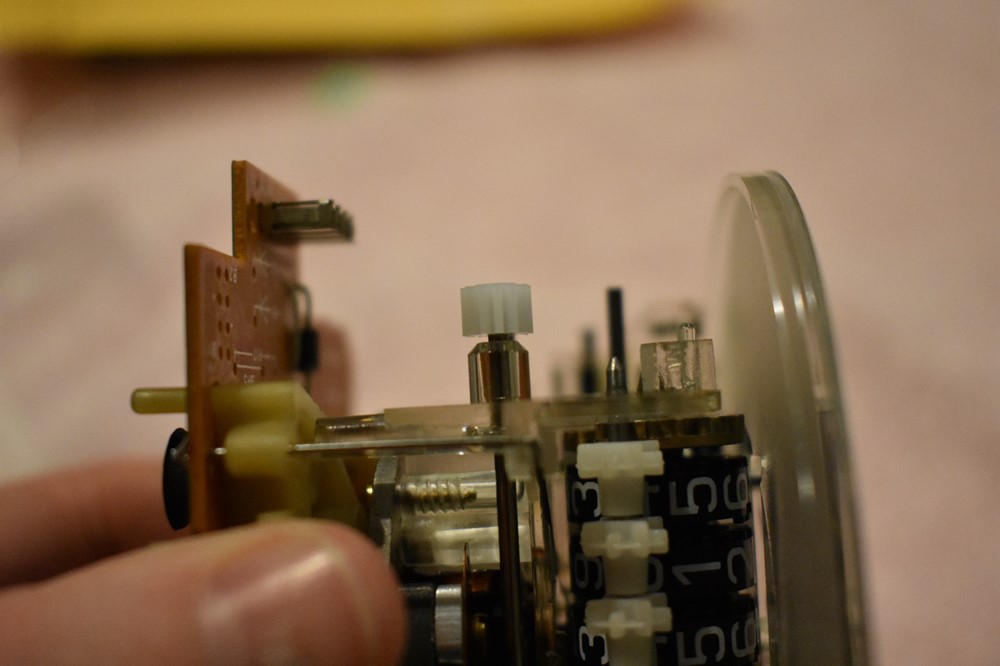
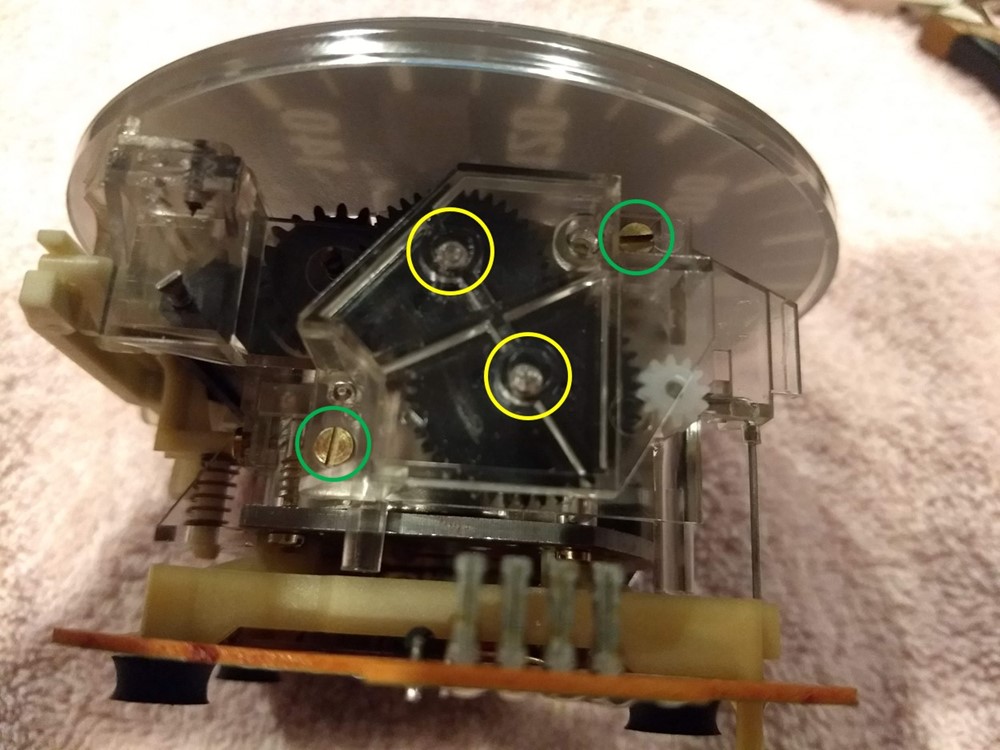
Reinstall the gear cover, making sure the two holes in the cover seat over the gear shafts (yellow). Reinstall the two screws (green).
-
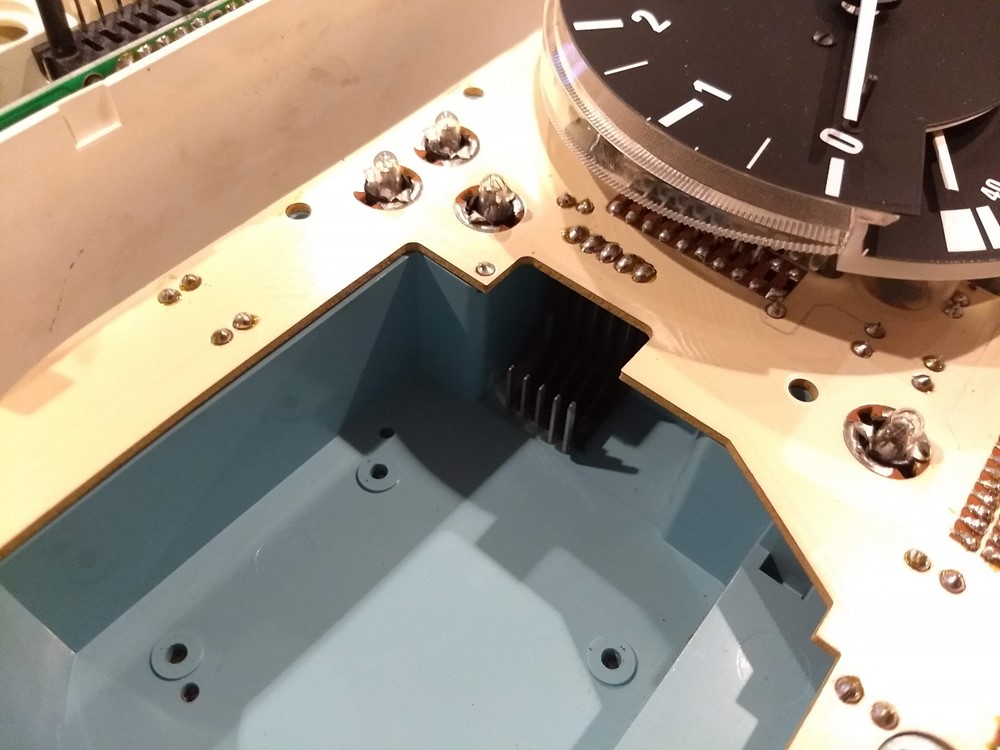
Your odometer gears are all set. Now it’s time to reinstall the speedometer into the cluster. There are 4 slotted receptacles in the bottom of the speedo. They fit over a corresponding 5 pins in the bottom of the pocket that the speedo sits in, as shown. The 5th pin goes into the empty slot in the speedo. The speedo only fits into the pocket over the right pins, so you don’t have to worry too badly about getting it aligned correctly.
-
Lower the speedo into its pocket, and gently press it down over the pins.
-
Tilt the cluster forward, and start the 4 screws into the back of the speedo by hand, then snug them up with the phillips screwdriver.
-
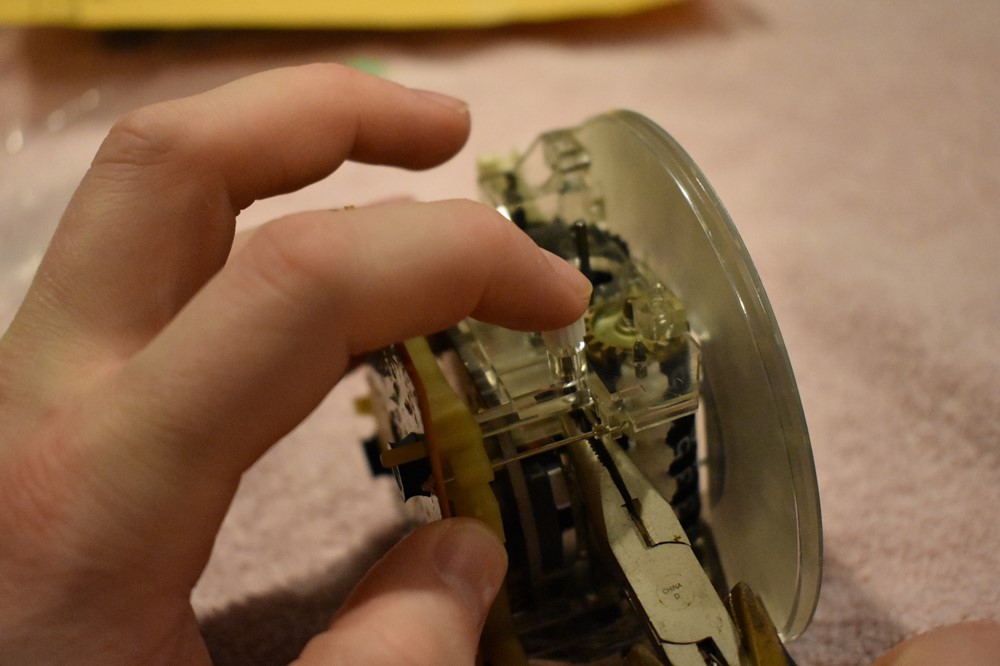
Lift the cluster and hold it over the housing, both face down. Carefully lower it into place, being very careful to avoid bumping the gauge needles on the housing. The hardest part will be getting the multipin connector on the board to slide smoothly over the pins in the housing. This can take a little wiggling and adjustment, but it should slide smoothly one without much force when it’s right.
-
Reinstall the 9 screws around the perimeter of the cluster. Snug them up gently at first to make sure the housing is seated fully, then go back around and snug them up firmly.
-
Reinstall the green terminal. Slide the terminal into the slots on either side, then insert the pins through the holes in the speedo housing. The 4 pins slide into receptacles in the speedometer, and should slide in with gentle force. If they really won’t go in, loosen up the 4 screws on the back of the speedo and try again. Once it’s slid into place over the locking tabs, tighten up the screws on the speedometer again.
- You’ve successfully replaced your odometer gears, congratulations! You can now reinstall the gauge cluster into the car.
Sign up to never miss a new How-To from Classic Bimmer Bits!