
E30 Rear Shock Rebuild
How-To Credit
This how-to is a Classic Bimmer Bits original, with much credit due to the many members of the community who have helped us learn along the way!
Parts
- Rear Shock (you can look up your OEM or pick aftermarket shocks)
- Rear Bump Stop (33521125078)
- Rear Shock Dust Cover & Support (33521129263 (non-OEM link, but let’s be real, it’s a plastic dust cover and one fourth the price of OEM) & 33521091427)
- Rear Shock Mount (33521128819, although you should research the non-stock PNs for this)
- Rear Shock Mount Washer (33521117677)
- Rear Shock Nut (typically comes with the shock) (07129922436)
- Rear Shock Mount Gasket (33526772864)
(We make a commission for parts purchased through the Amazon links above, which helps keep this site hosted and free. We only link to OEM or OE parts, the same quality parts that we use on our cars. However, you should always look around to see which site has the best prices.)
Tools
- Metric combination wrench set (sizes seem to vary, you’ll need between 6mm and 17mm)
Torque Specs (ft-lbs):
- Rear Shock Nut: 10 ft-lbs (14 N-m)
Prodedure
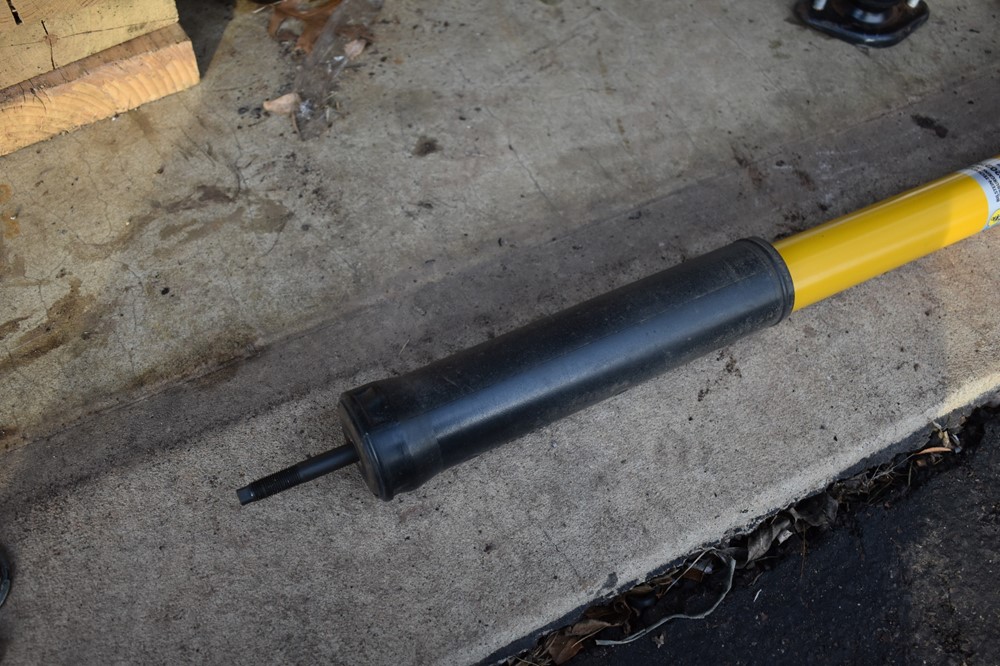
- Start by removing the rear shock from the car.
-
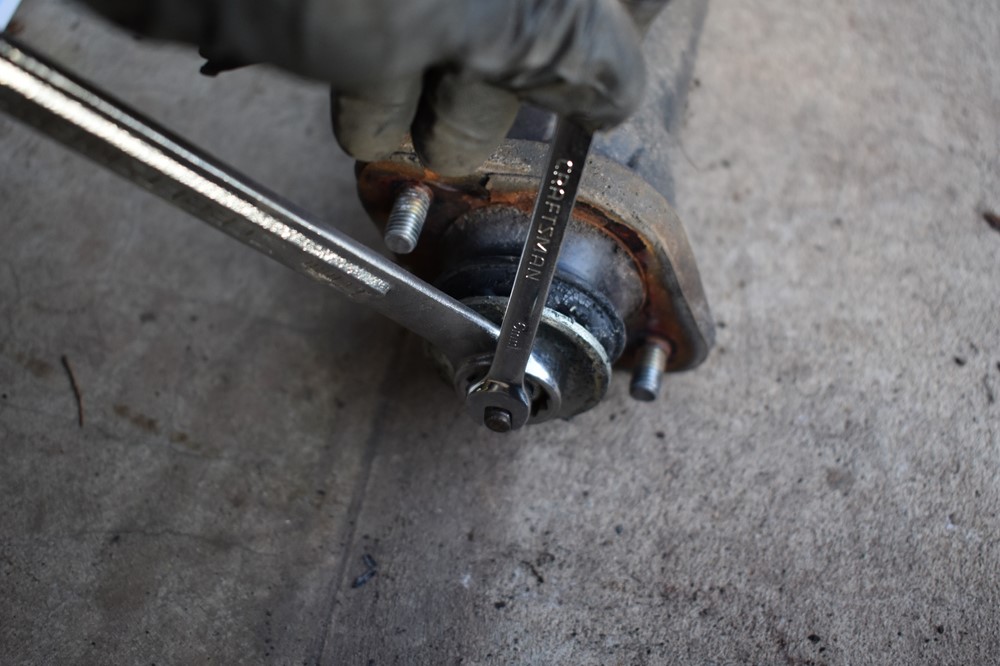
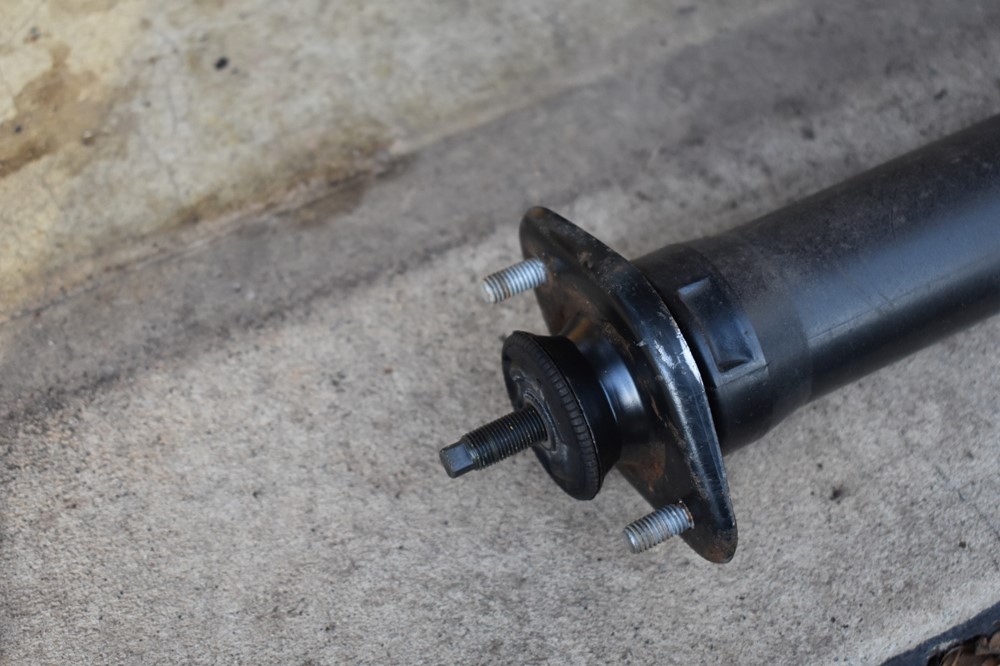
There’s a nut on the end of the shock strut that holds the shock mount to the shock.
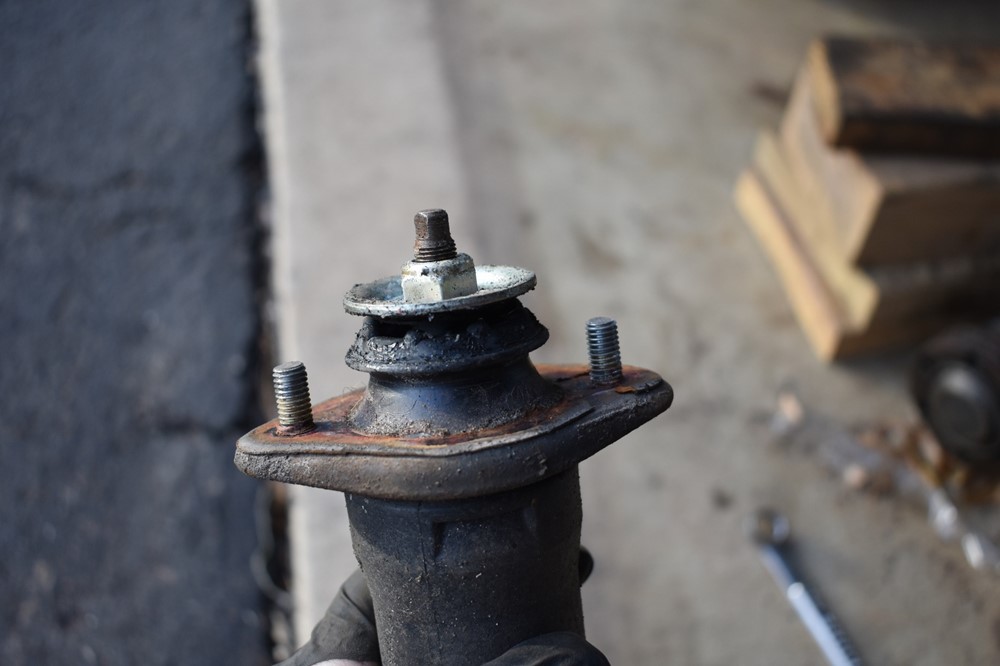
-
If you’re rebuilding stock Sachs struts, the end of the shock has flats for a 6mm box wrench, and . If you’re rebuilding aftermarket shocks, the end may be one of variety of wrench sizes, or a socket head for an allen wrench. The nut on the end of the shock can vary in size as well, so you’ll have to find what fits. While holding the end of the shock in place with one wrench, remove the nut. If you have an impact wrench, you may be able to turn the nut off without holding the end of the shock.
-
Remove all of the components from the end of the shock, keeping track of their order.
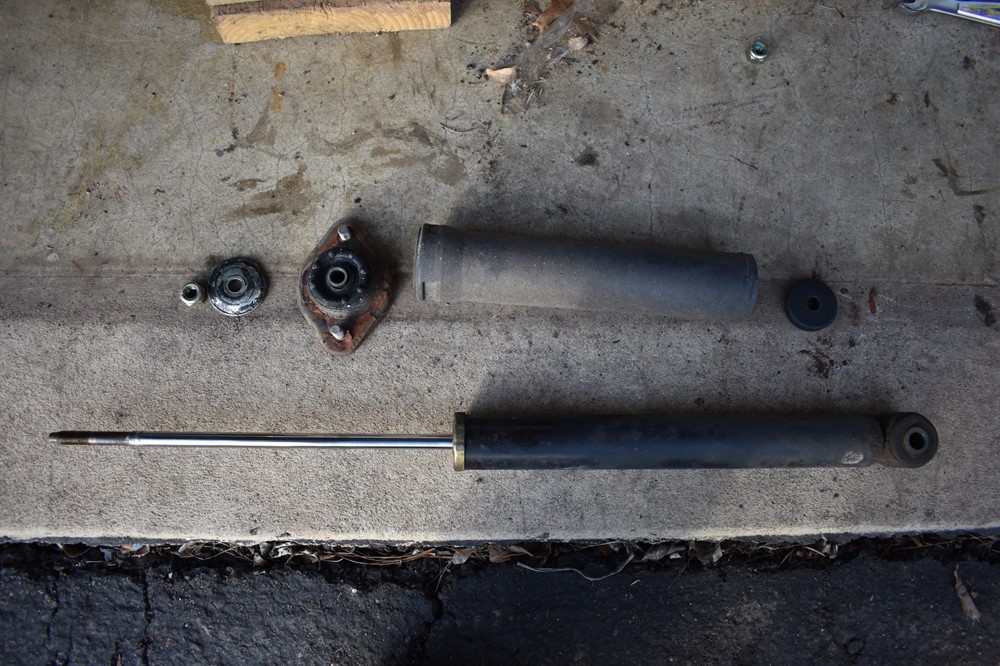
- Clean any components you’re re-using, and layout any new components in place of the old ones they’re replacing.
-
Install the rubber bump stop onto the shaft of the shock, sliding it up against the step on the shaft, just below the threads.
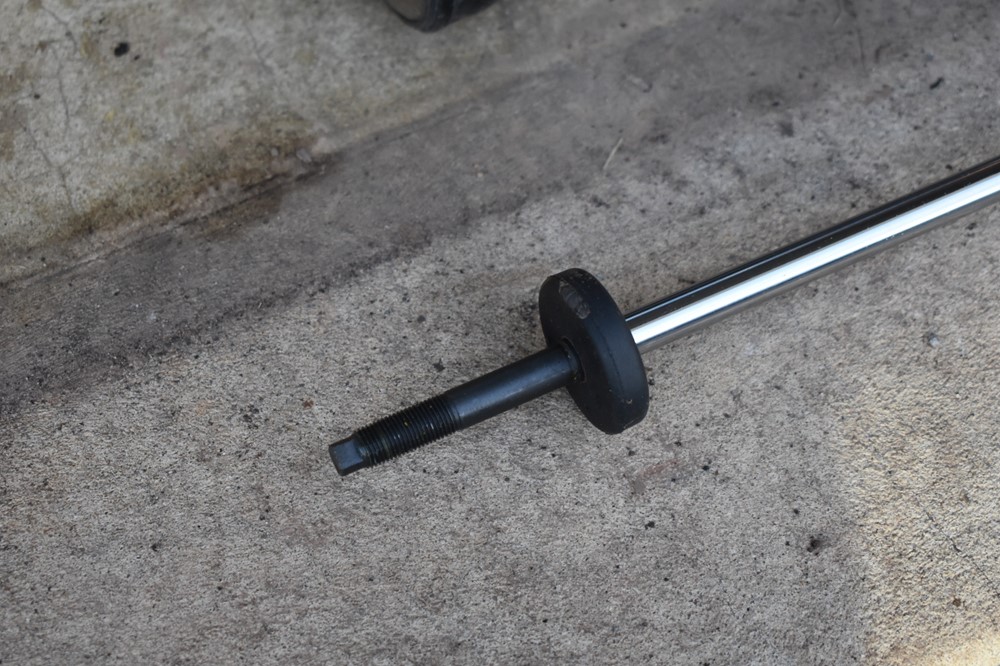
-
Slide the dust cover over the shaft. The “dust cover support” part number is the washer snapped into the top of the dust cover.
-
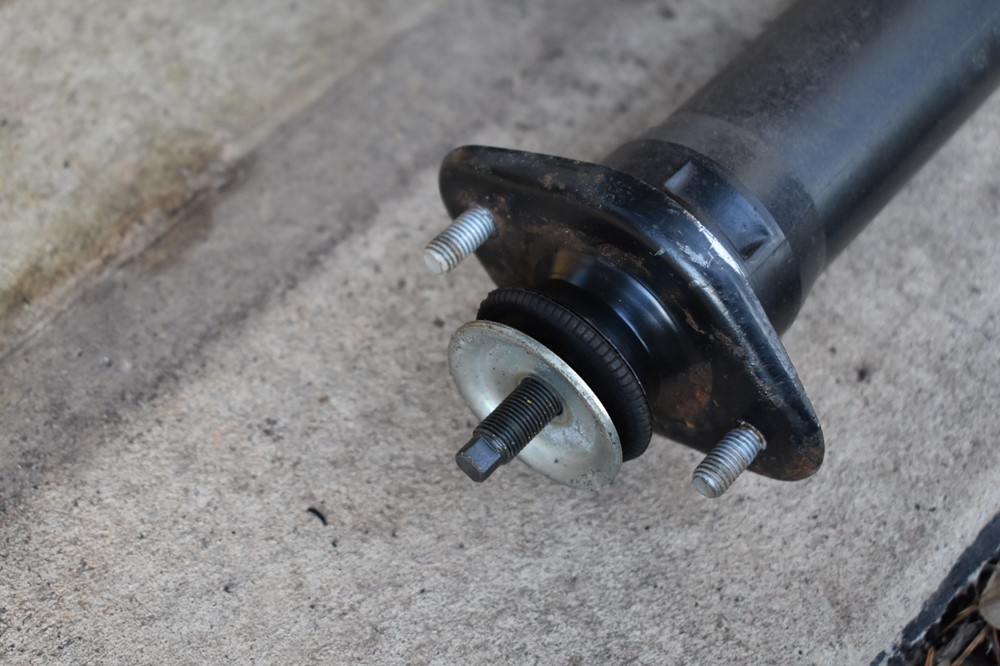
Slide the shock mount onto the shaft.
-
Slide the washer onto the shaft, with it cupped towards the end of the shaft.
-
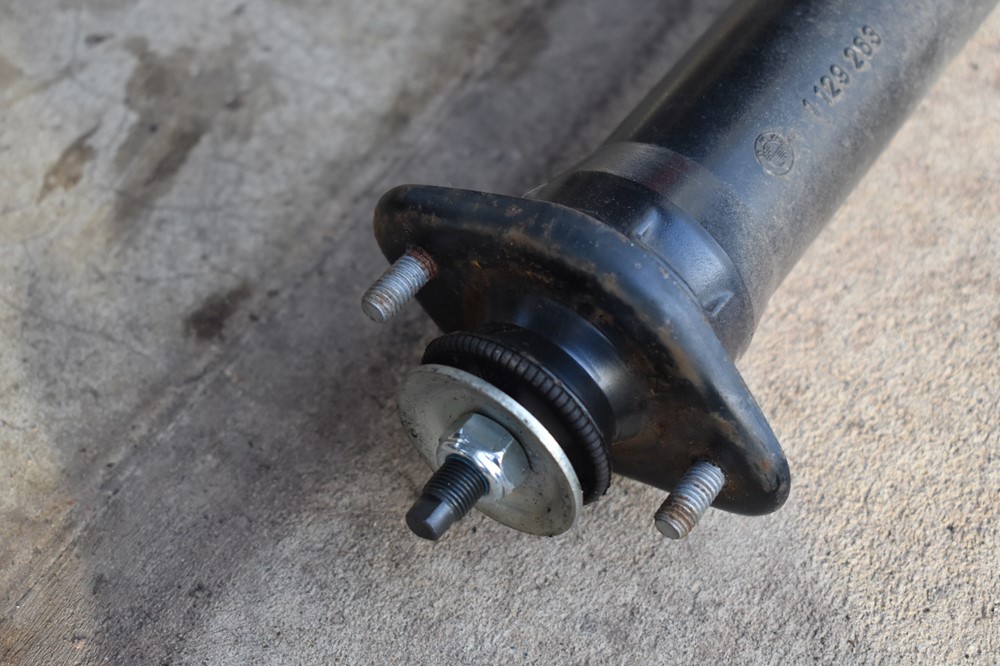
Install a new nylock nut onto the end of the shaft. Use the two wrenches to install, holding the end of the shock in place and tightening the nut. Because of this setup, it’s difficult to use a torque wrench, so you will likely need to torque to spec by feel. It should be nice and tight, but not aggressively. 10 lb-ft is 10 lbs applied on a lever of 1 foot. So go pickup a 10 lb dumbbell, think about how heavy it is, then tighten the nut until it feels like about the same load on your hand (assuming you’re wrench is roughly 12 inches long).
- Reinstall the shock. Don’t forget to use a new shock mount gasket.