
E30 Rear Shock Replacement
How-To Credit
This how-to is a Classic Bimmer Bits original, with much credit due to the many members of the community who have helped us learn along the way!
Parts
- (2) Rear Shocks (you can look up your OEM or pick aftermarket shocks)
- (2) Rear Shock Mount Gaskets (33526772864)
- (2) Shock Mount Reinforcements (Optional, available through many aftermarket sources)
- (4) Shock Mount Nuts (Optional) (07119905374)
- (2) Rear Shock Bolt (Optional) (07119914647)
- (2) Rear Shock Bolt Washer (Optional) (07119901766)
(We make a commission for parts purchased through the Amazon links above, which helps keep this site hosted and free. We only link to OEM or OE parts, the same quality parts that we use on our cars. However, you should always look around to see which site has the best prices.)
Tools
- 13mm socket and wrench
- 19mm socket and wrench
- Flathead screwdriver
Torque Specs (ft-lbs):
- Rear shock bolt: 52-63 ft-lbs (72-87 N-m)
- Shock mount nuts: 9-11 ft-lbs (13-15 N-m)
Prodedure
Removal
- Place wheel chocks on either side of the front wheels.
- Loosen the nuts on both rear wheels.
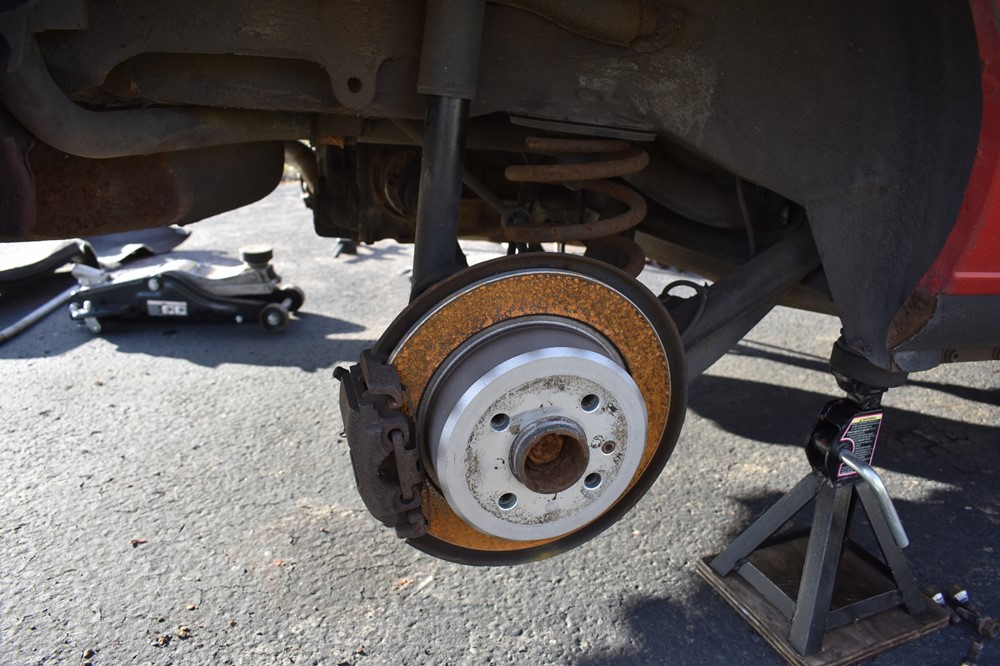
- Jack up the rear of the car and place it on jack stands.
-
Remove the wheel nuts, then remove both rear wheels.
-
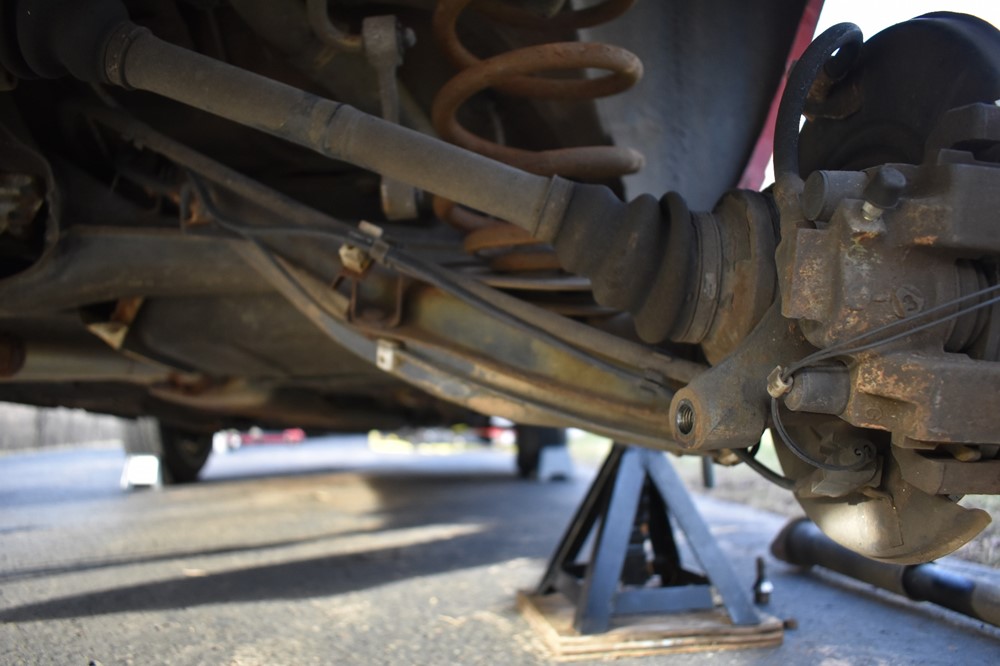
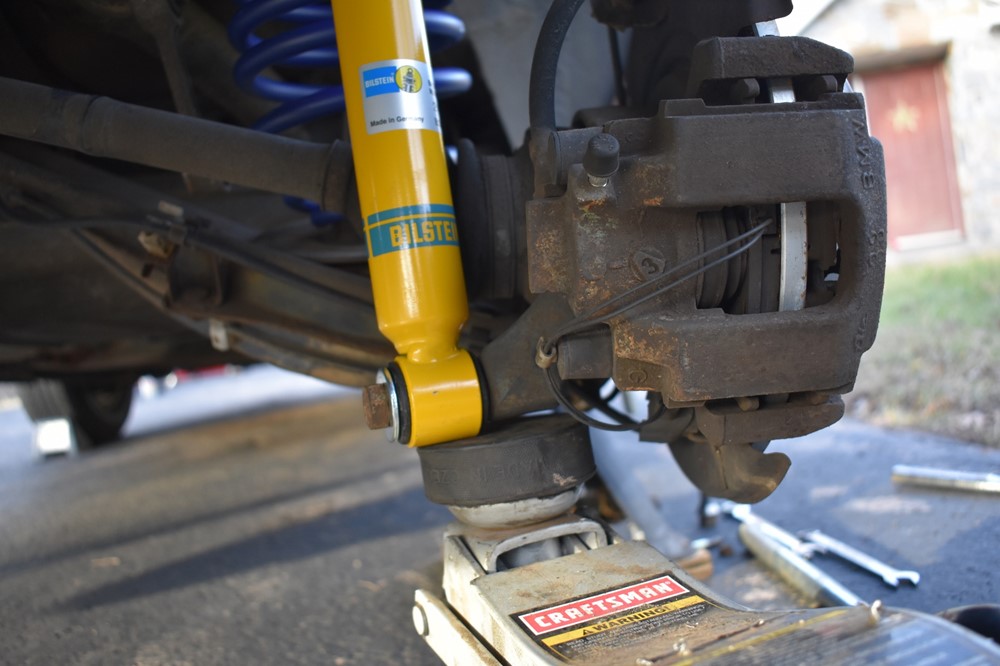
The shock is attached to the trailing arm with 1 bolt. Use the XXmm wrench to loosen it, but don’t remove it yet. You’ll want to leave it in so that the shock doesn’t fall when you remove the nuts at the top, but it’s much easier to break it loose before removing the top nuts.

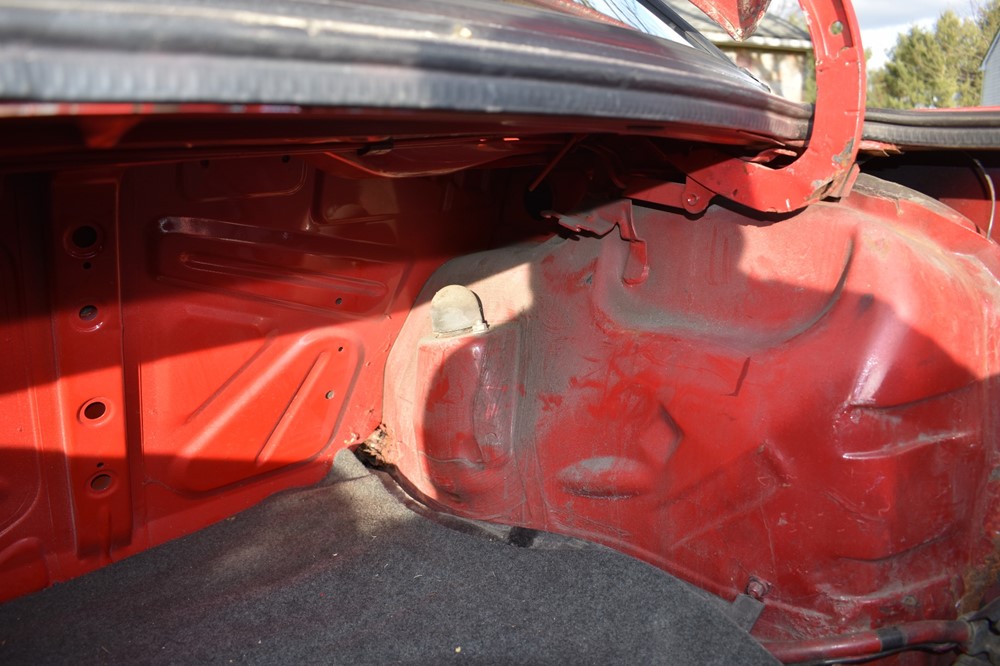
- At this point, remove the trunk lining.
-
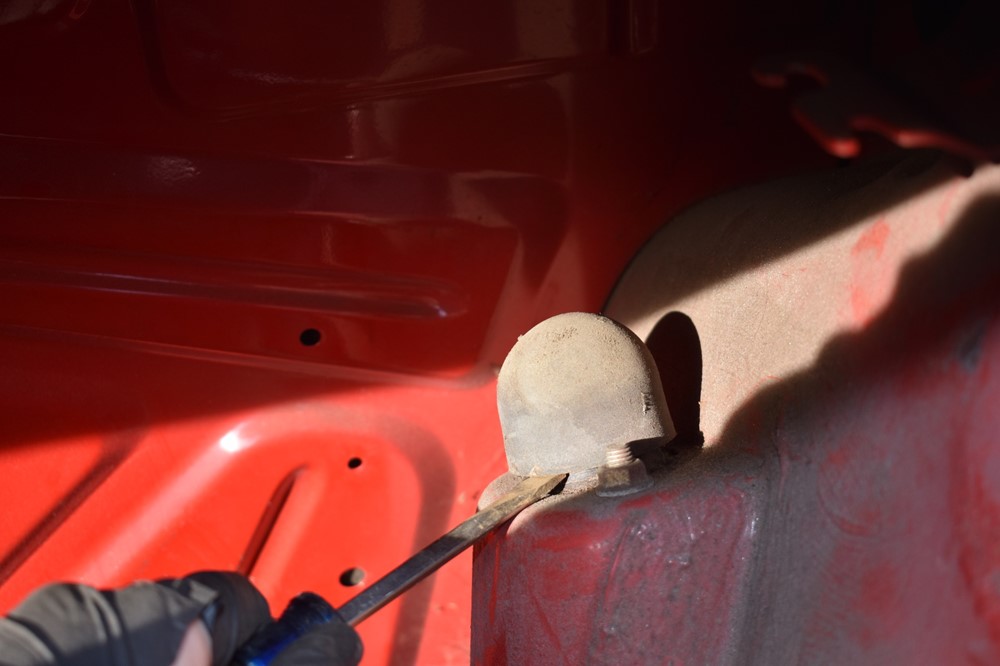
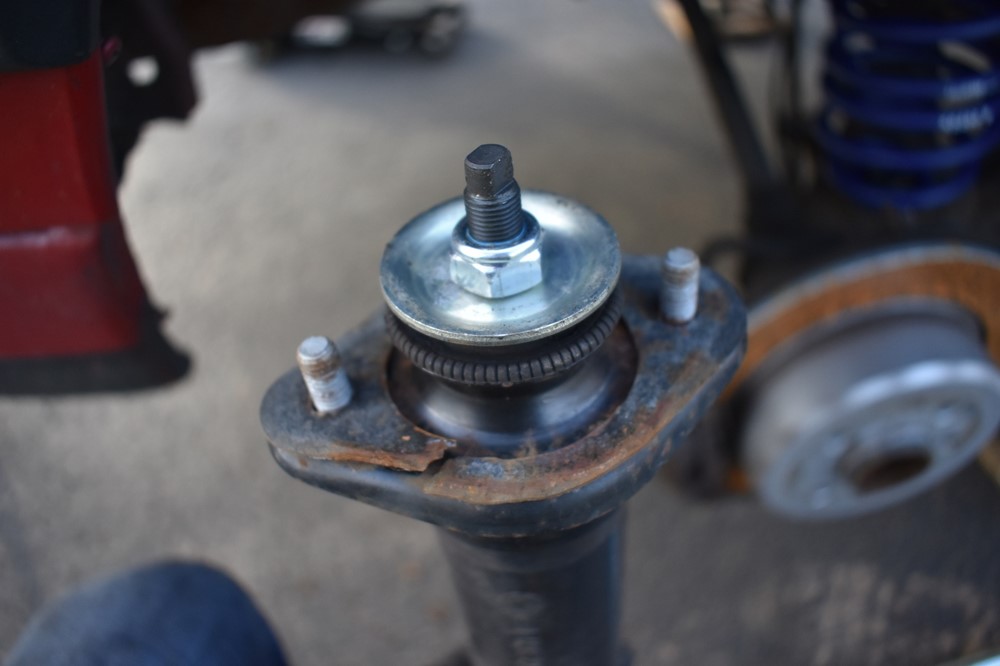
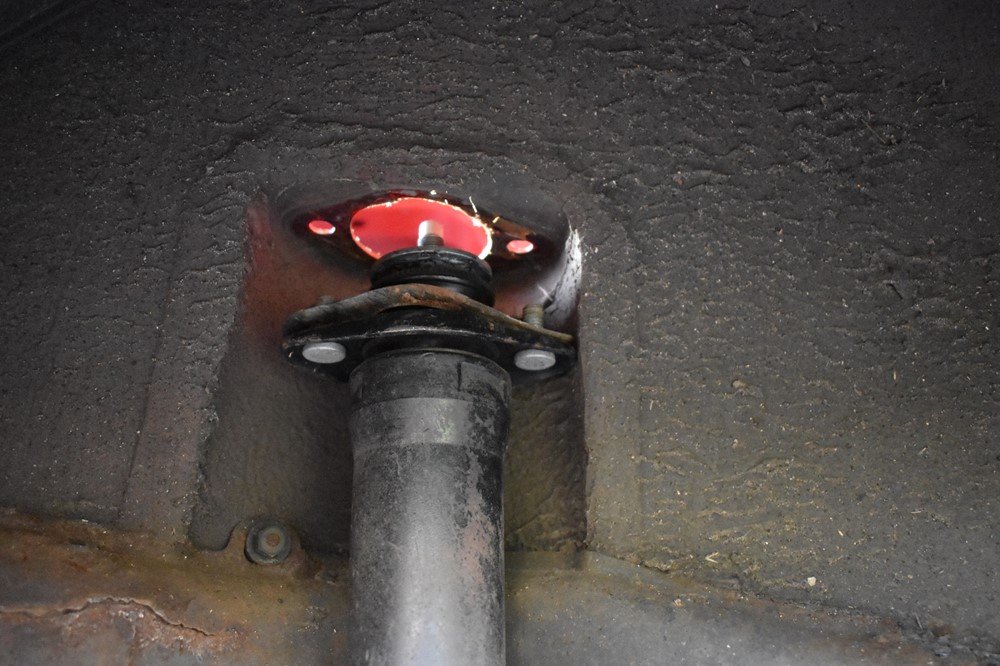
You’ve now exposed the top of the shock and the shock mount. There’s a rubber cover over the top of the shock: you can squeeze this through the hole in the car, but in our opinion, it’s just easier to remove it. Use a flathead screwdriver to pry the rubber cover off.
-
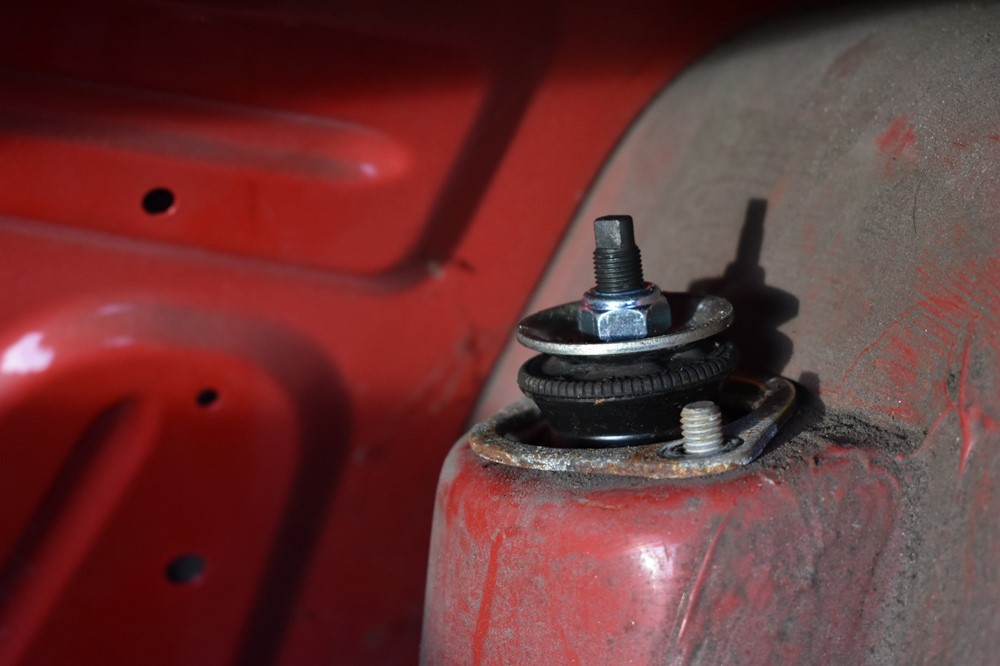
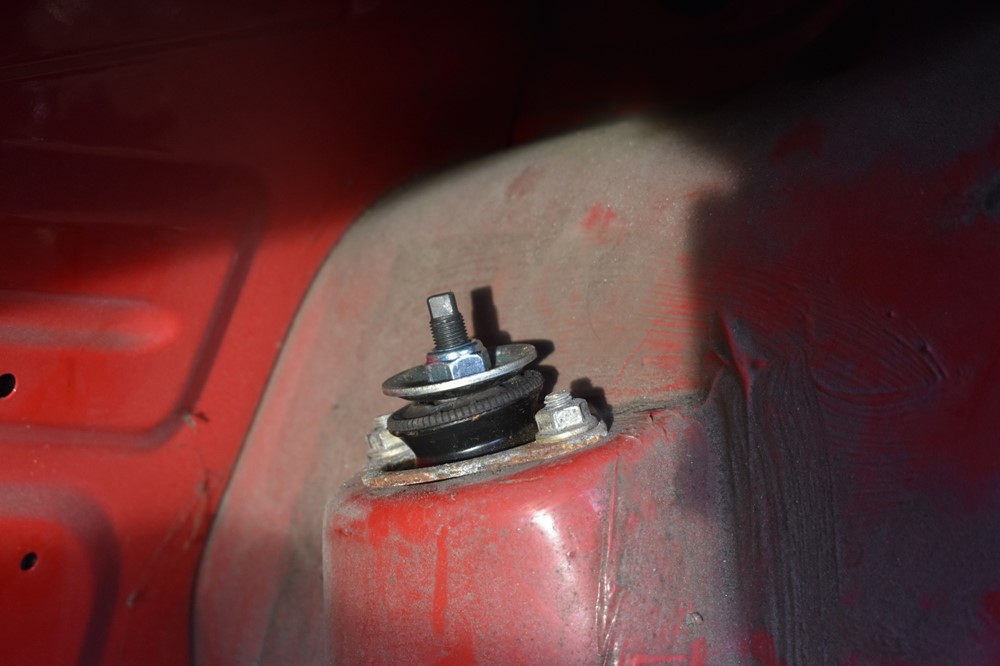
The top of the shock is held in place by two nuts. Use the XXmm wrench to remove them.
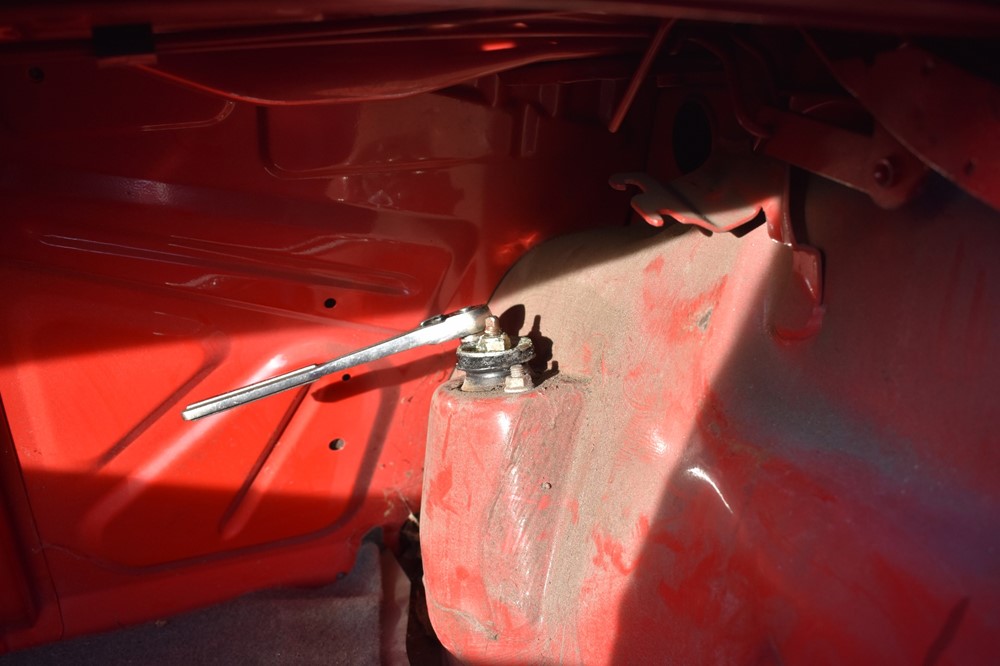
-
Back in the wheel well, finish removing the bolt through the bottom of the shock. With the bolt out, the shock should fall right out of the wheel well.
-
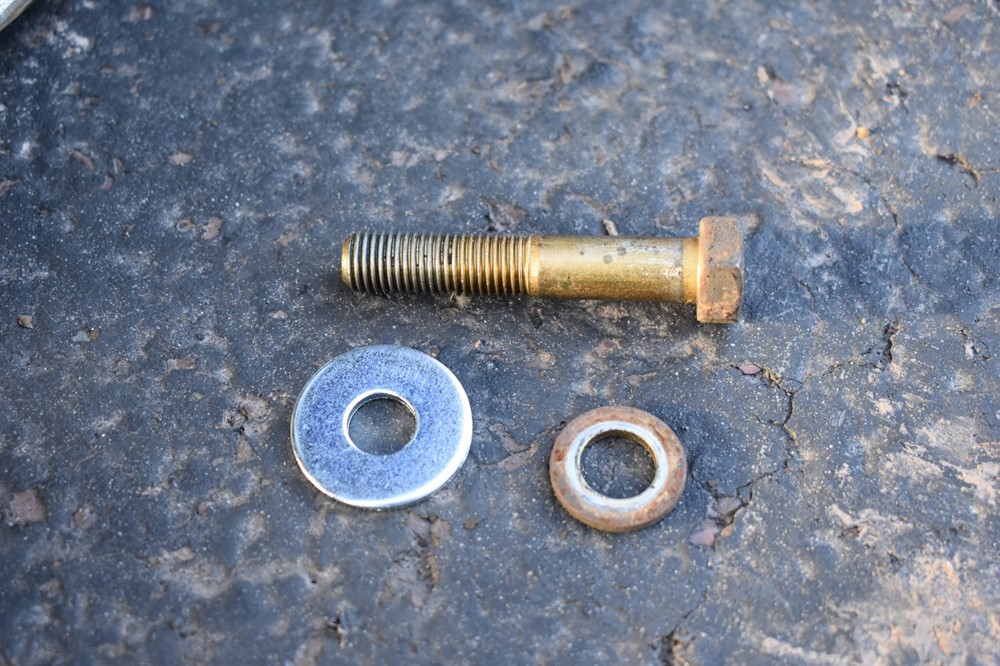
There should be a washer between the head of the bolt and the shock. If you’re installing Bilsteins, you’ll need the bigger washer that comes with them, not the small stock washer.
- If you’re re-using any components or assembling a new shock, follow these steps to build the new shock.
- Rebuild the shock if you’re re-using anything.
Installation
-
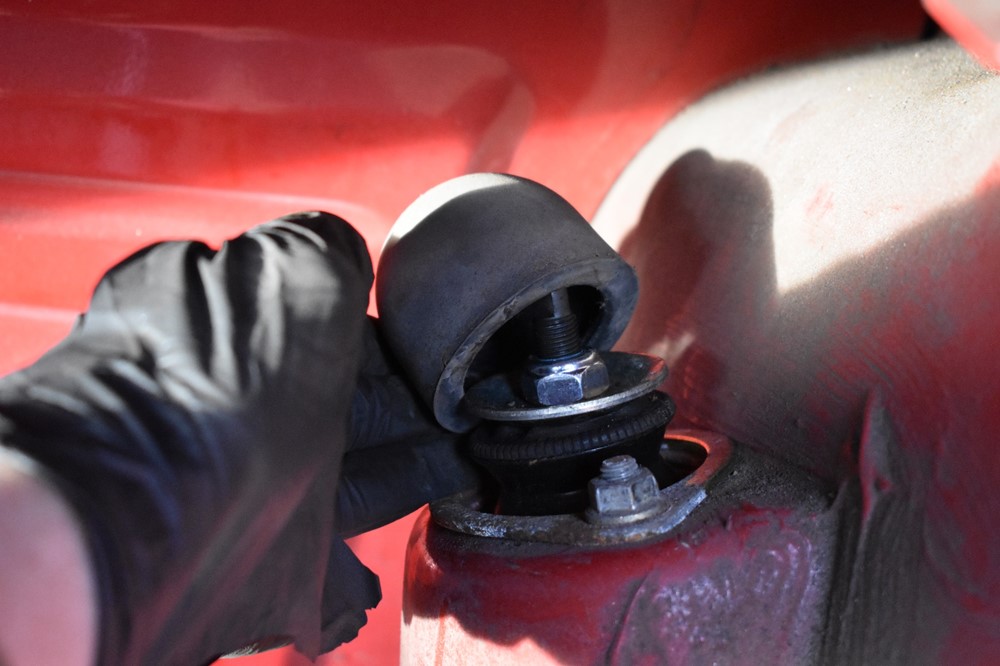
Install a new shock mount gasket over the two studs on the shock mount. Since we’re missing good picture of a new gasket installed, enjoy this picture of one in terrible shape!
- Lift the new shock into place, aligning the hole in the bottom of the shock and the hole in the trailing arm.
-
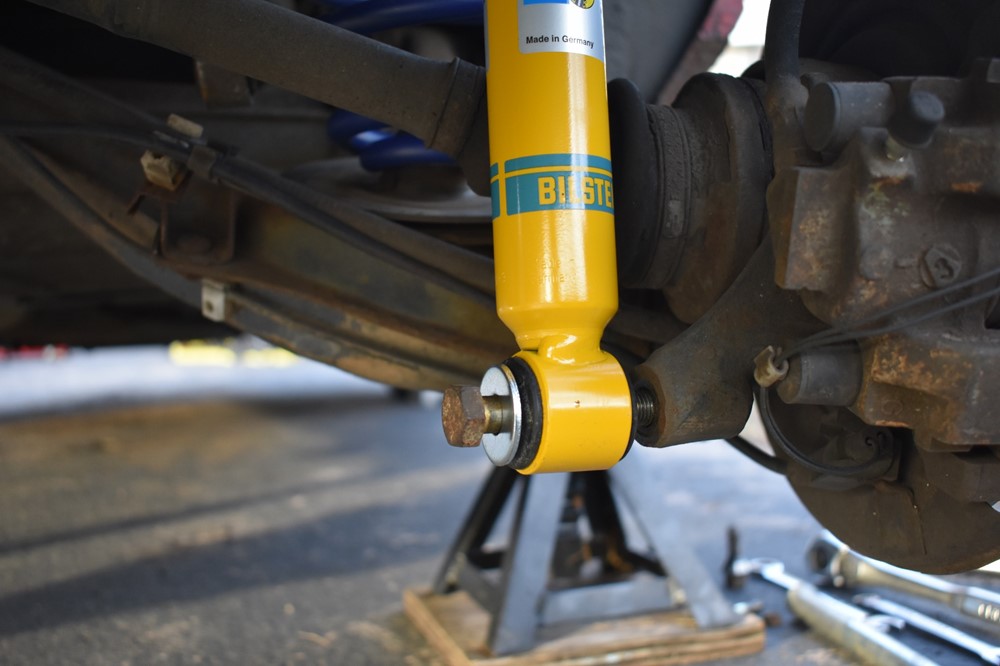
Make sure you have the washer on the bolt, then install it through the shock. Hand tighten it but do not fully tighten it yet.
-
Place the floor jack under the trailing arm, just underneath the base of the shock. Use the hockey puck to protect the paint on the shock.
-
Slowly jack up the trailing arm, watching the top of the shock mount and making sure the holes align as you lift it into place. No need to press it tightly up against the body of the car, just close enough that there’s plenty of room to get the nuts started on the shock mount.
-
Move back to the inside of the trunk. If you’re installing shock mount reinforcements, place the reinforcement over the studs of the shock mount.
-
Install the nuts onto the shock mount, and tighten to spec.
-
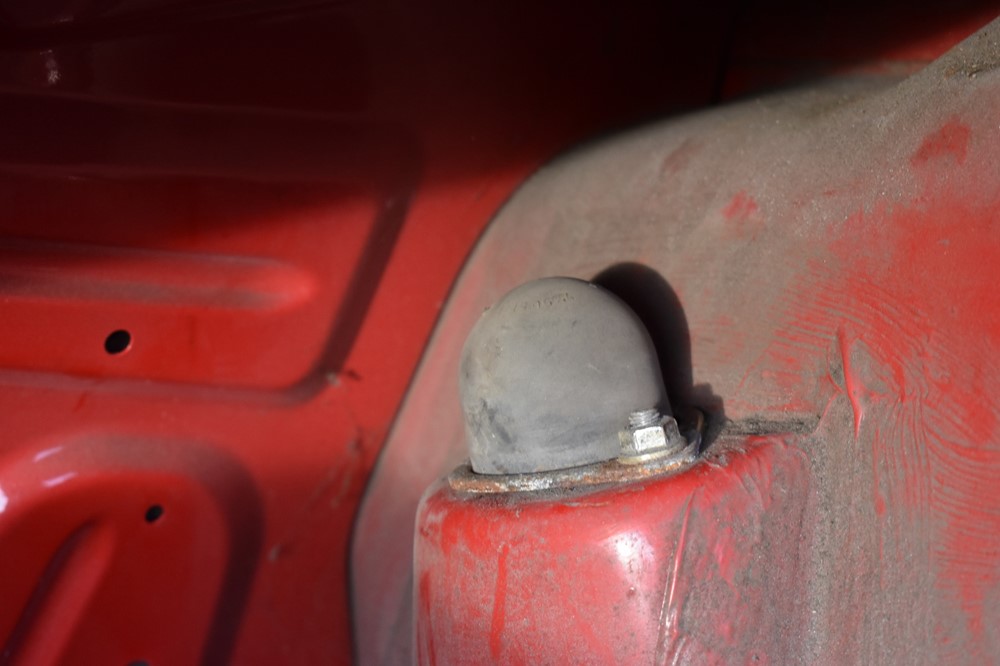
Reinstall the rubber cap over the shock mount. Start by seating the cap on the rear edge of the shock, then stretch it over the front of the shock.
-
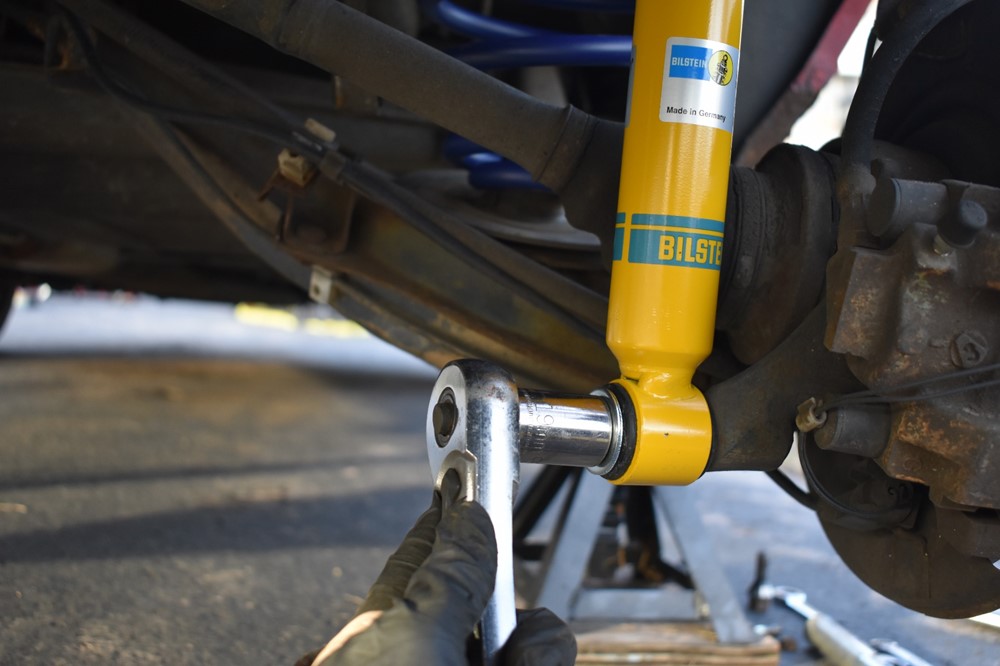
Back underneath the car, tighten the lower shock bolt to spec.
- Remove the jack from under the trailing arm.
- Lower the car.
- Reinstall the trunk liner.